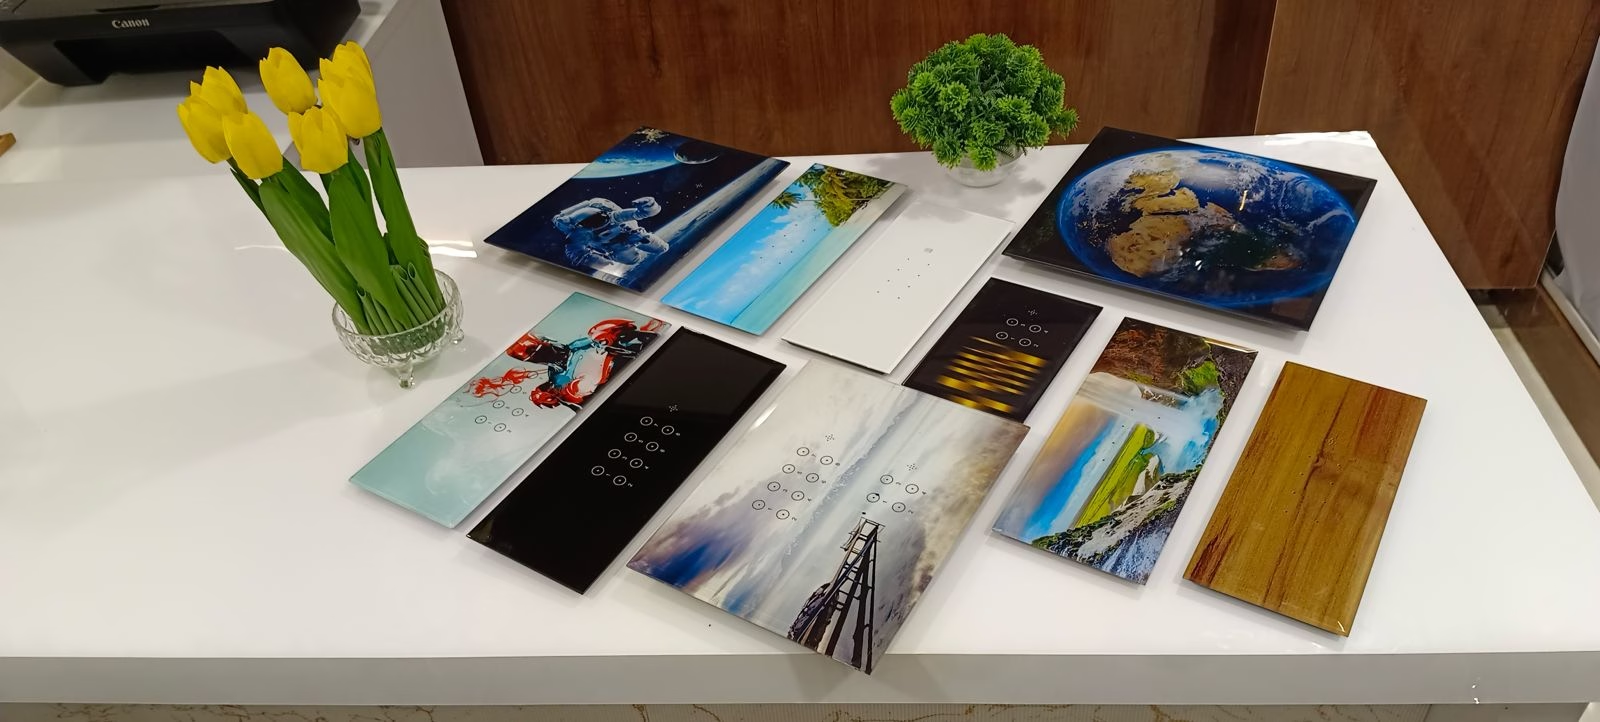
Overview
Model Number : EOT-TP-8T SeriesThe Smart Touch Panel is the primary automation hardware of the EOT HOME ecosystem. It supports up to 8 configurable touch inputs (T1–T8), which can be dynamically assigned as switches, curtains, dimmer controls, fan controls, or scene triggers using the mobile app.
Touch Configuration Options (T1–T8)
| Configuration Mode | Touch Mapping | Voice / App Discovery |
|---|---|---|
| Default Switch Mode | T1 – T8 as individual On/Off switches | Each touch added as Switch (On / Off) |
| Curtain Control |
Curtain 1: T1 (Open), T2 (Close) Curtain 2: T3 (Open), T4 (Close) |
Each curtain added as Curtain (Open / Close) |
| Dimmer Control |
Dimmer 1: T1 (Brightness Up), T2 (Brightness Down) Dimmer 2: T3 (Brightness Up), T4 (Brightness Down) |
Each dimmer added as Light (Brightness, White Spectrum) |
| Fan Control |
T6: Fan On/Off T7: Fan Speed Up T8: Fan Speed Down |
Discovered as Fan (On/Off + Speed) |
| Scene Controller Mode | T1 – T8 mapped to Scene 1 – Scene 8 | Each touch discovered as Scene |
Supported Control Methods
- Touch Panel
- Remote Control
- Mobile App
- Voice Control (Google Home & Amazon Alexa)
Device Setup Flow
+The EOT HOME mobile application provides a guided step-by-step interface for device discovery, configuration, and Wi-Fi onboarding.
Enable Device Pairing Mode for Setup
- Step 1: Press and hold the pairing button on the device for 10 seconds until the LED starts blinking.
- Step 2: Open the Mobile App and go to Account.
- Step 3: Select Add Device.
- Step 4: Follow the on-screen instructions to complete setup.
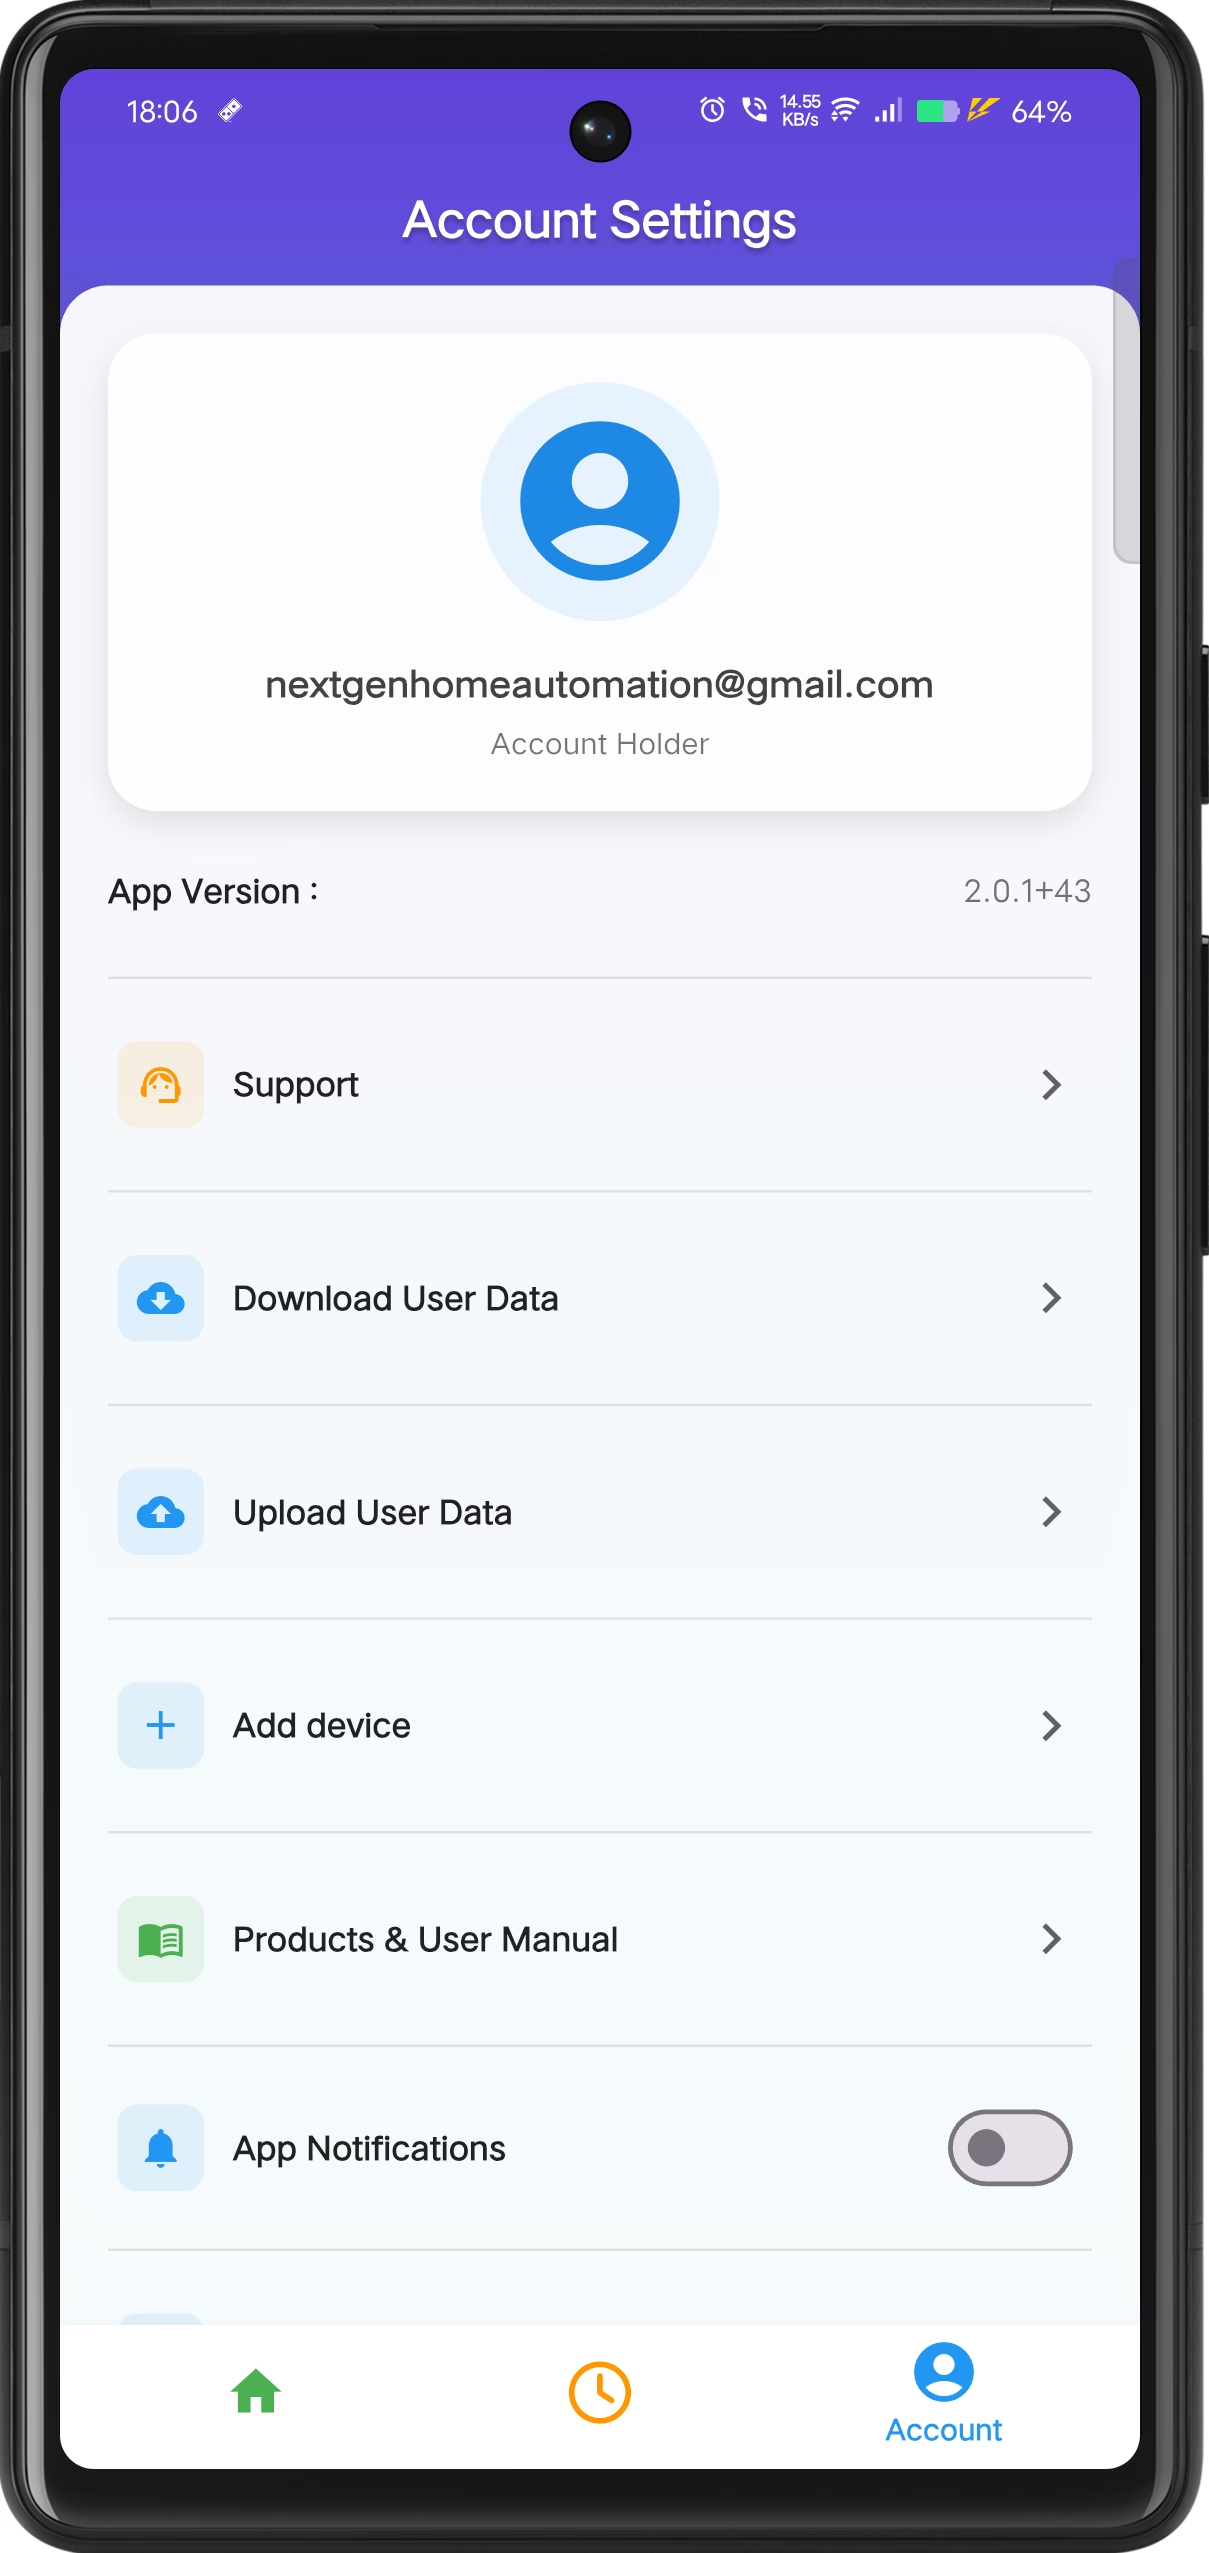
Account & Device Management
Manage account details, download user data, upload data to cloud,add devices and more.
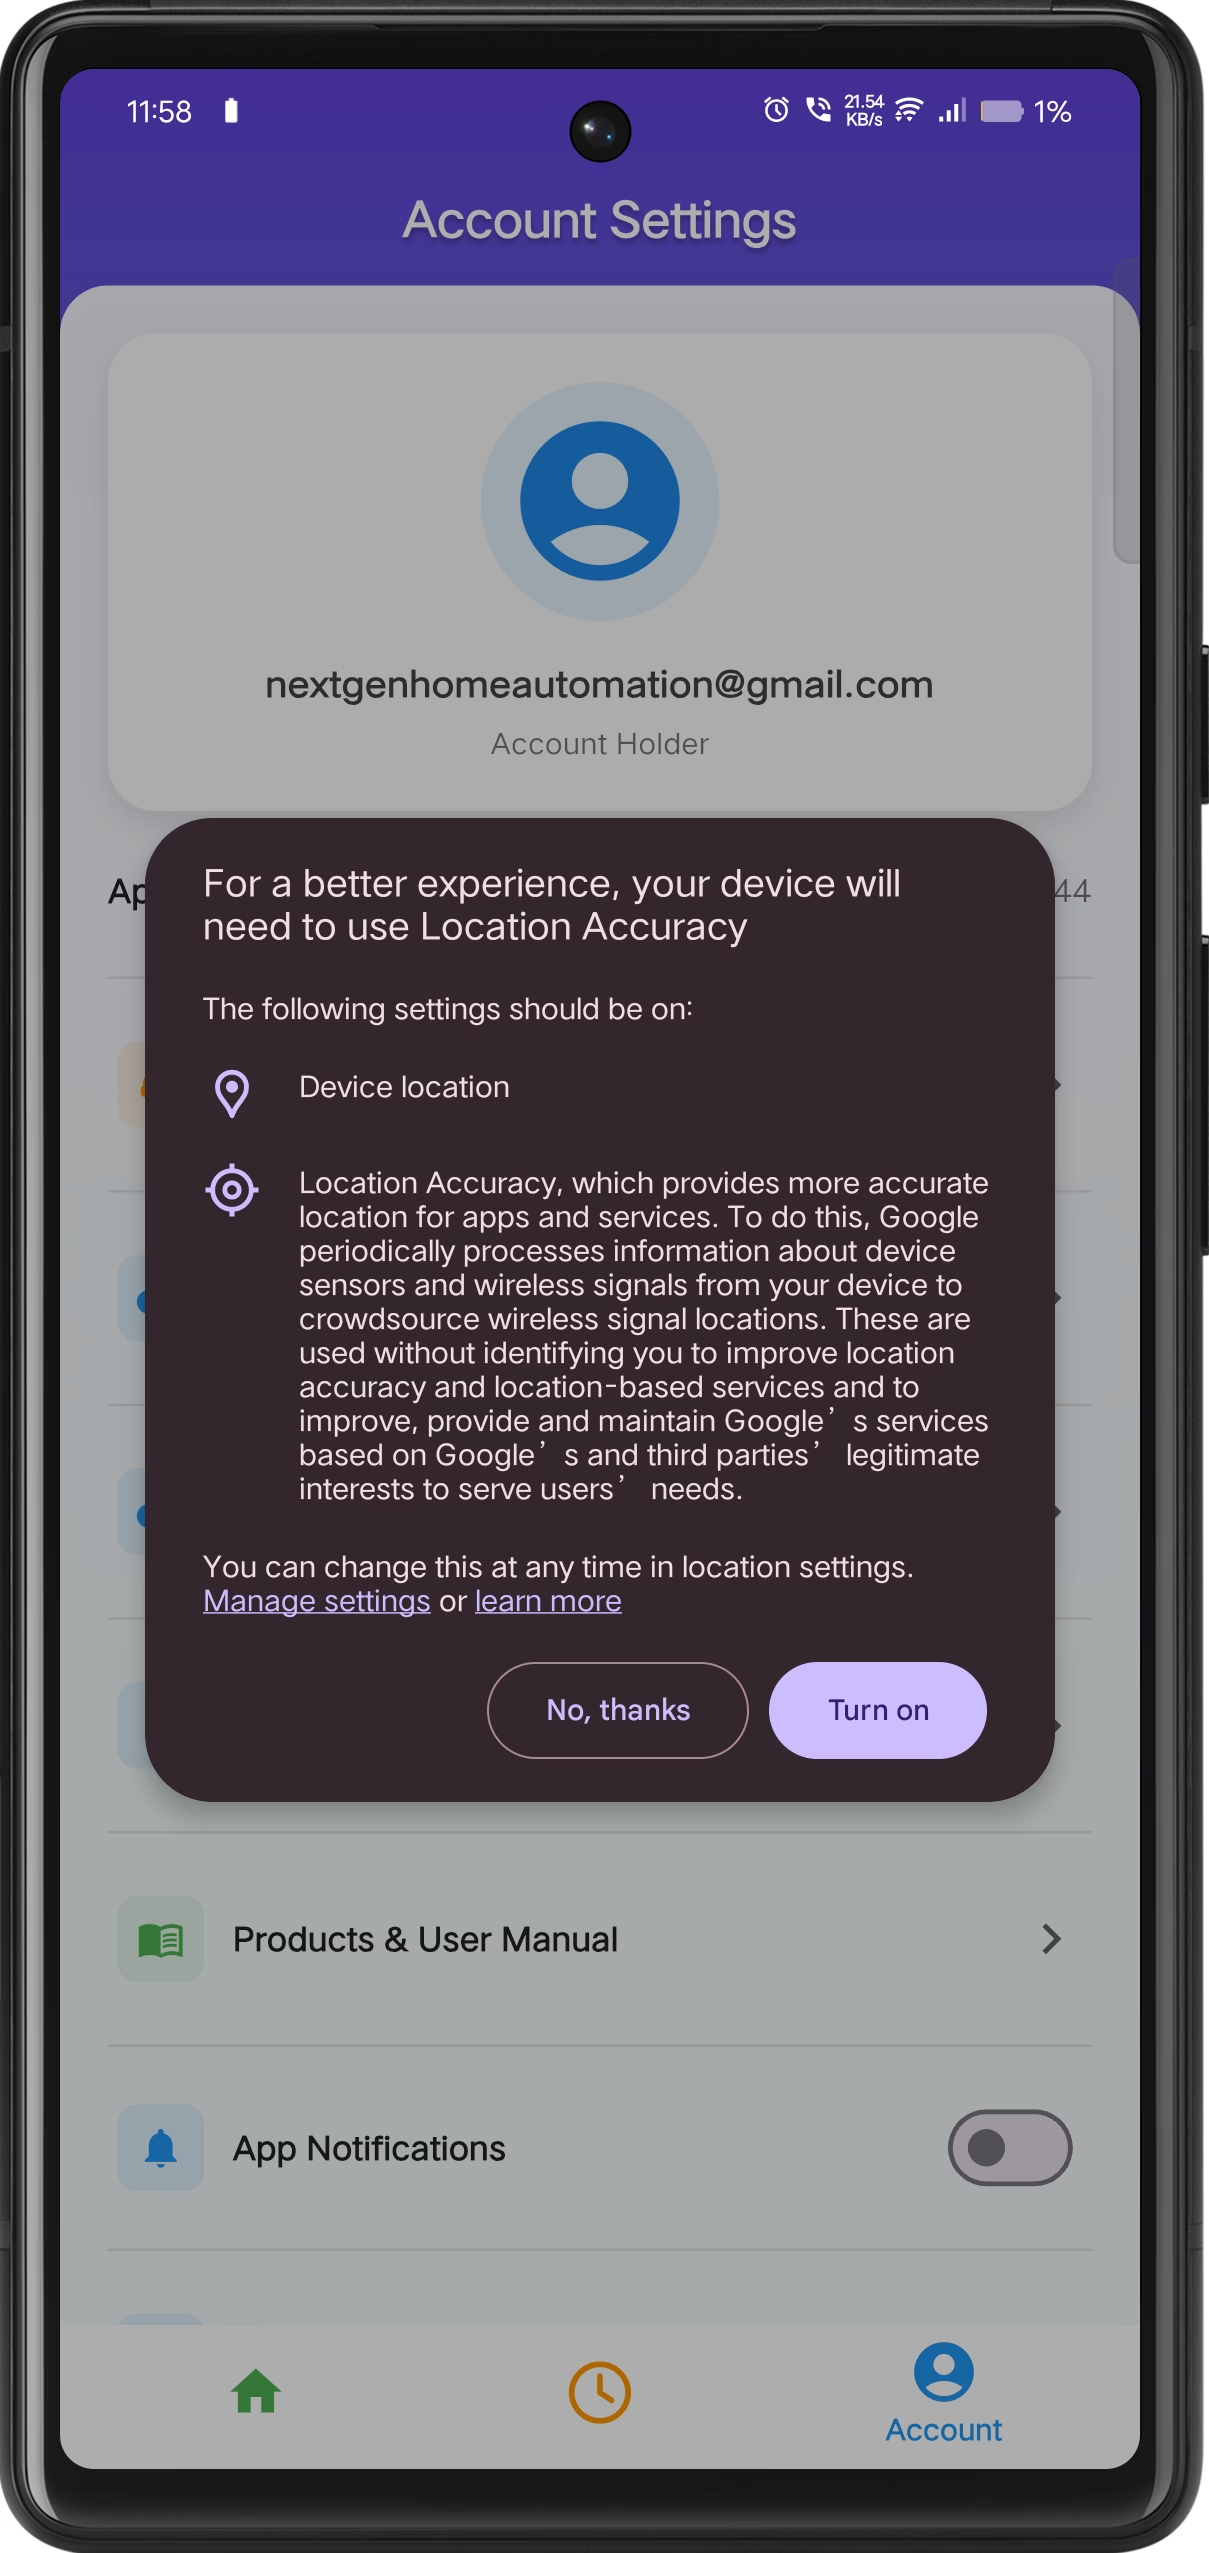
Location Permission
Location accuracy improves Wi-Fi discovery and ensures reliable onboarding.
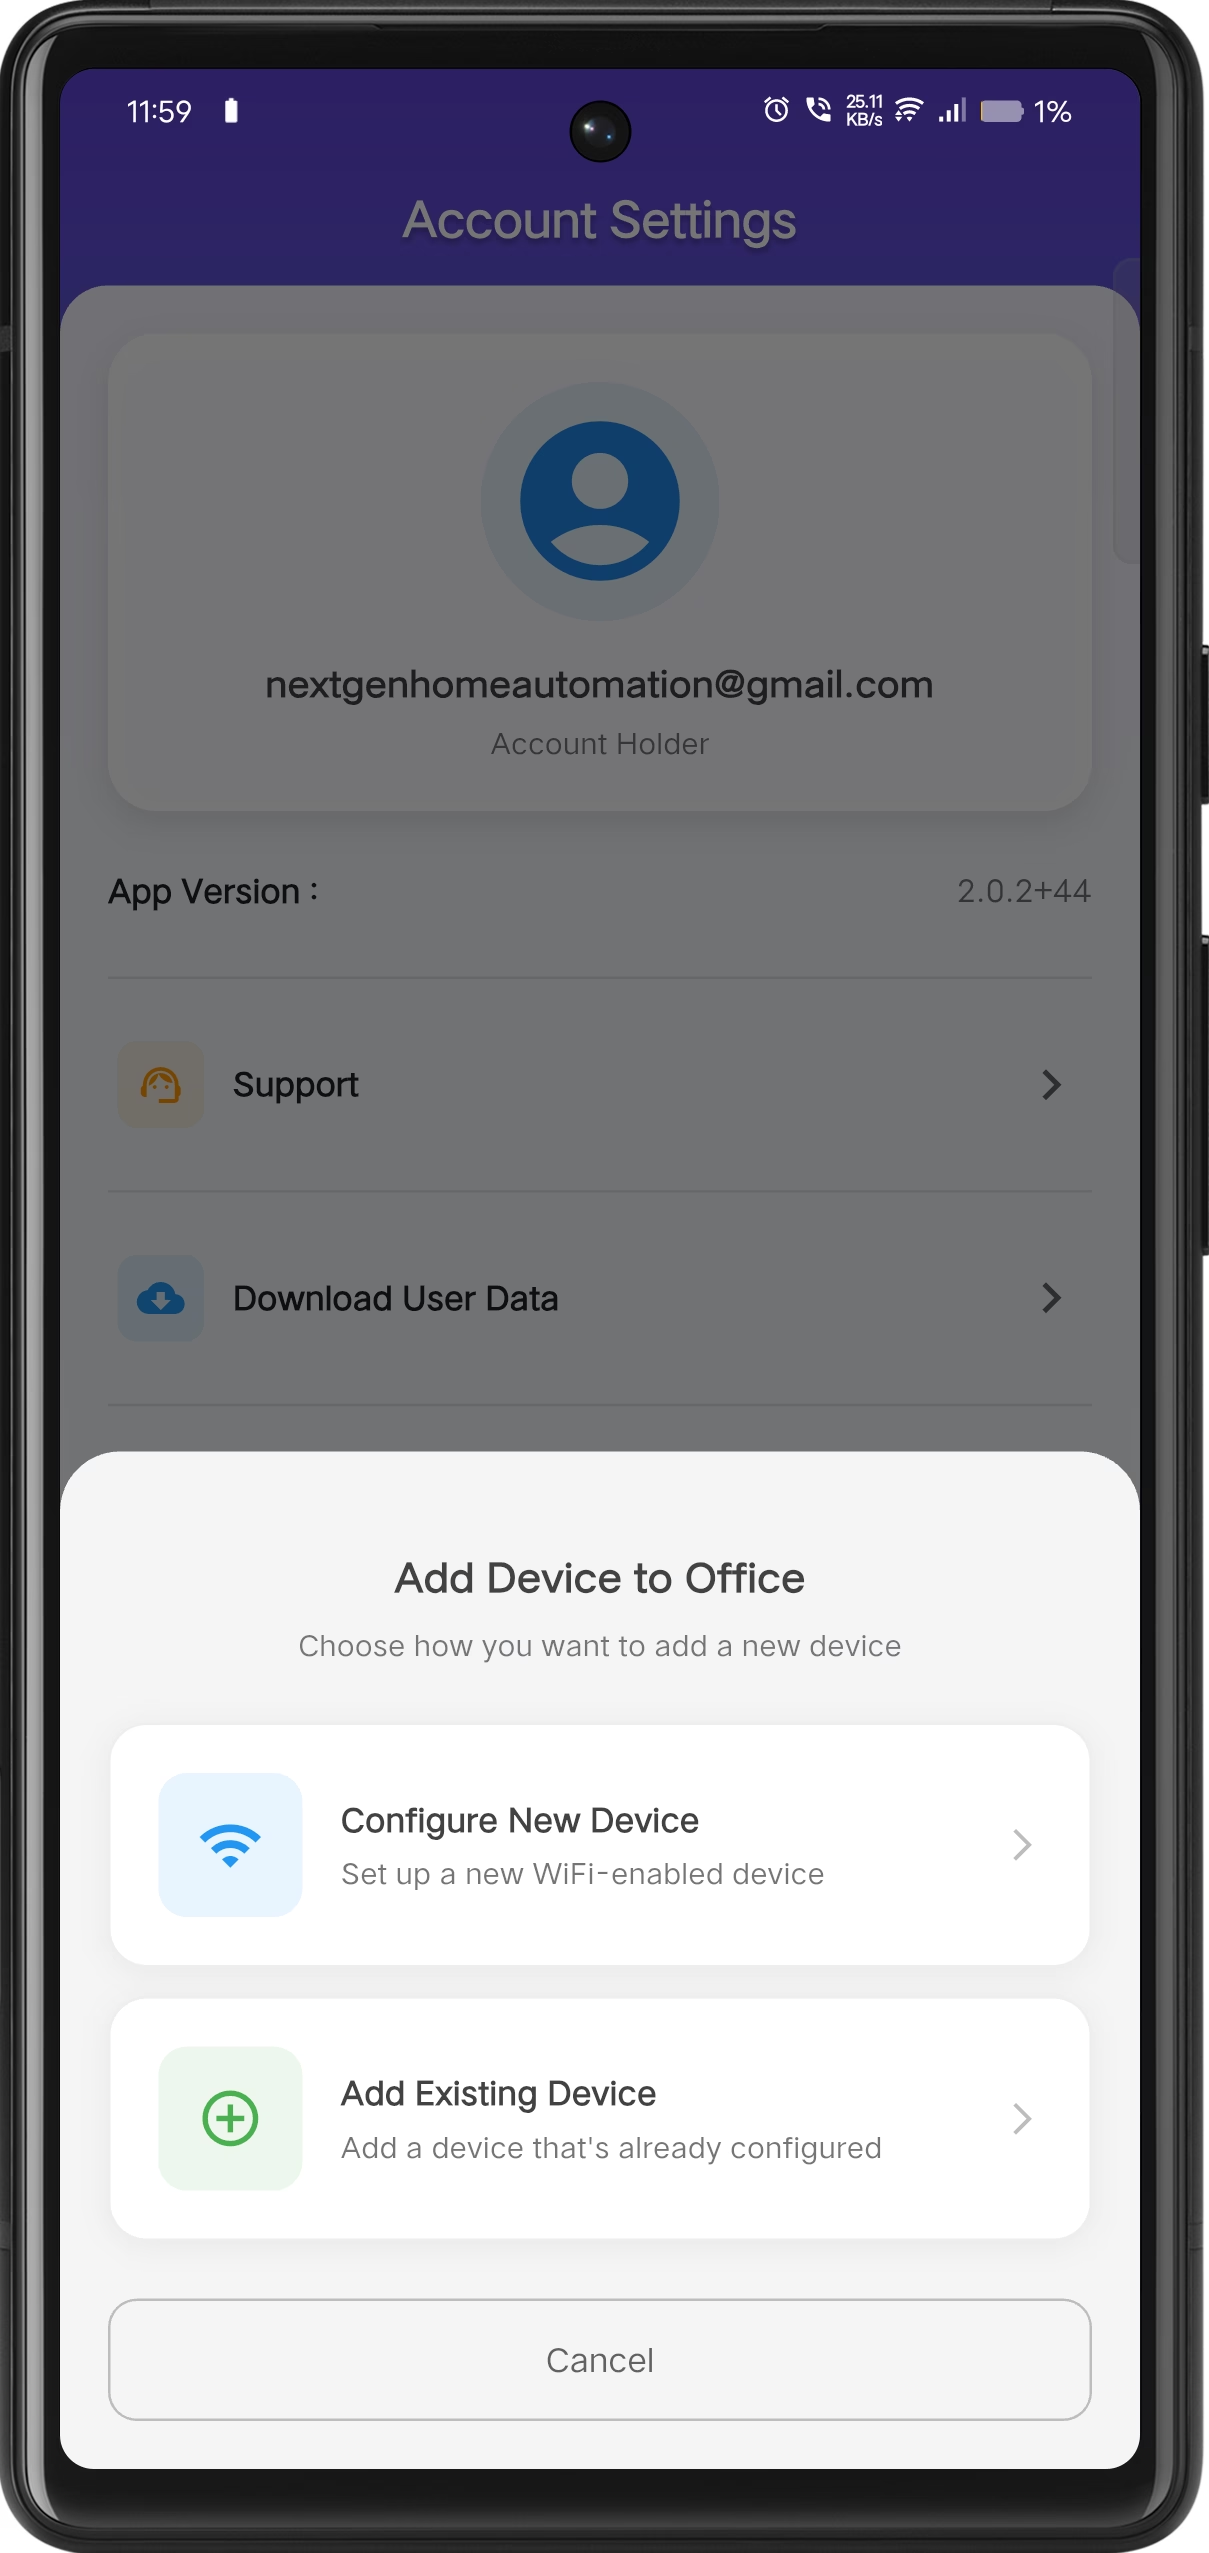
Add Device
Configure a new Wi-Fi enabled device.
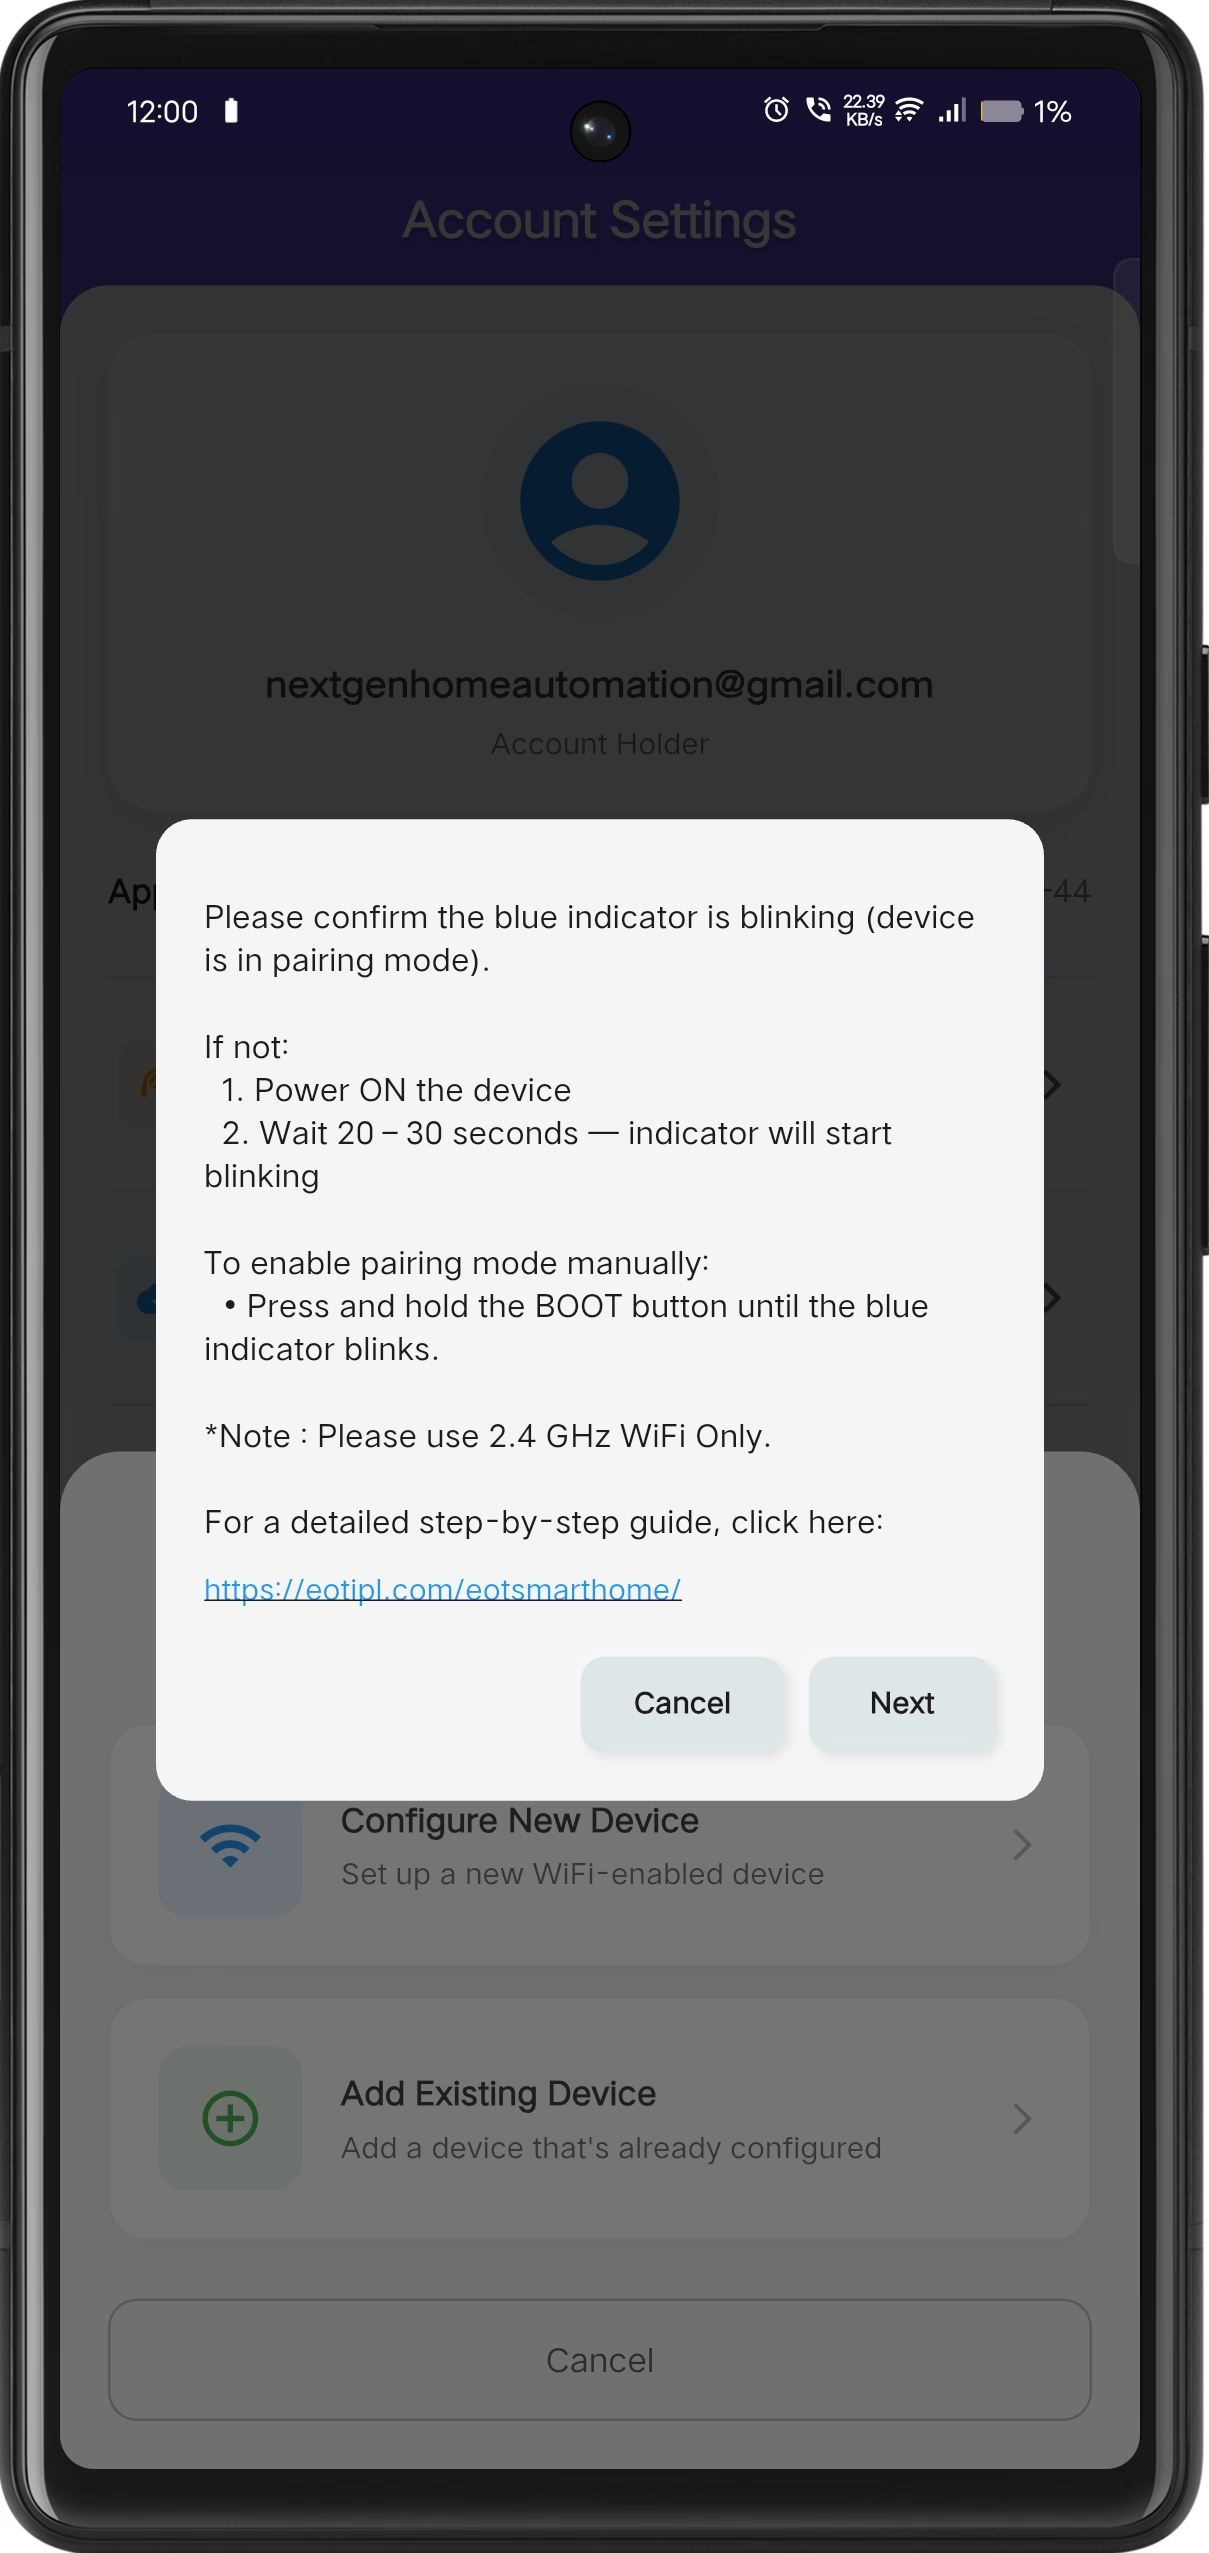
Instructions
Read the setup instructions carefully.
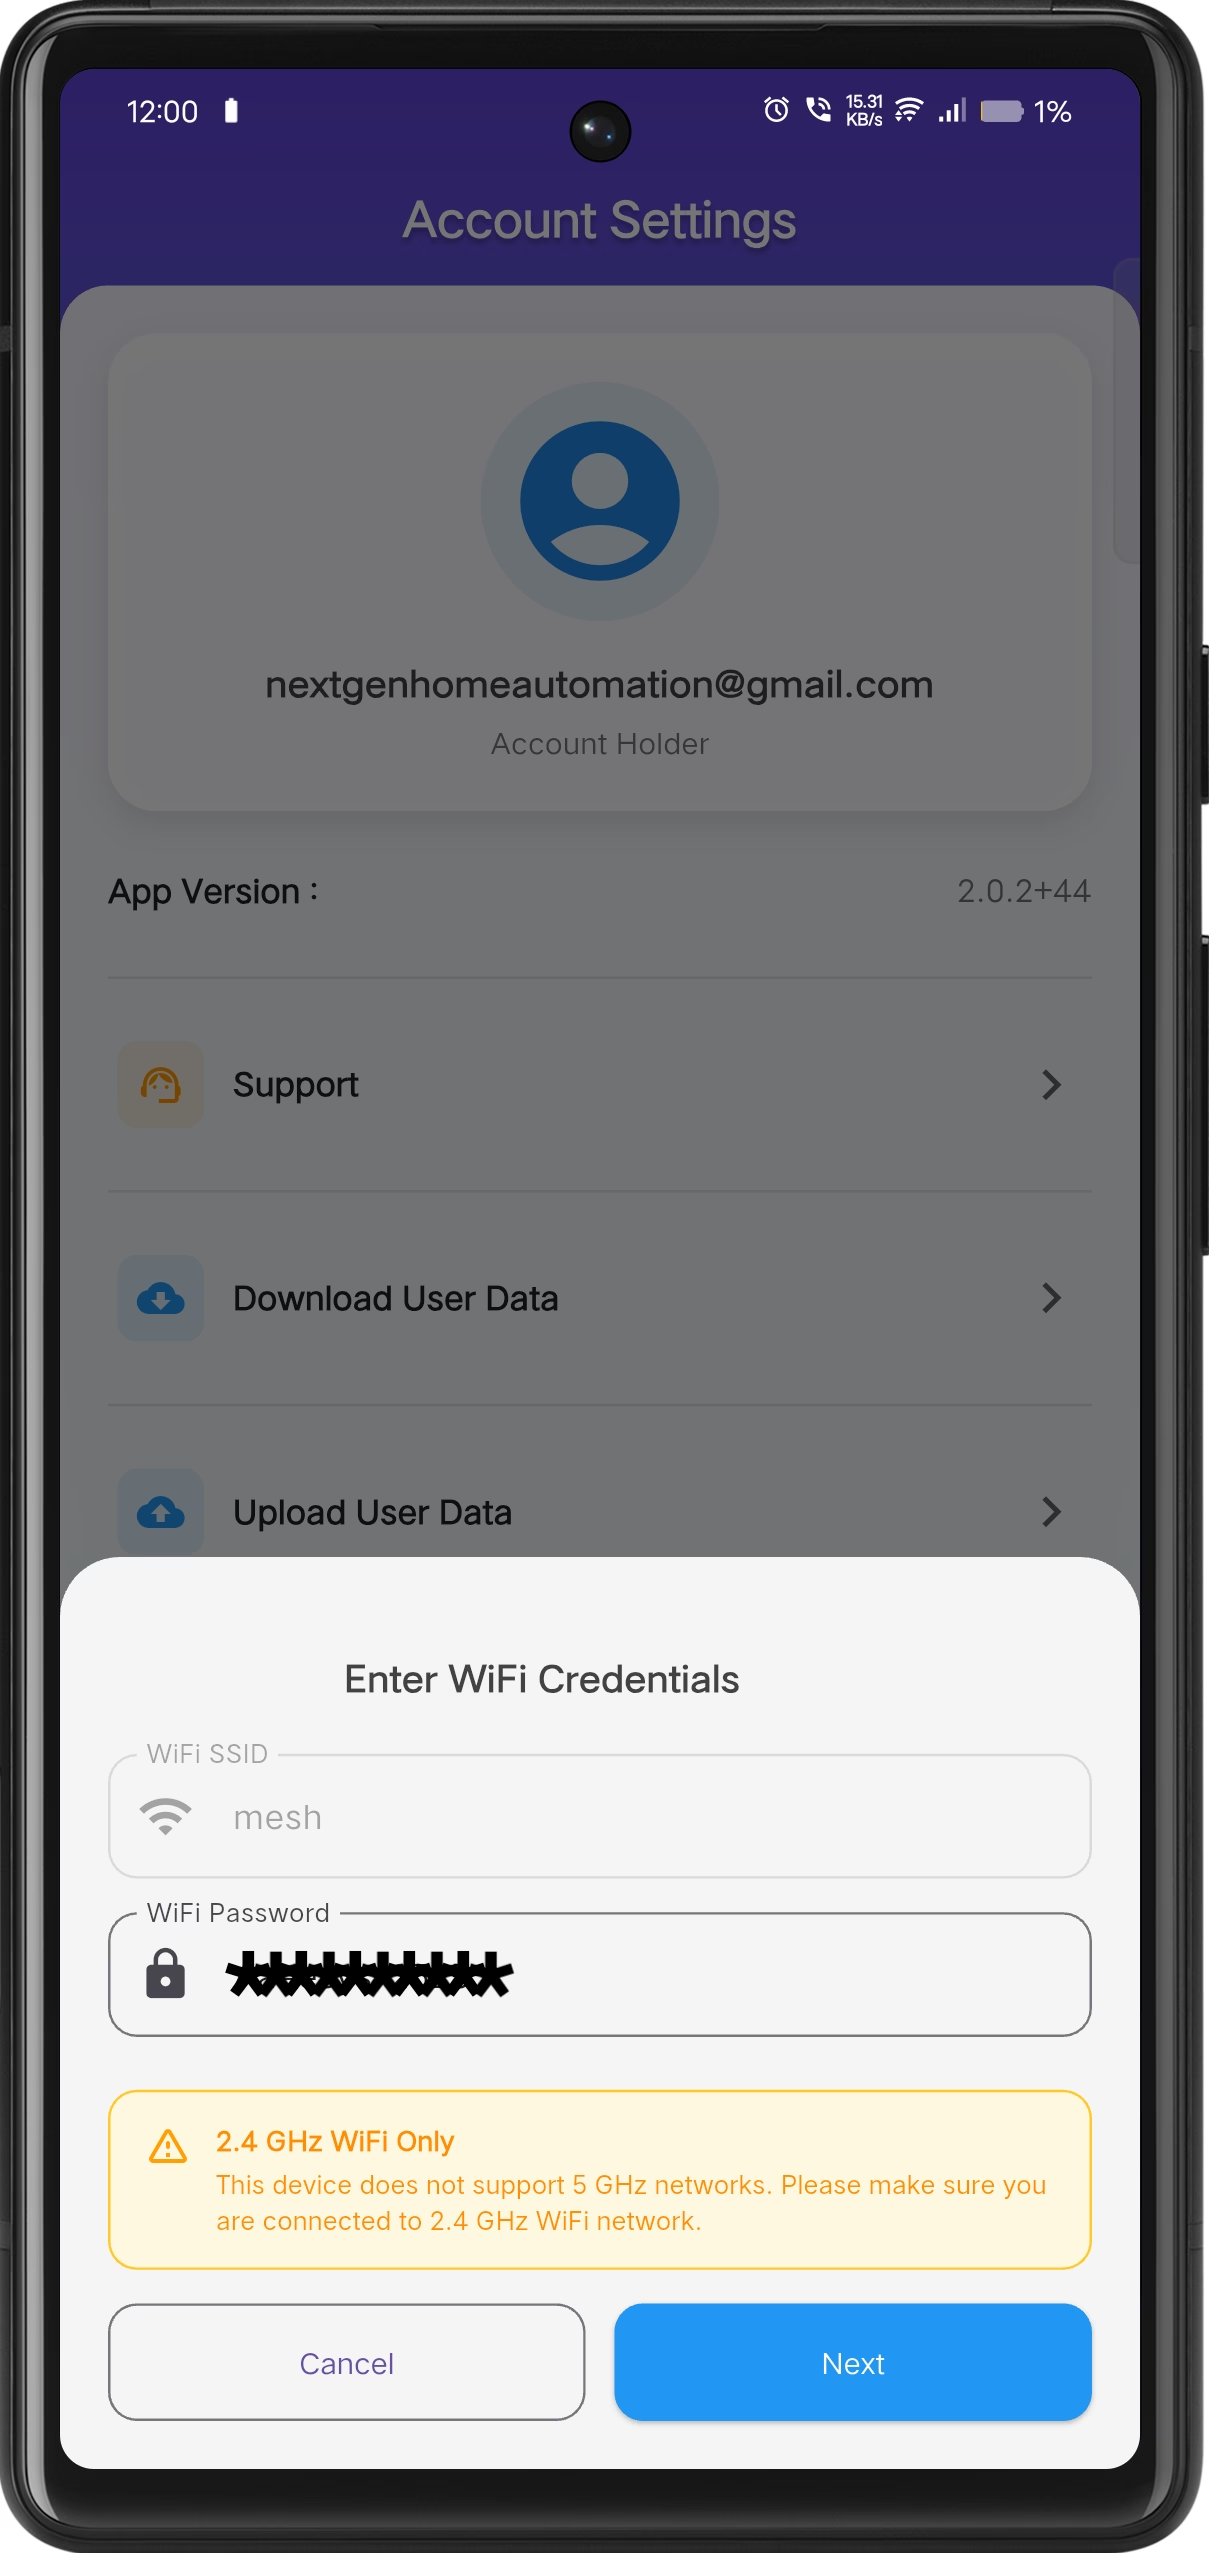
Wi-Fi Configuration
Enter Wi-Fi credentials securely to complete setup.
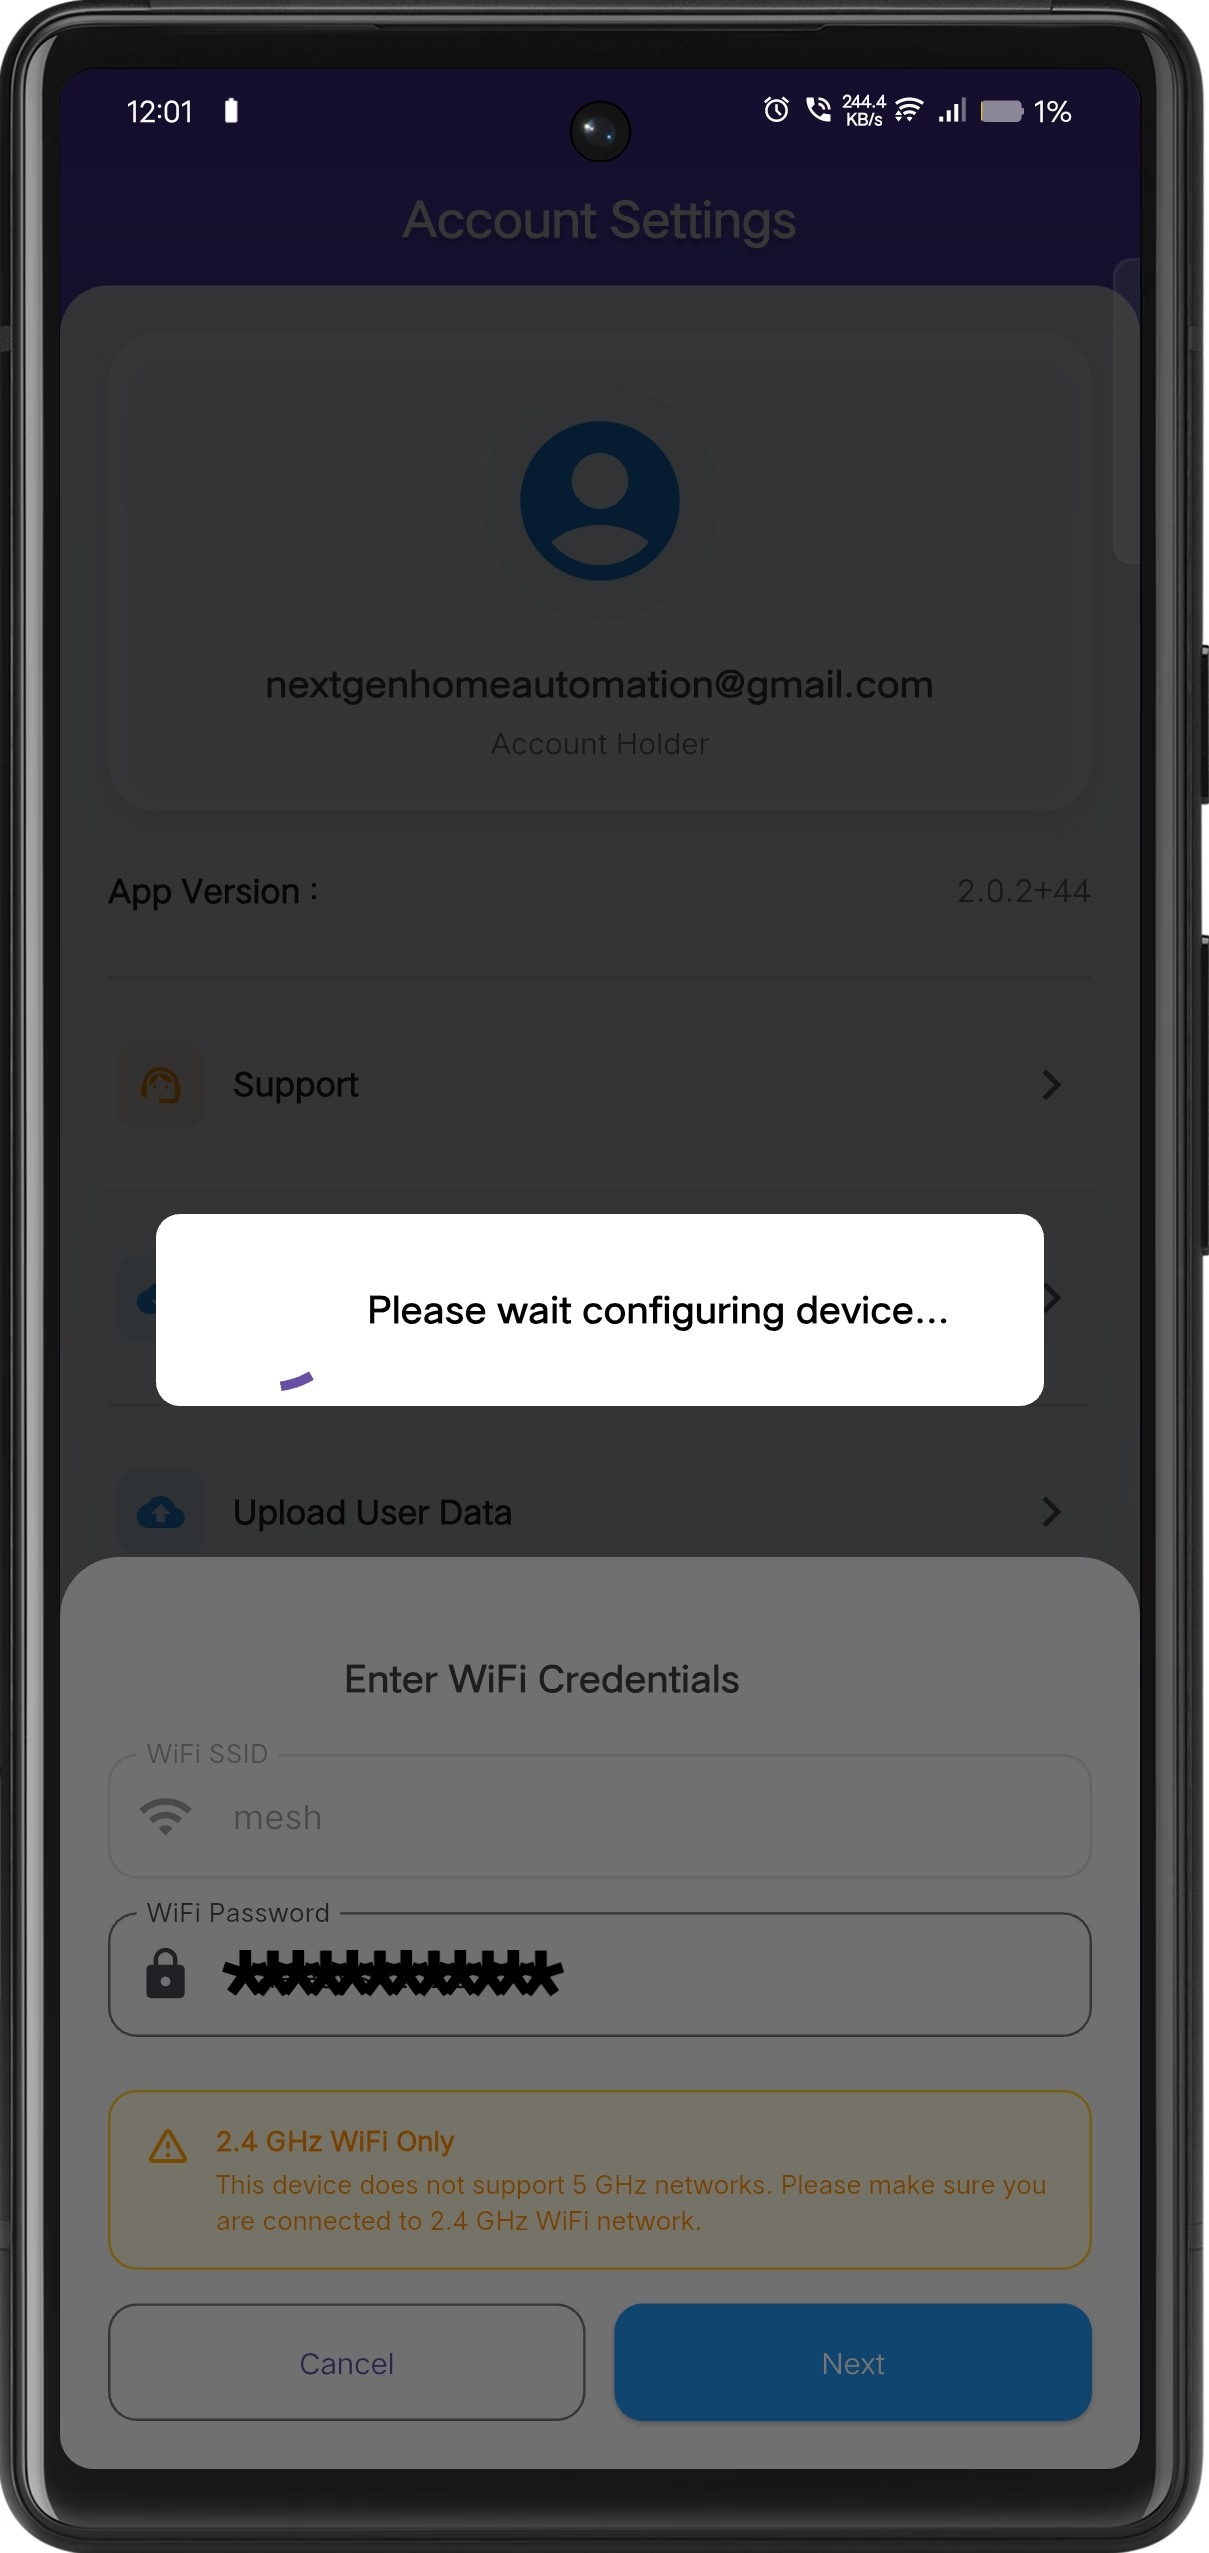
Device Acknowledgment
Wait for the device to be acknowledged.
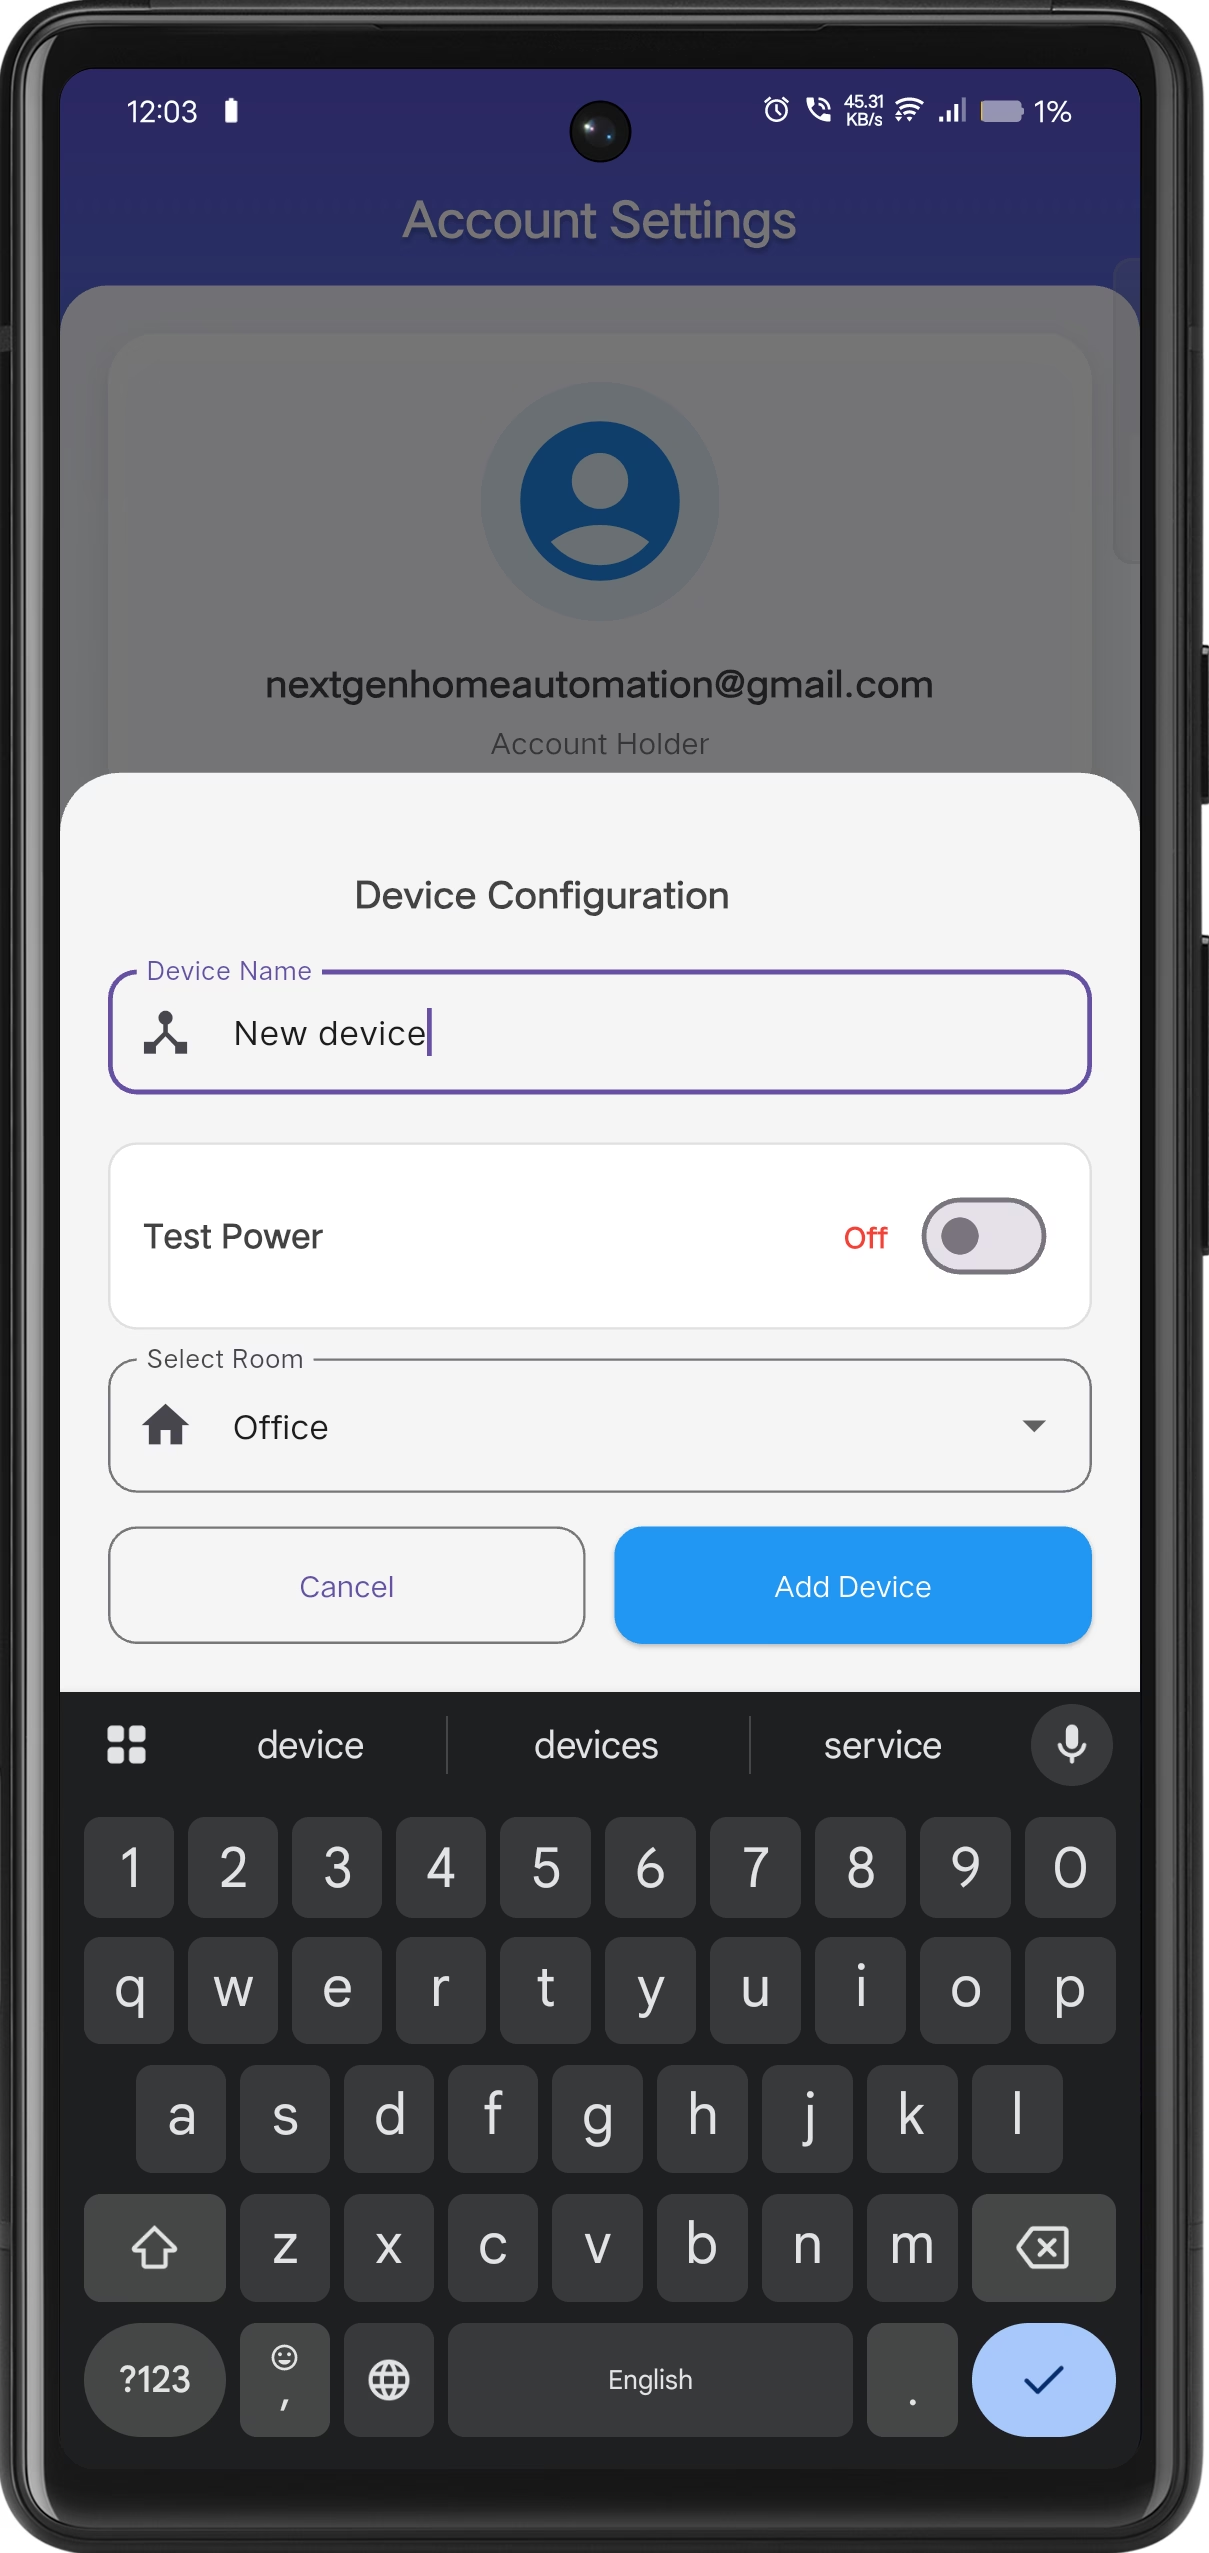
Device Name & Room
Assign device name, select room, test power, and confirm settings.
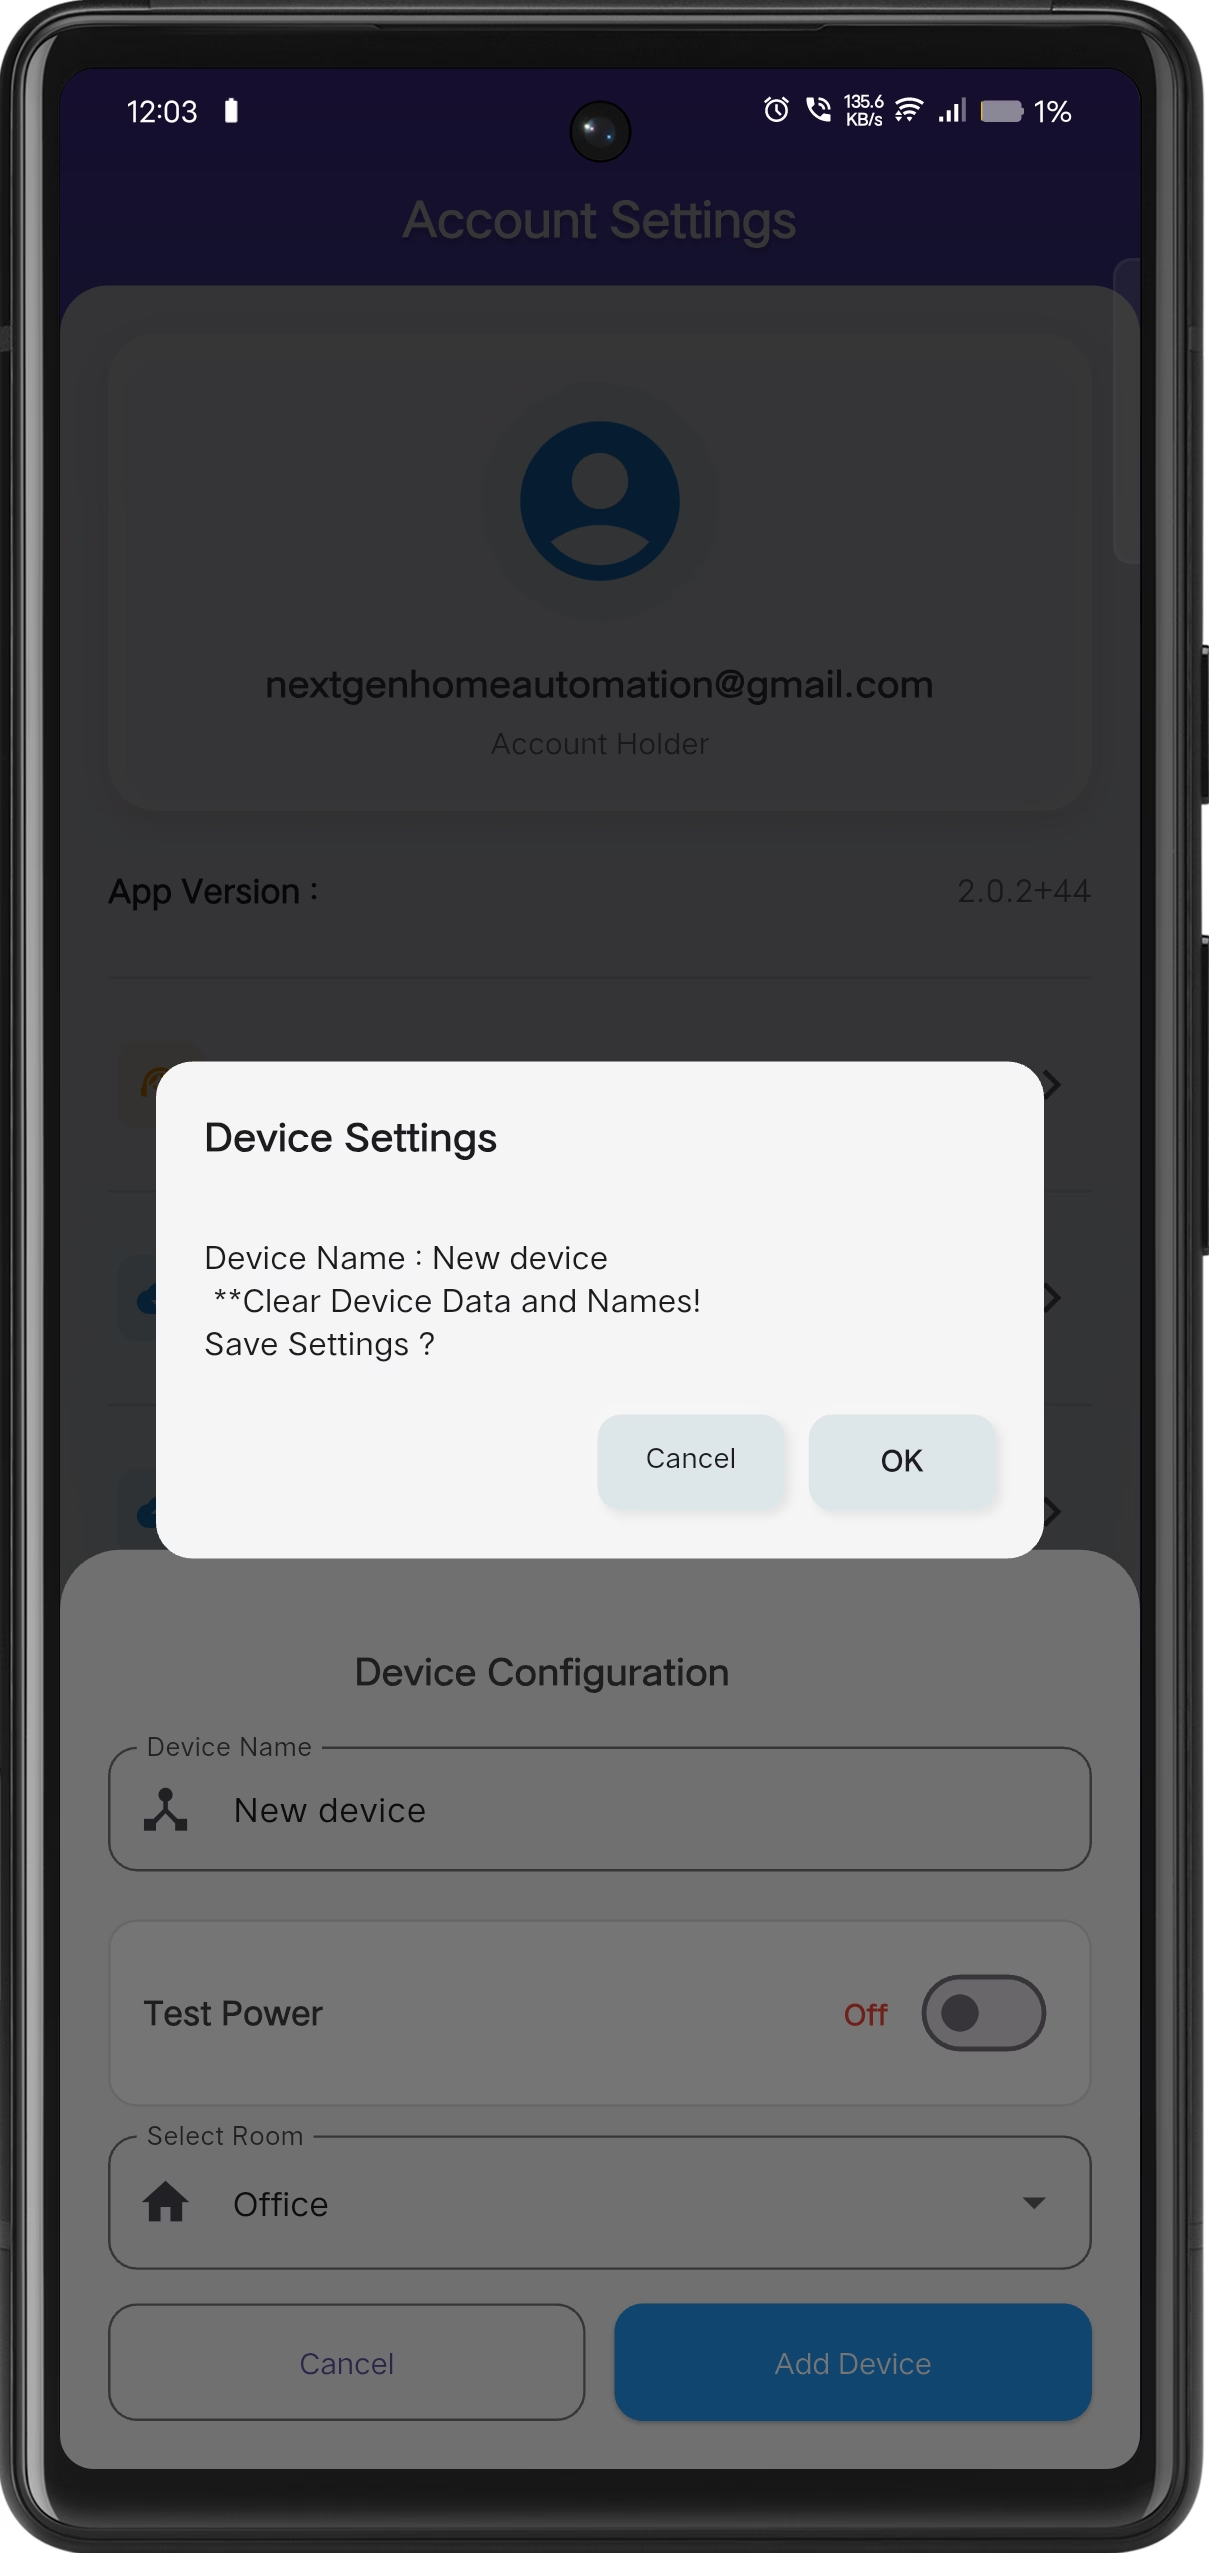
Confirm Settings
Confirm the configuration details and complete the setup process.
Device Settings & Advanced Configuration
+The Smart Touch Panel supports advanced configuration options via the EOT HOME mobile application. Users can modify device settings.
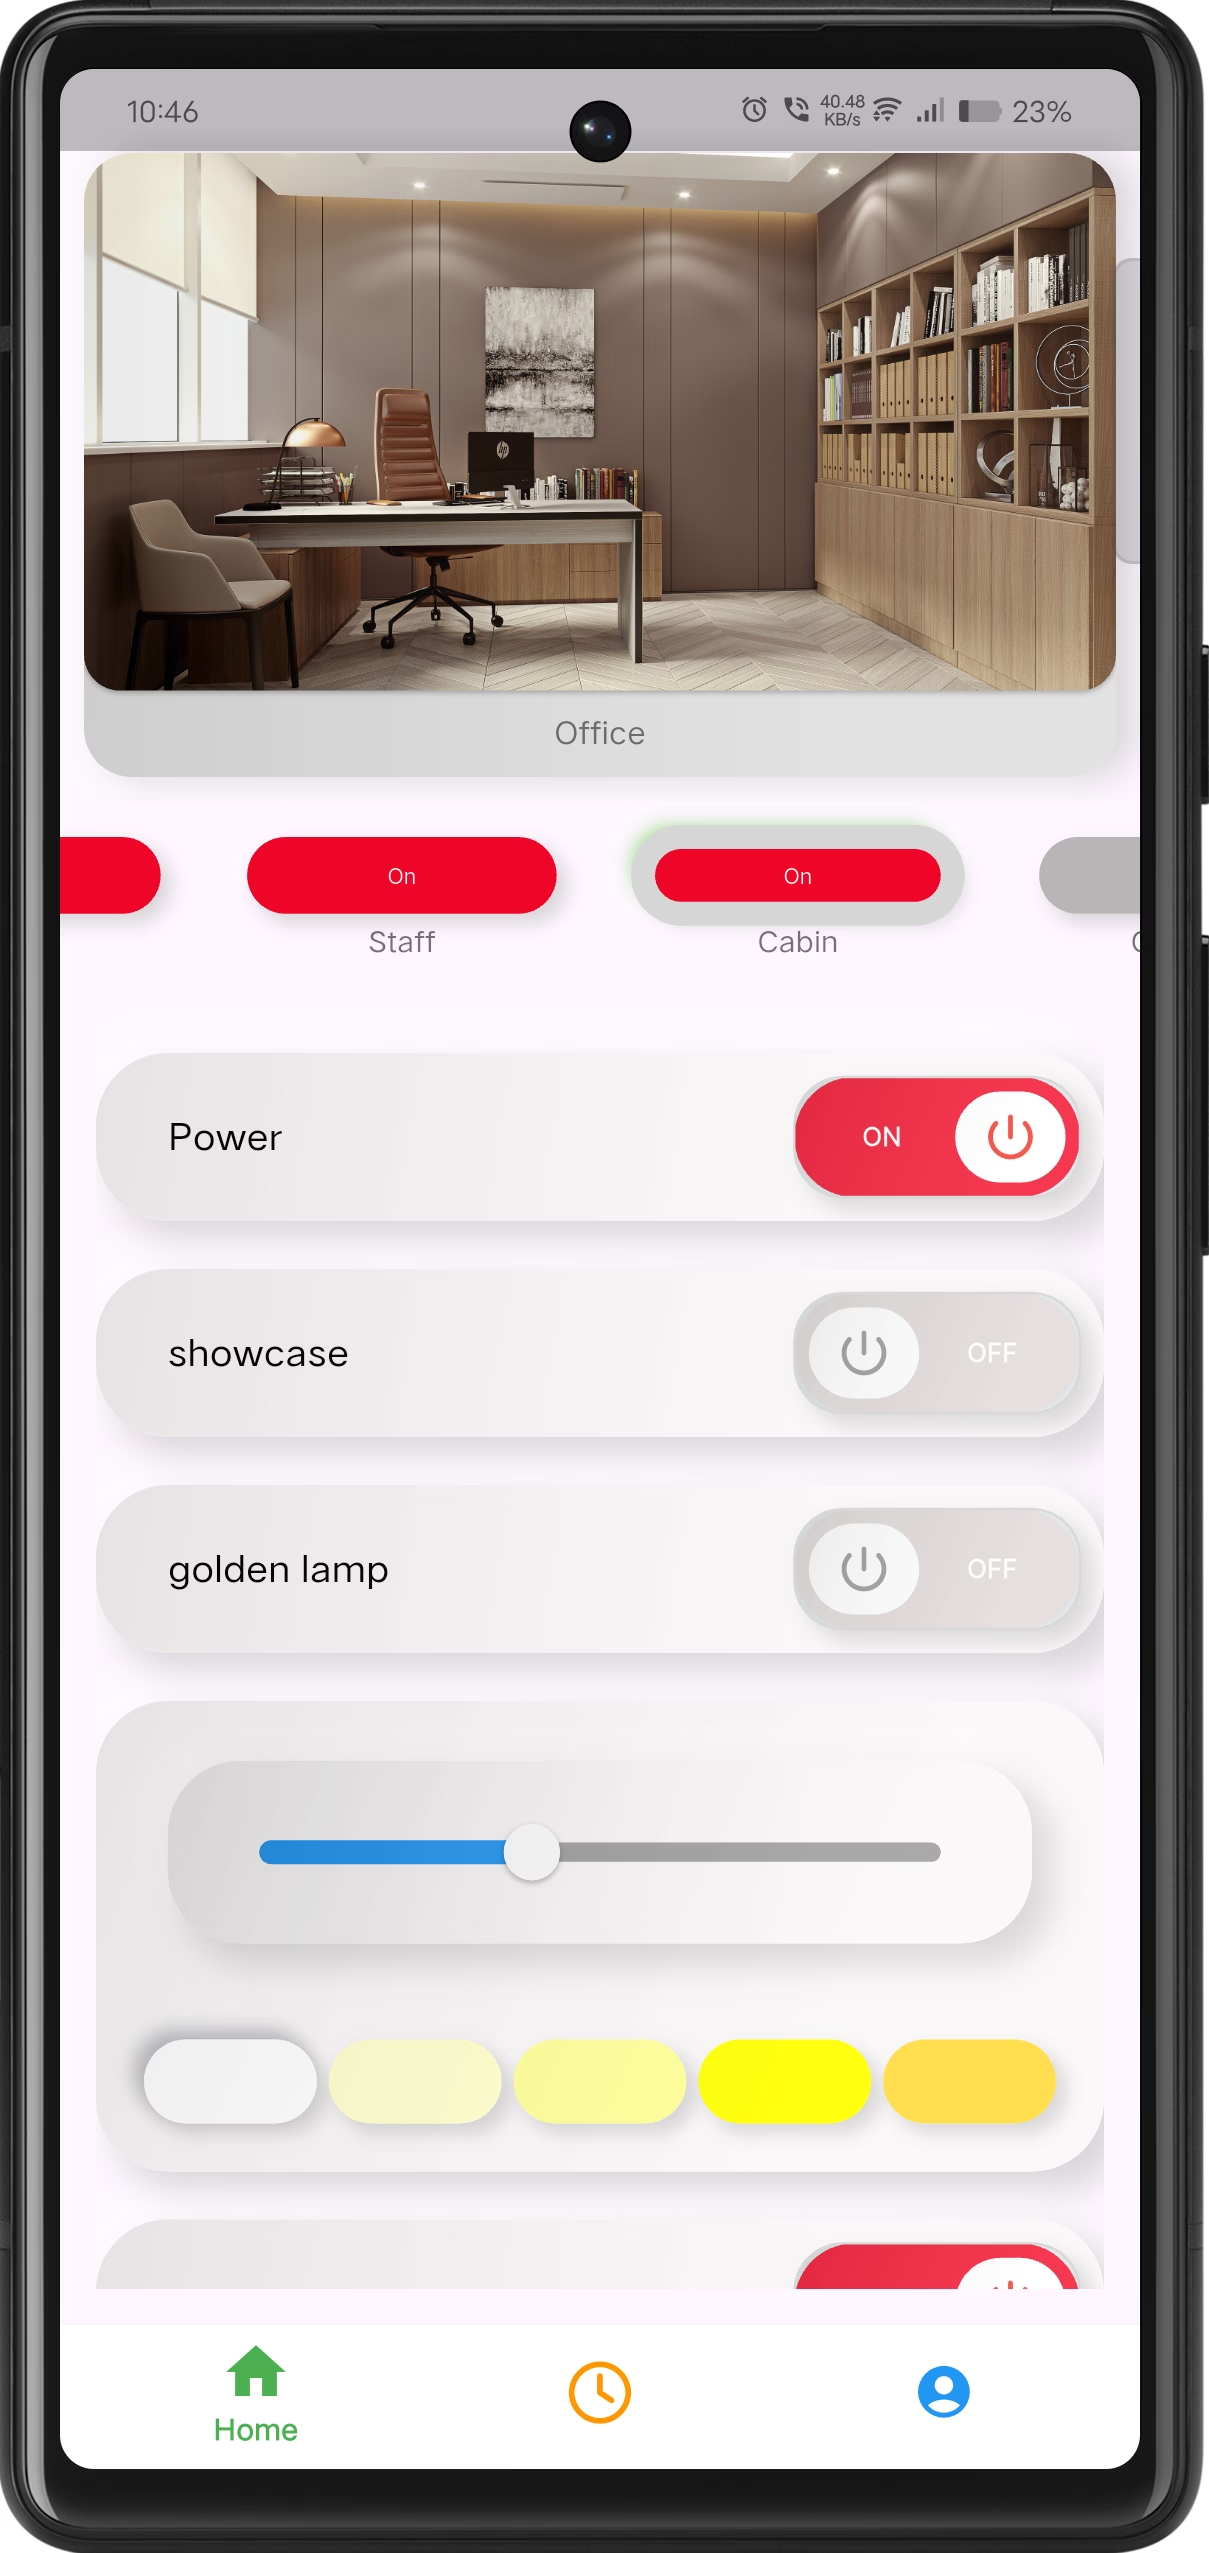
Open Device Settings
Long press on the device card to open the device options menu.
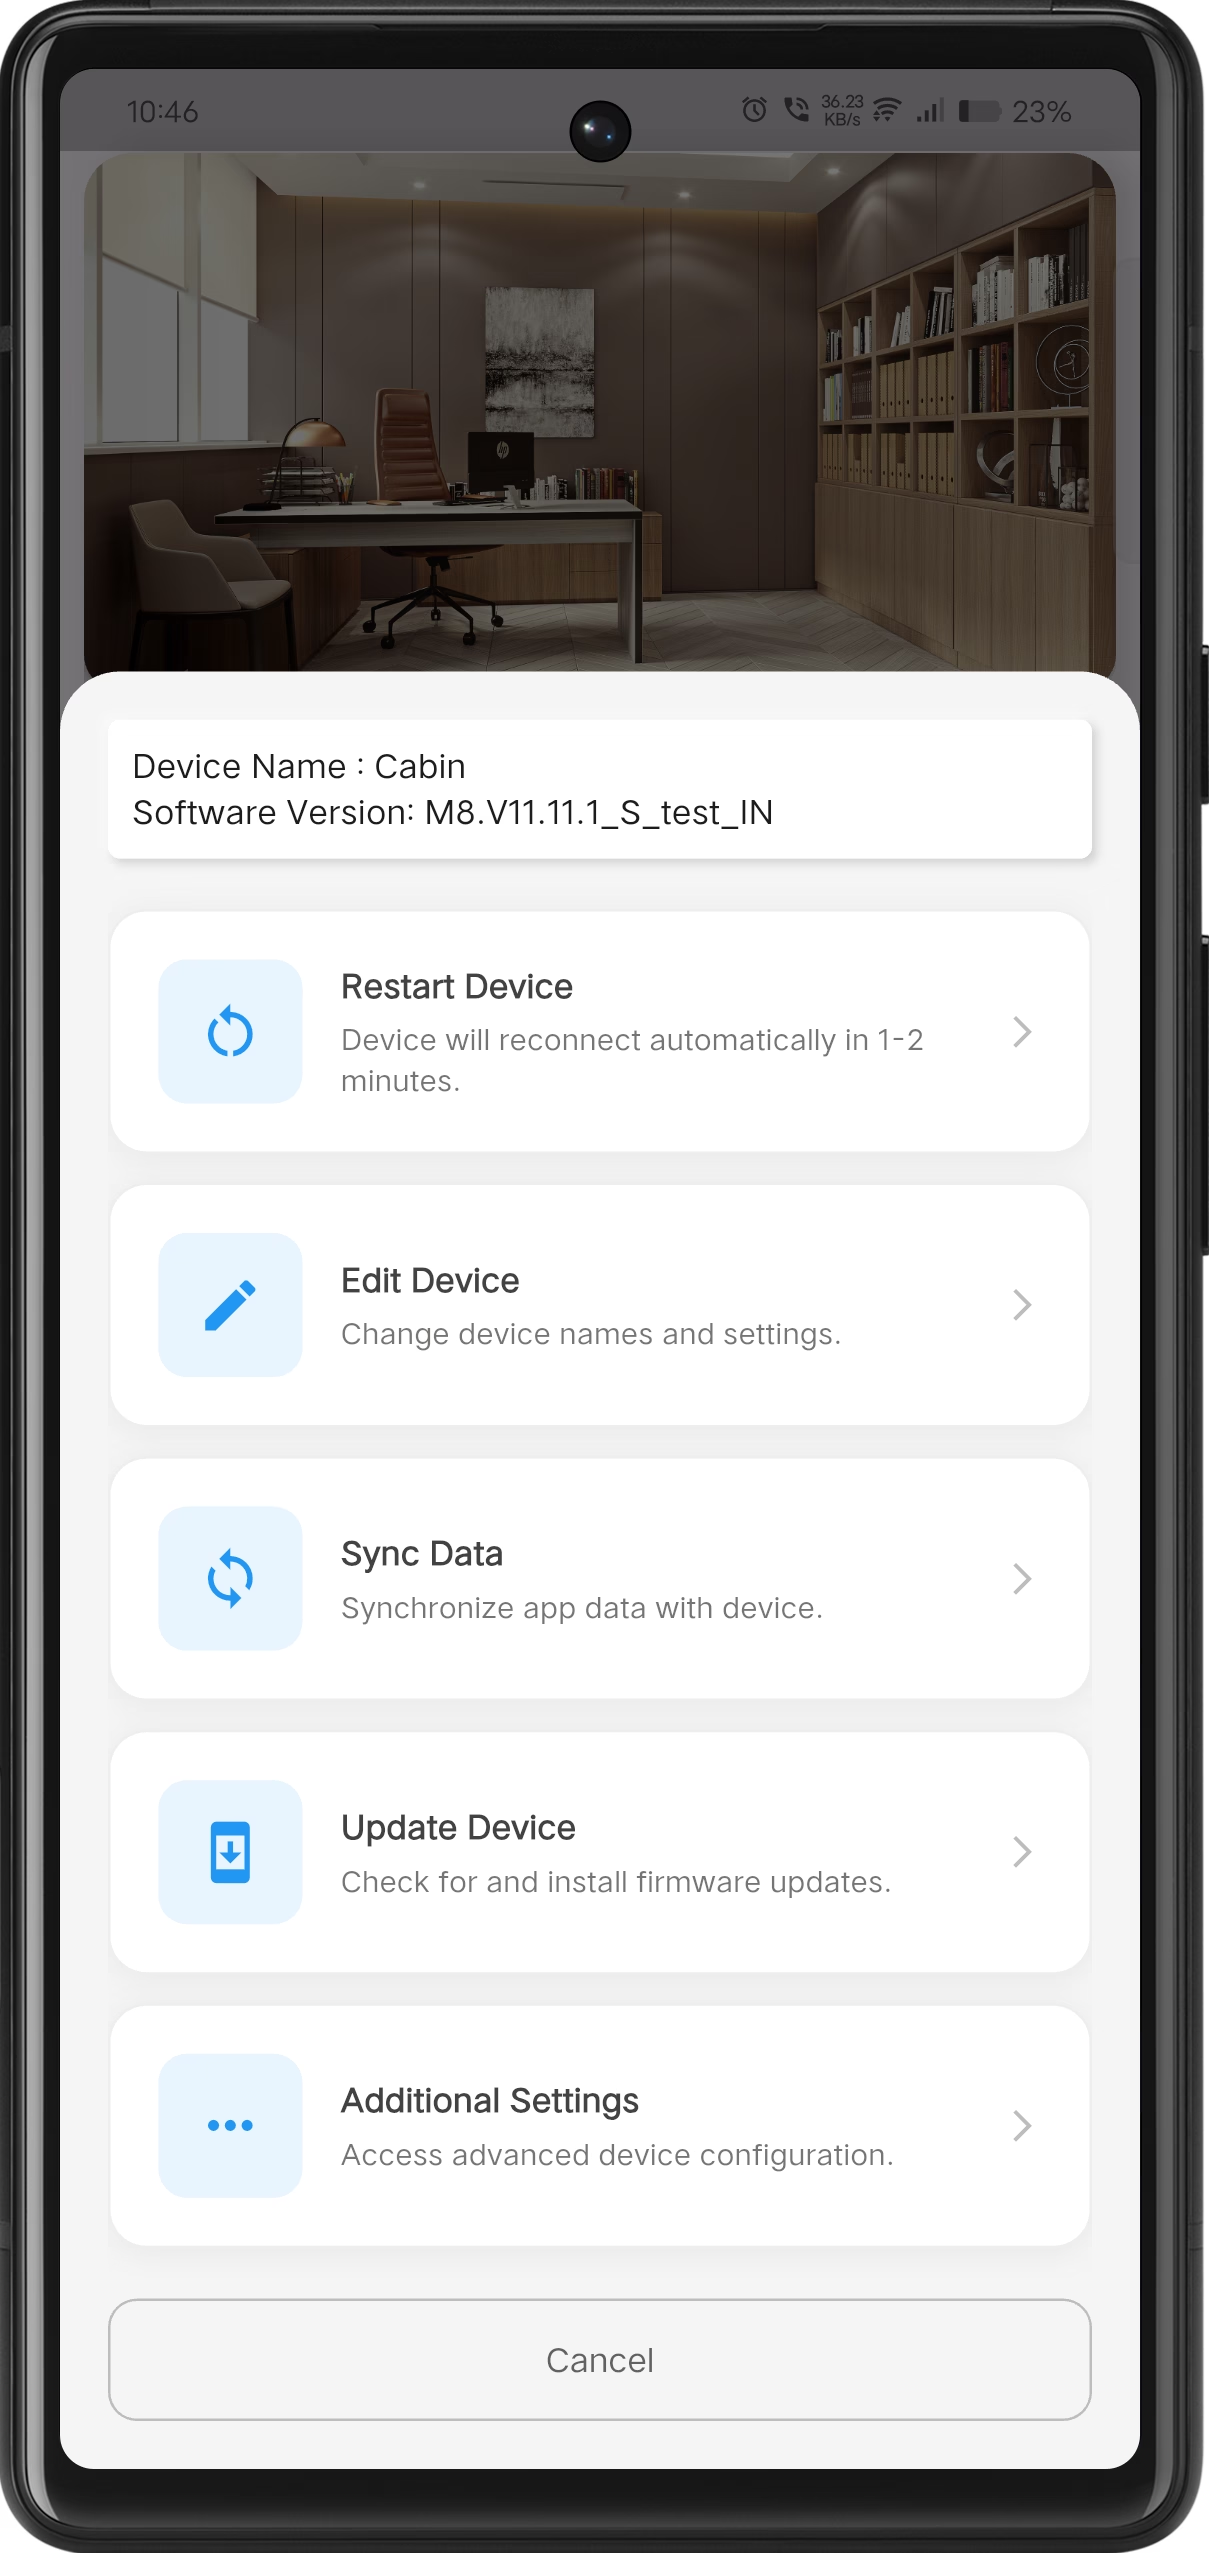
Additional Settings
Tap on Additional Settings to manage device configuration and system options.
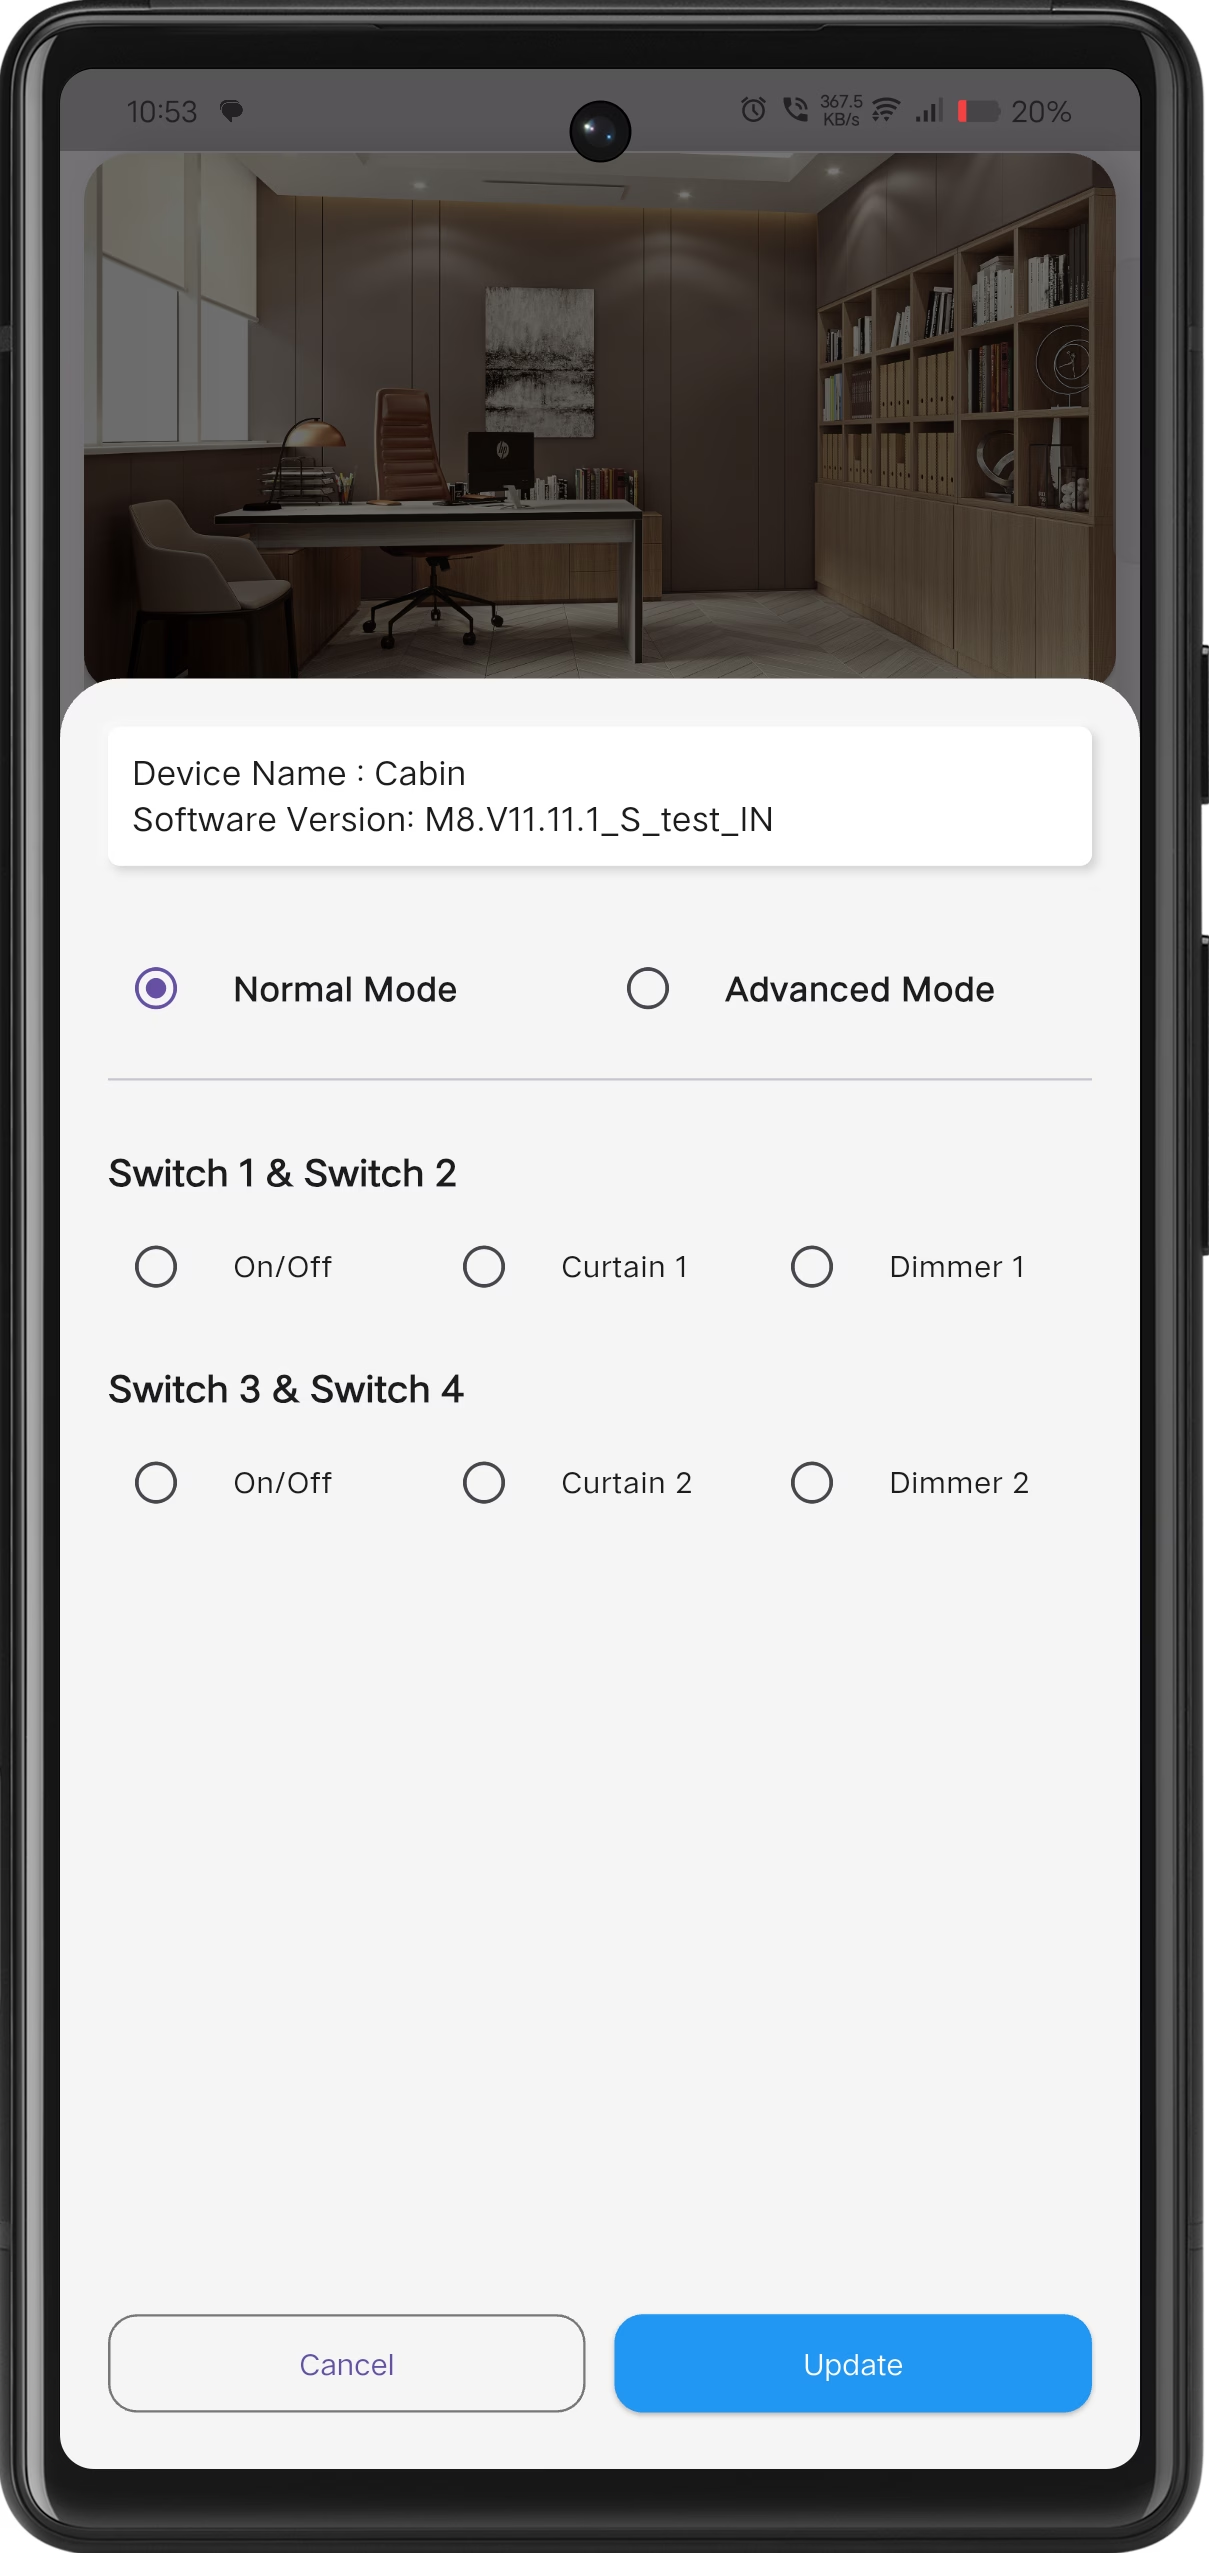
Configure Device
Select Normal or Advanced mode and configure switch mappings such as On/Off, Curtain, or Dimmer.
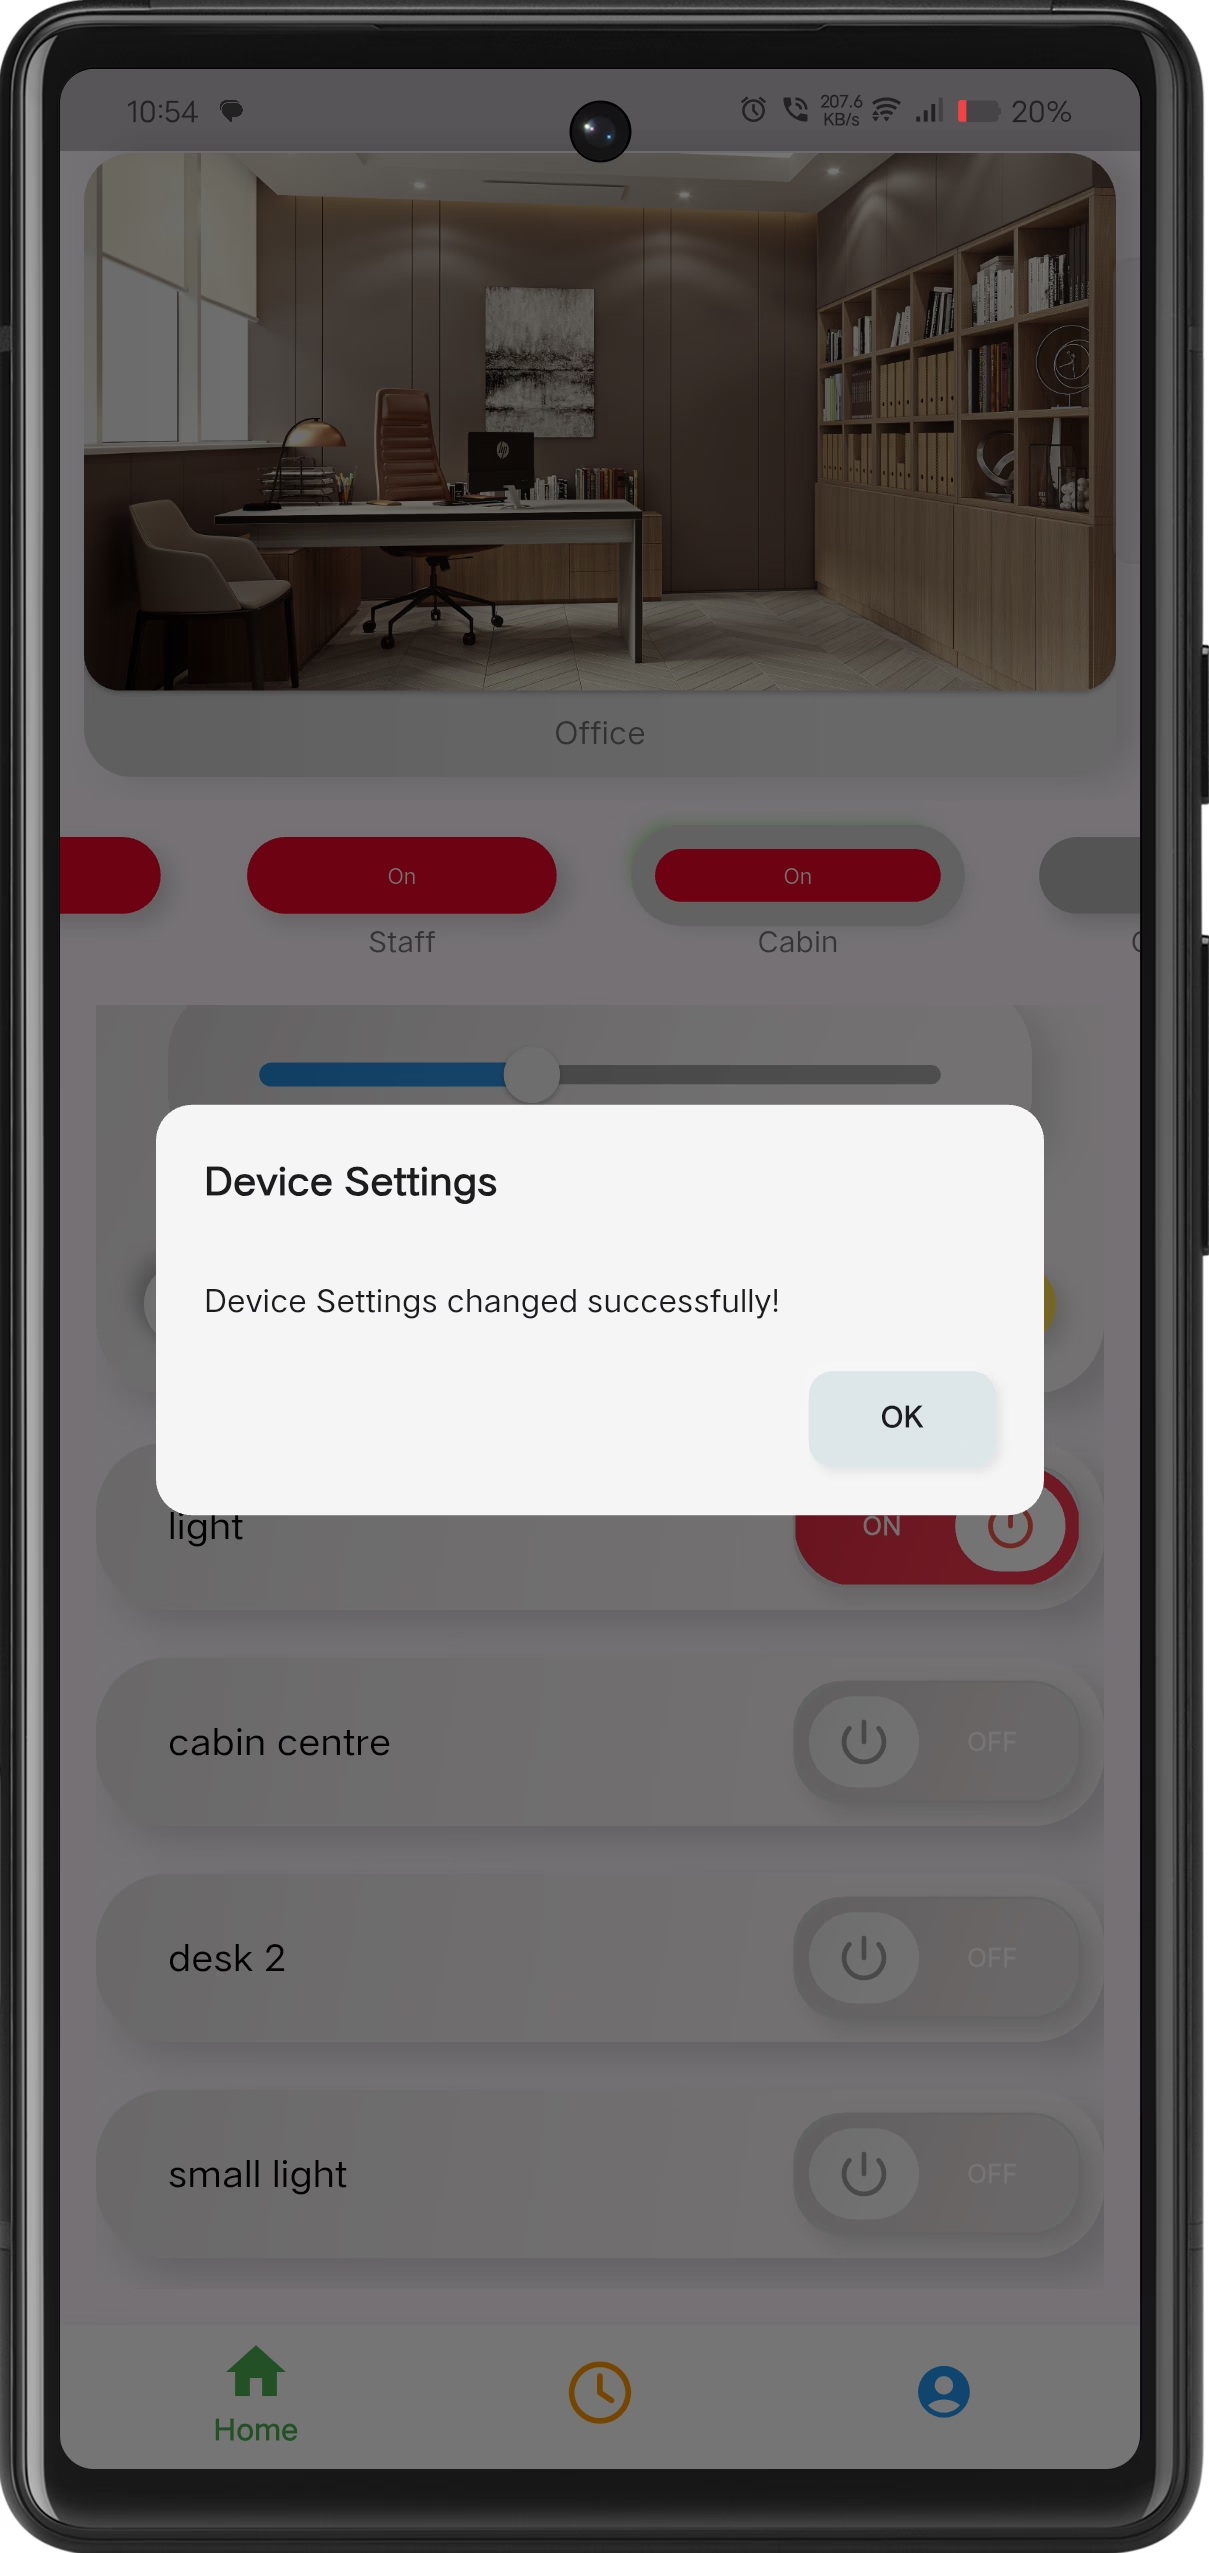
Configuration Complete
Device settings are applied successfully and confirmed via an on-screen notification.
Edit Device Names & Save Configuration
+Users can rename individual switches connected to the Smart Touch Panel and save the updated configuration directly from the mobile application.
Open Device Settings
Long press on the device card to open the device options menu.
Edit Device Names
Tap on the option Edit device to modify names for each connected switch.
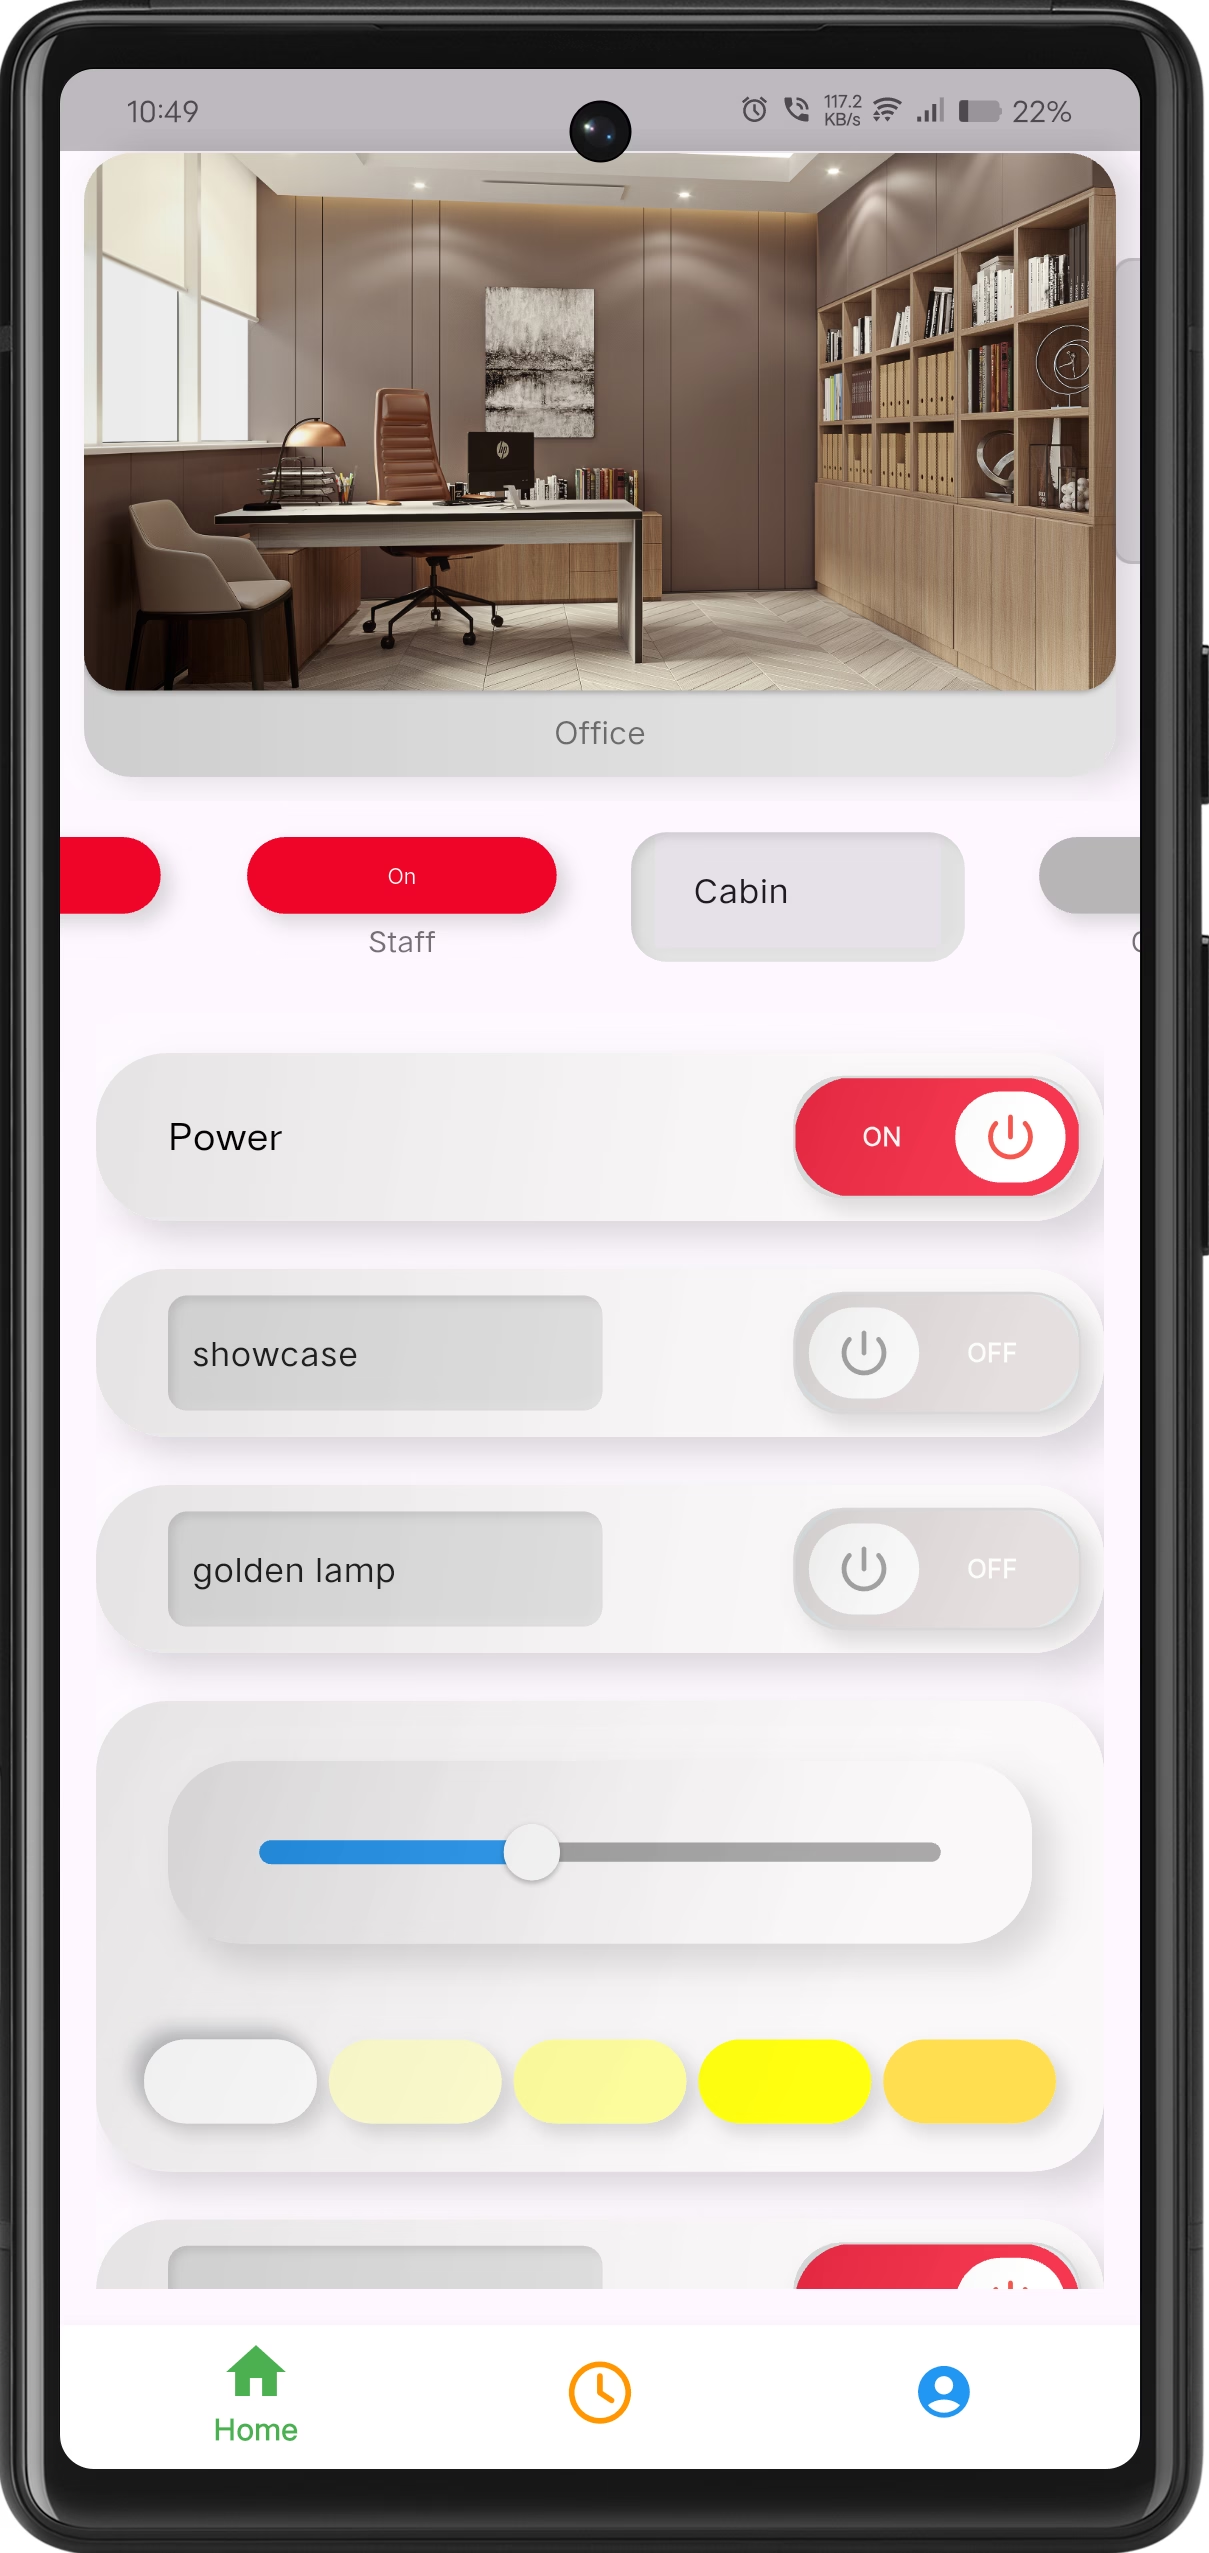
Update & Save
Modify the switch names as required and click Save to apply changes.
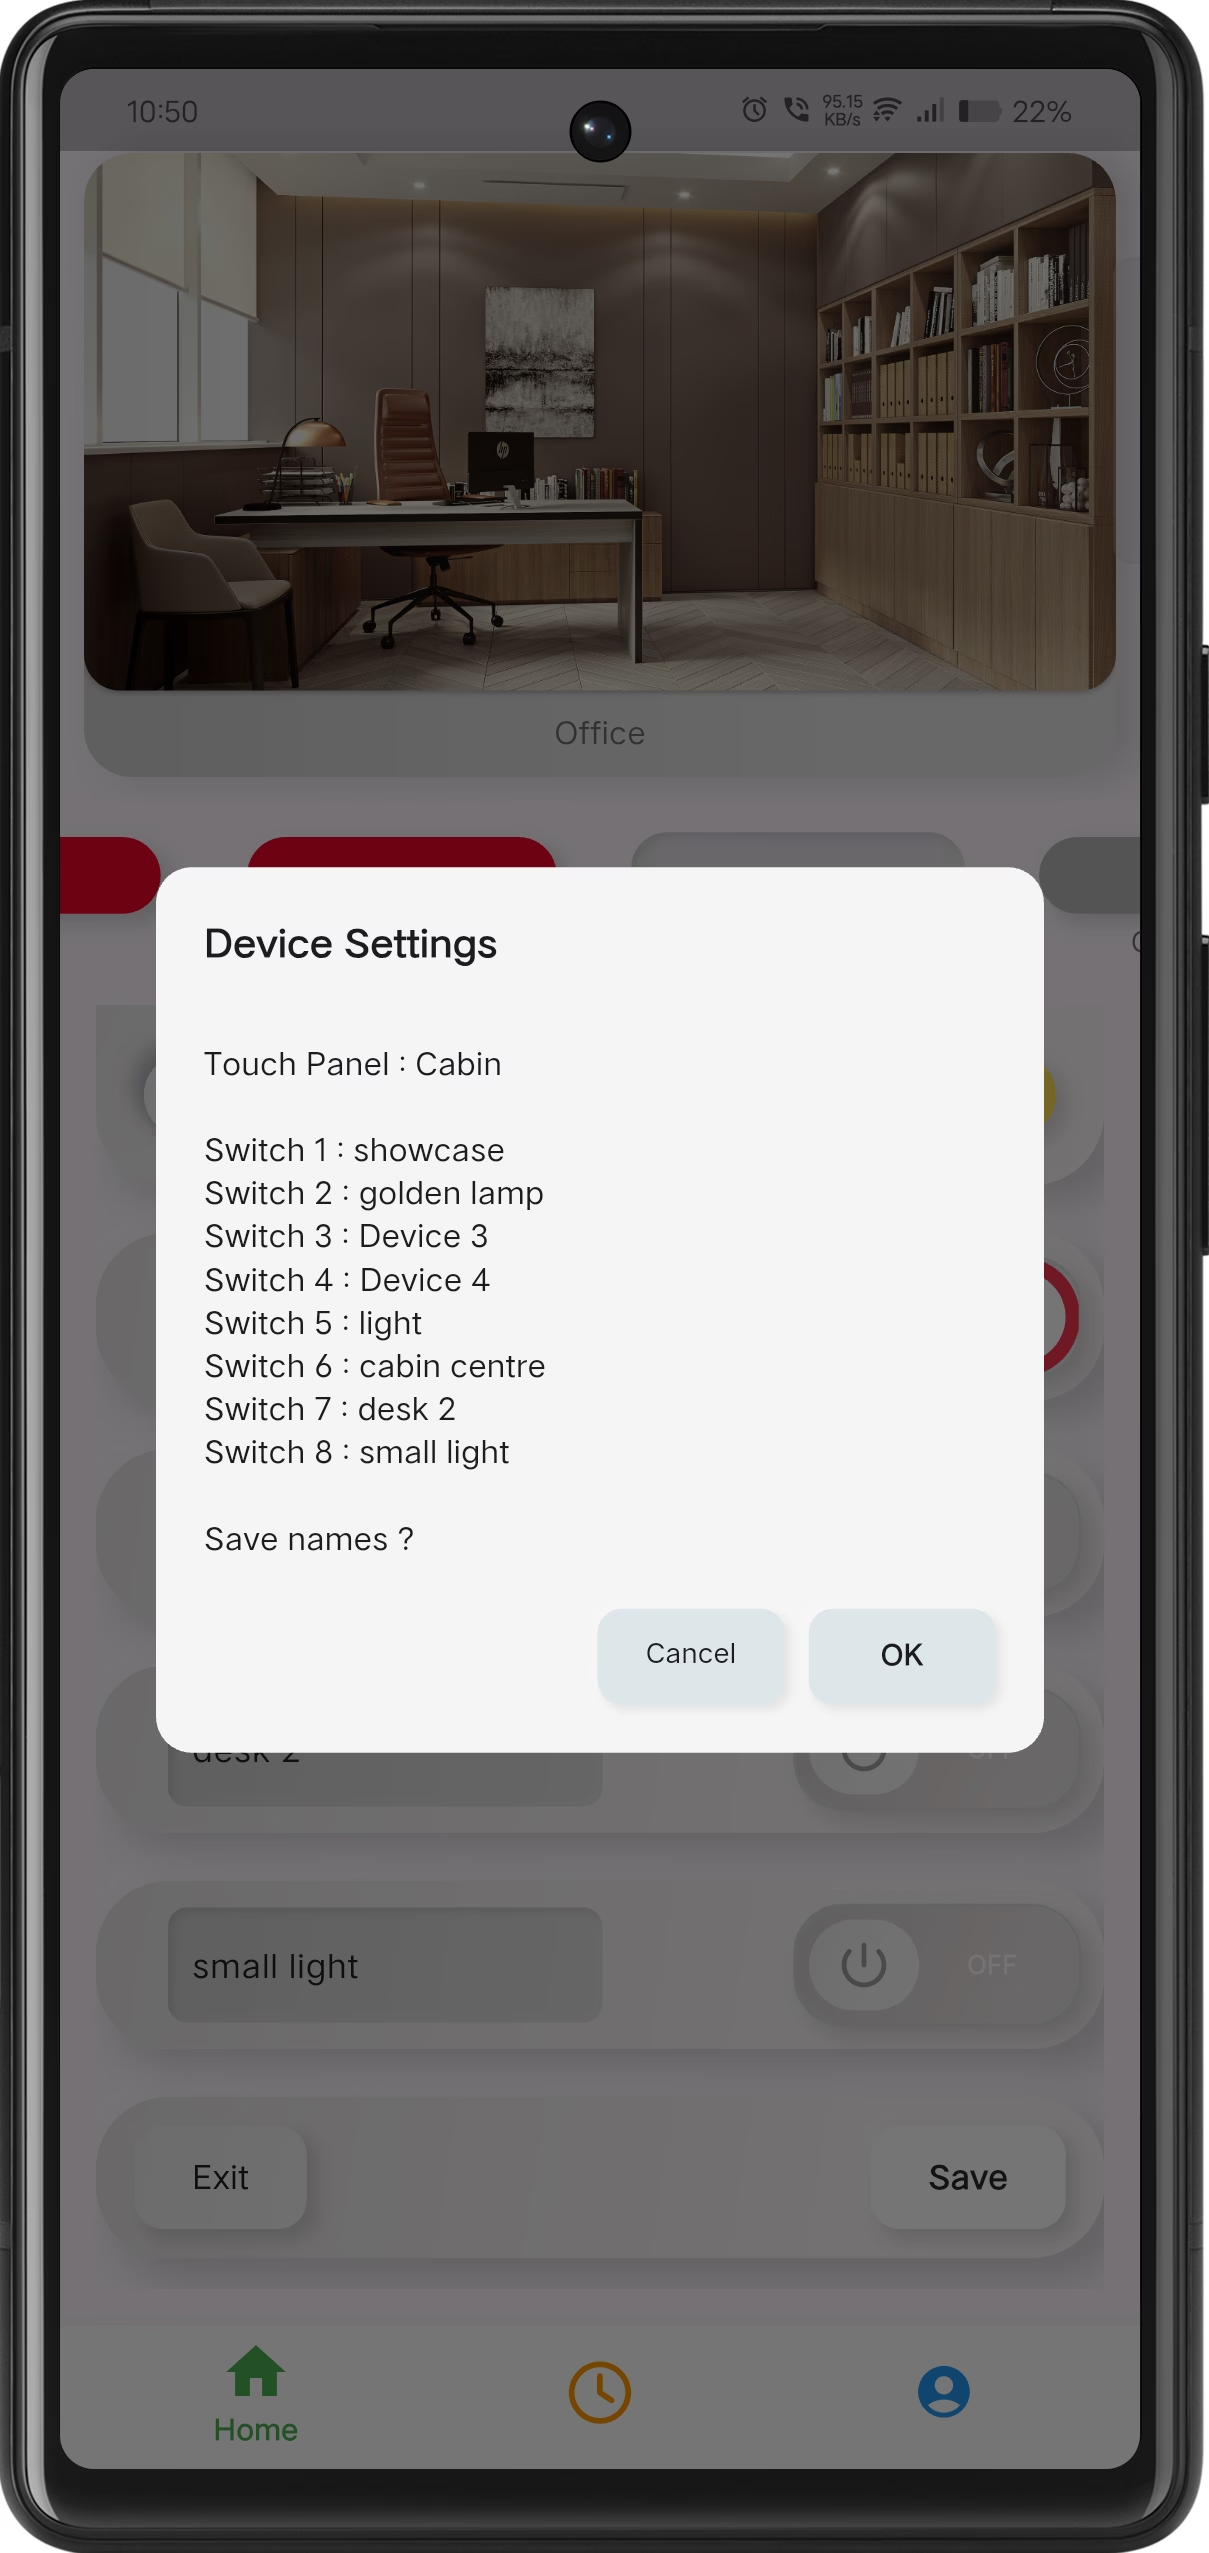
Confirm Changes
Review the updated switch names and confirm to finalize configuration.
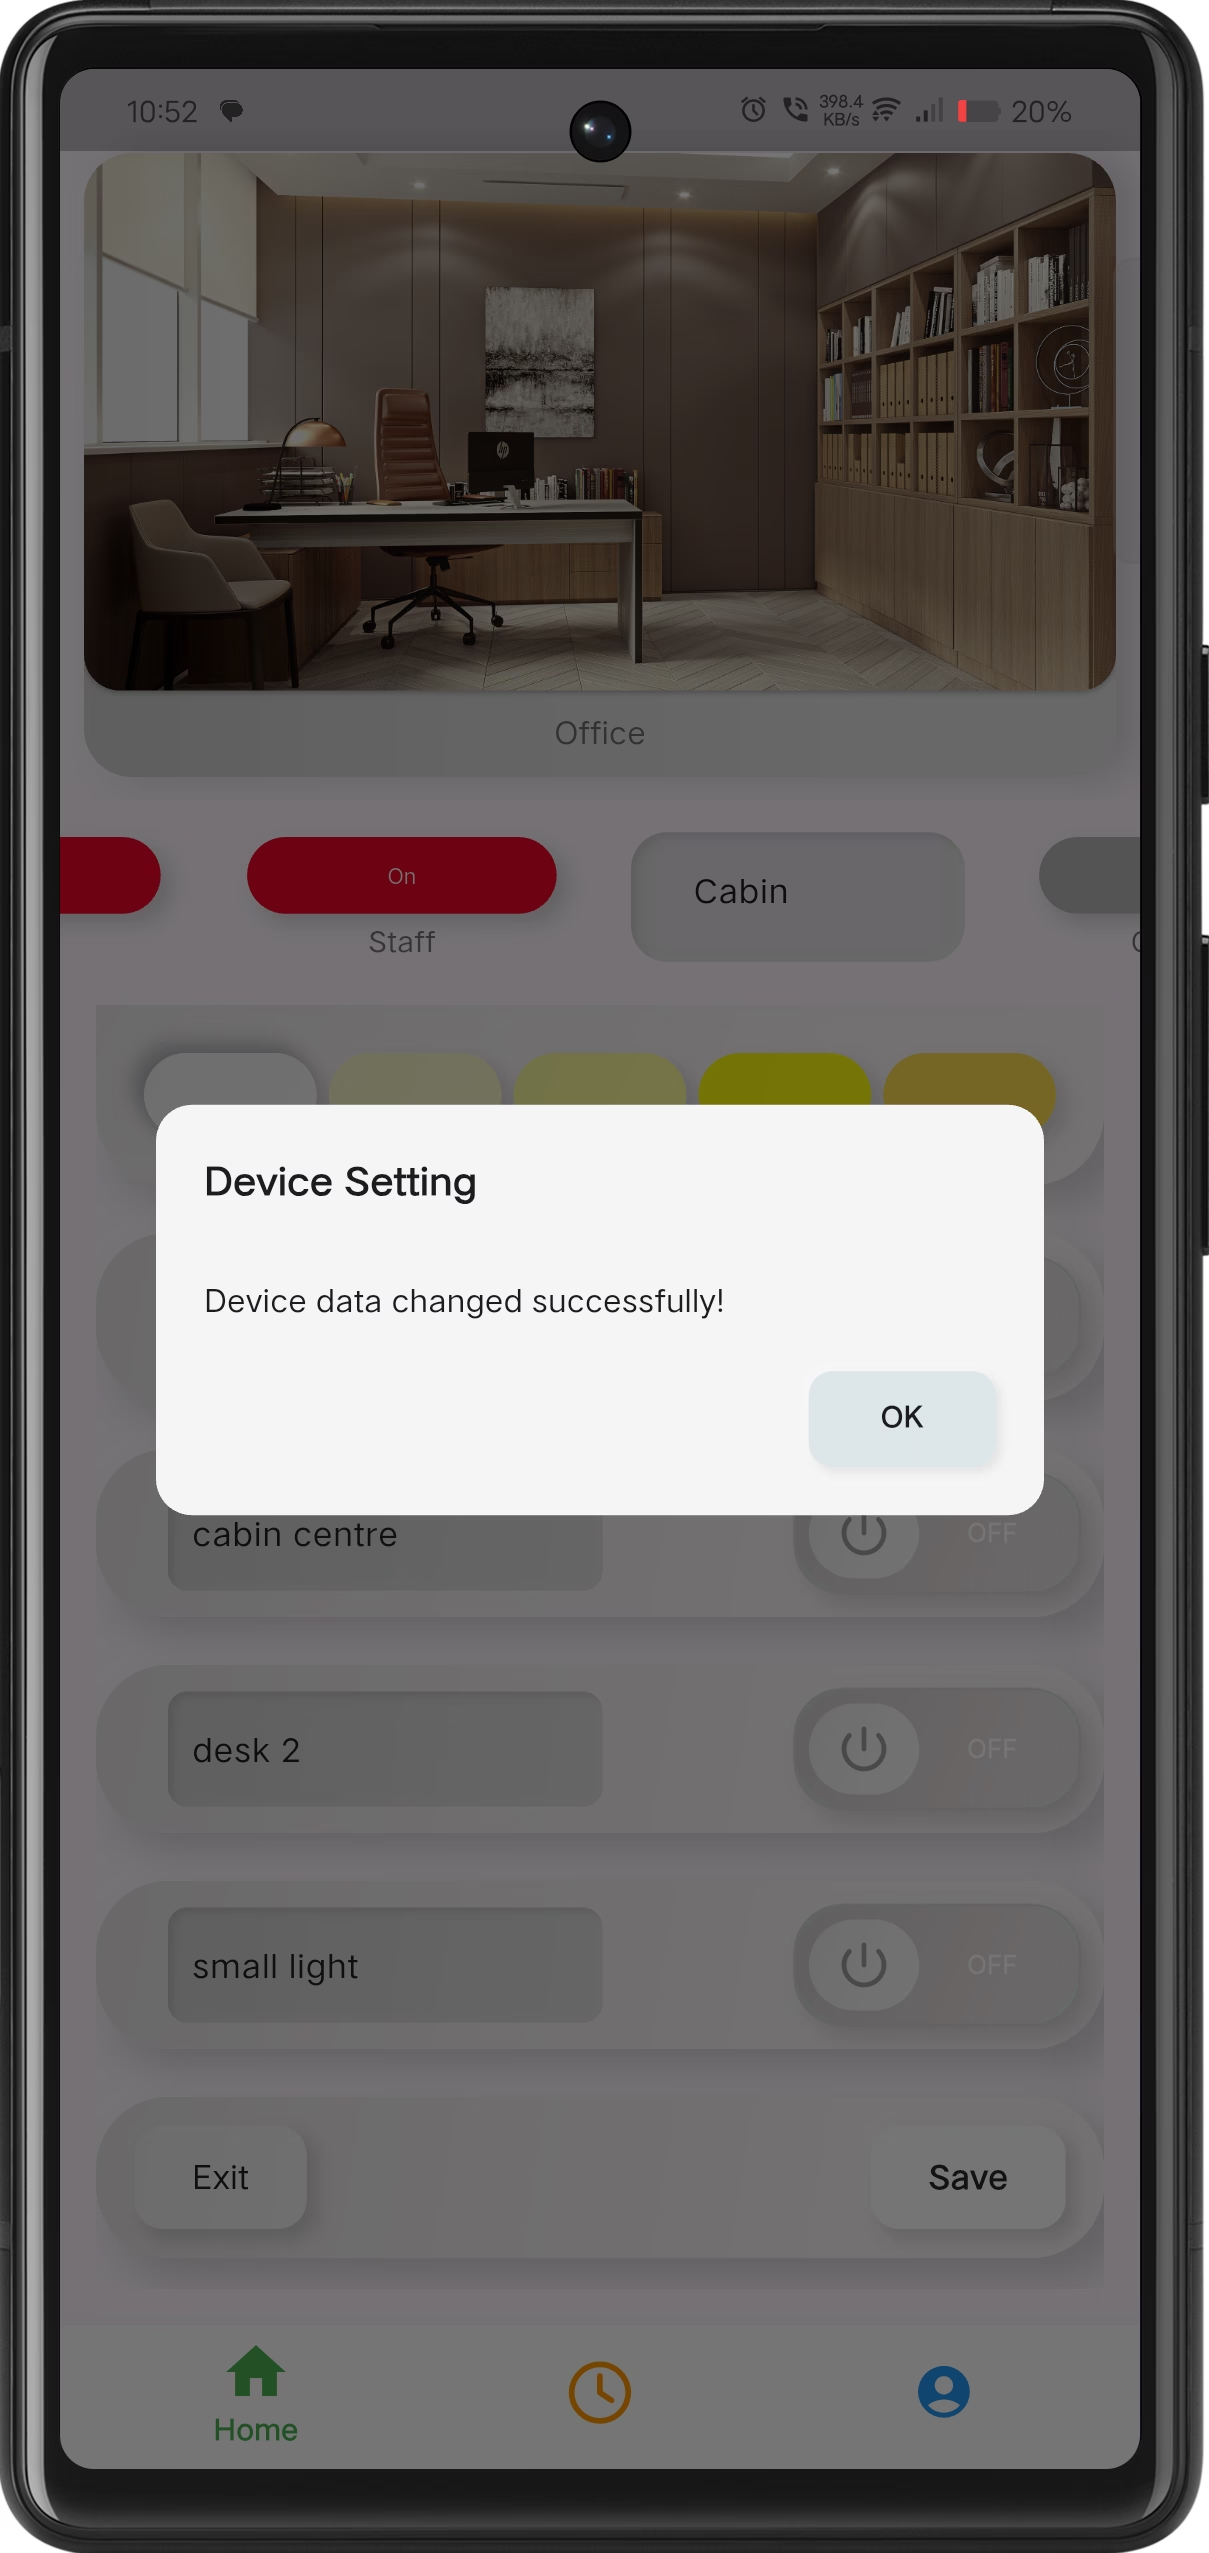
Names Saved Successfully
The application confirms that device names have been saved successfully.
Firmware Update
+Update the Smart Touch Panel firmware securely from the mobile app. This ensures improved stability, performance, and new features.
Open Device Settings
Long press on the device card to open the device options menu.
Select Update Device
Tap on Update Device from the settings menu.
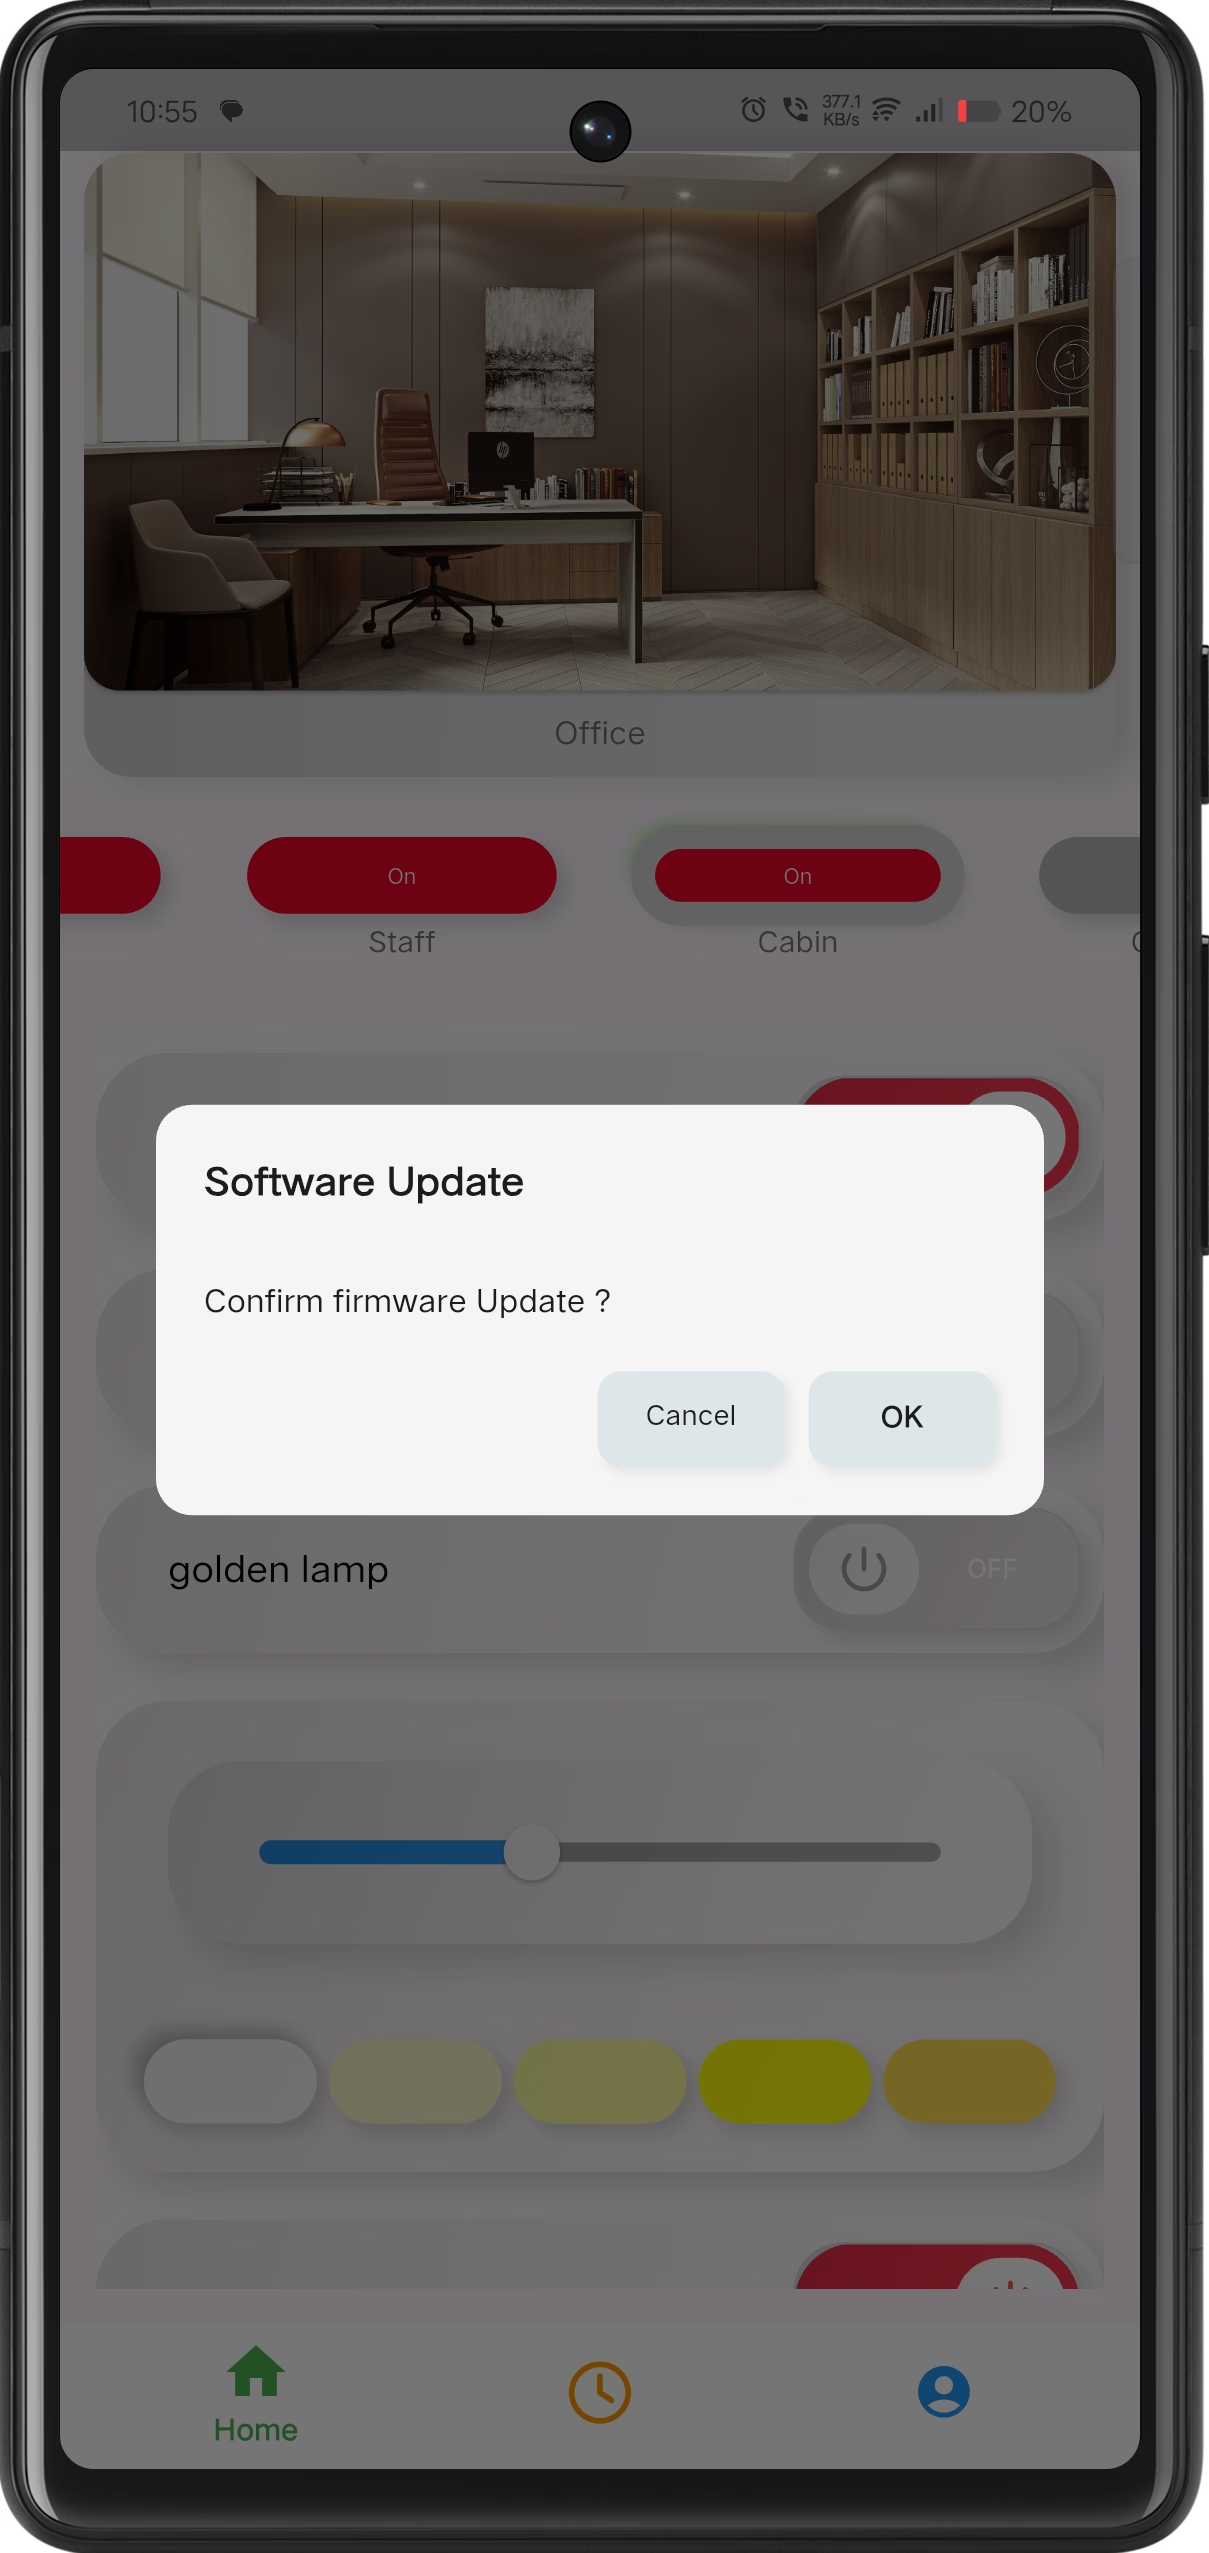
Confirm Update
Confirm the firmware update operation.
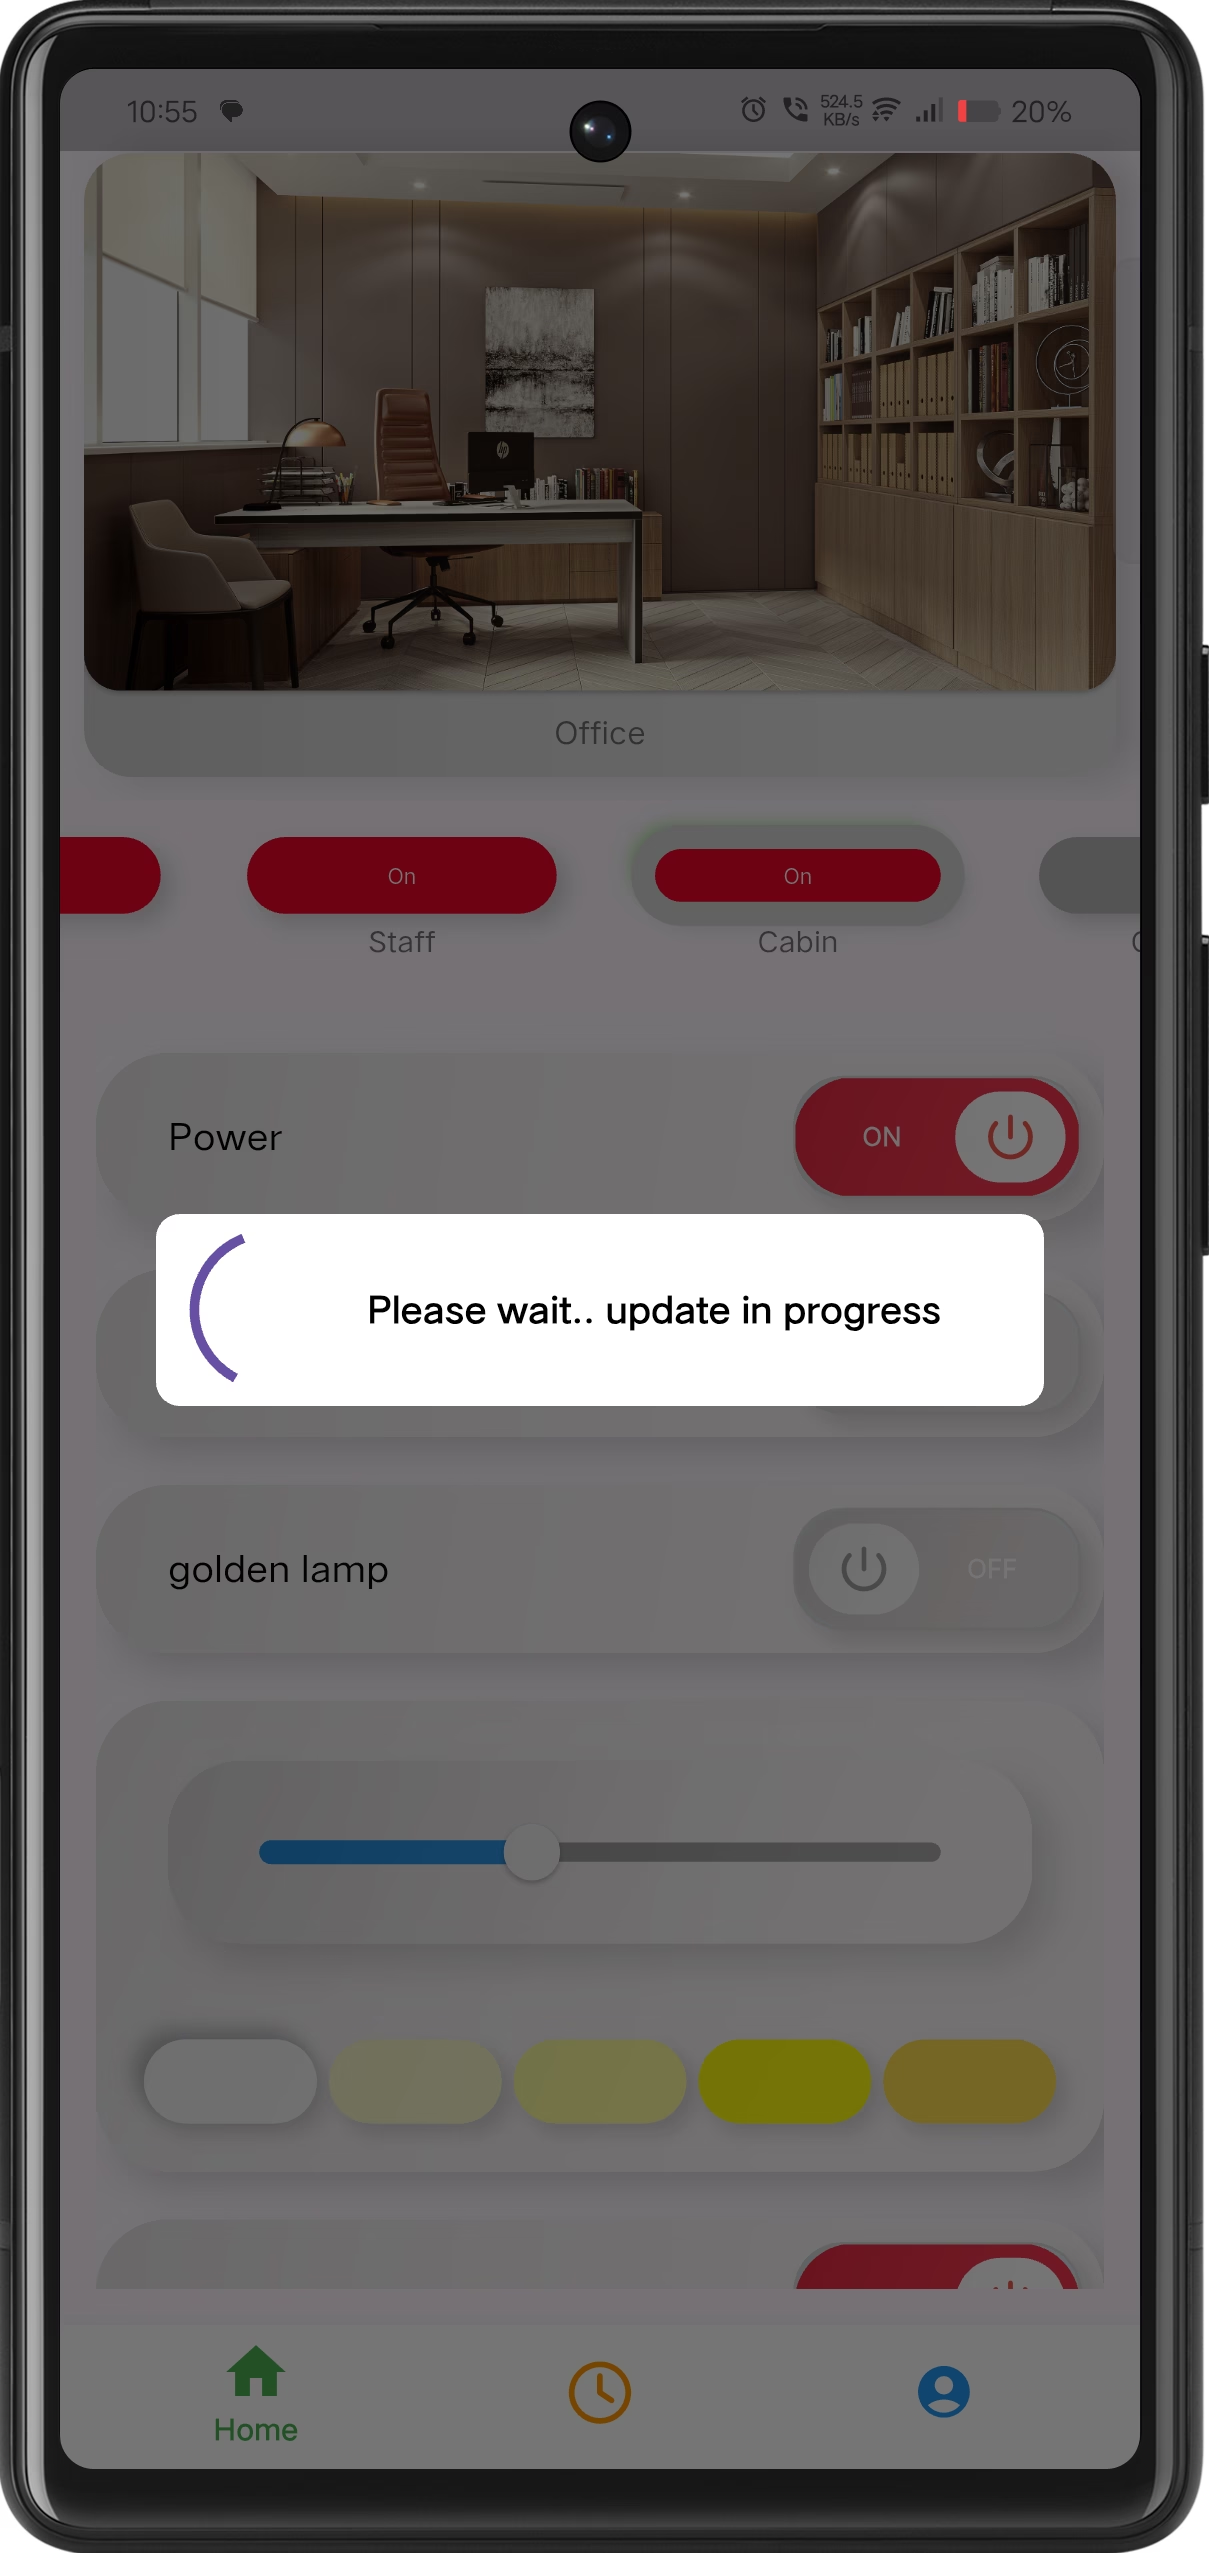
Update in Progress
Please wait while the firmware update is applied.
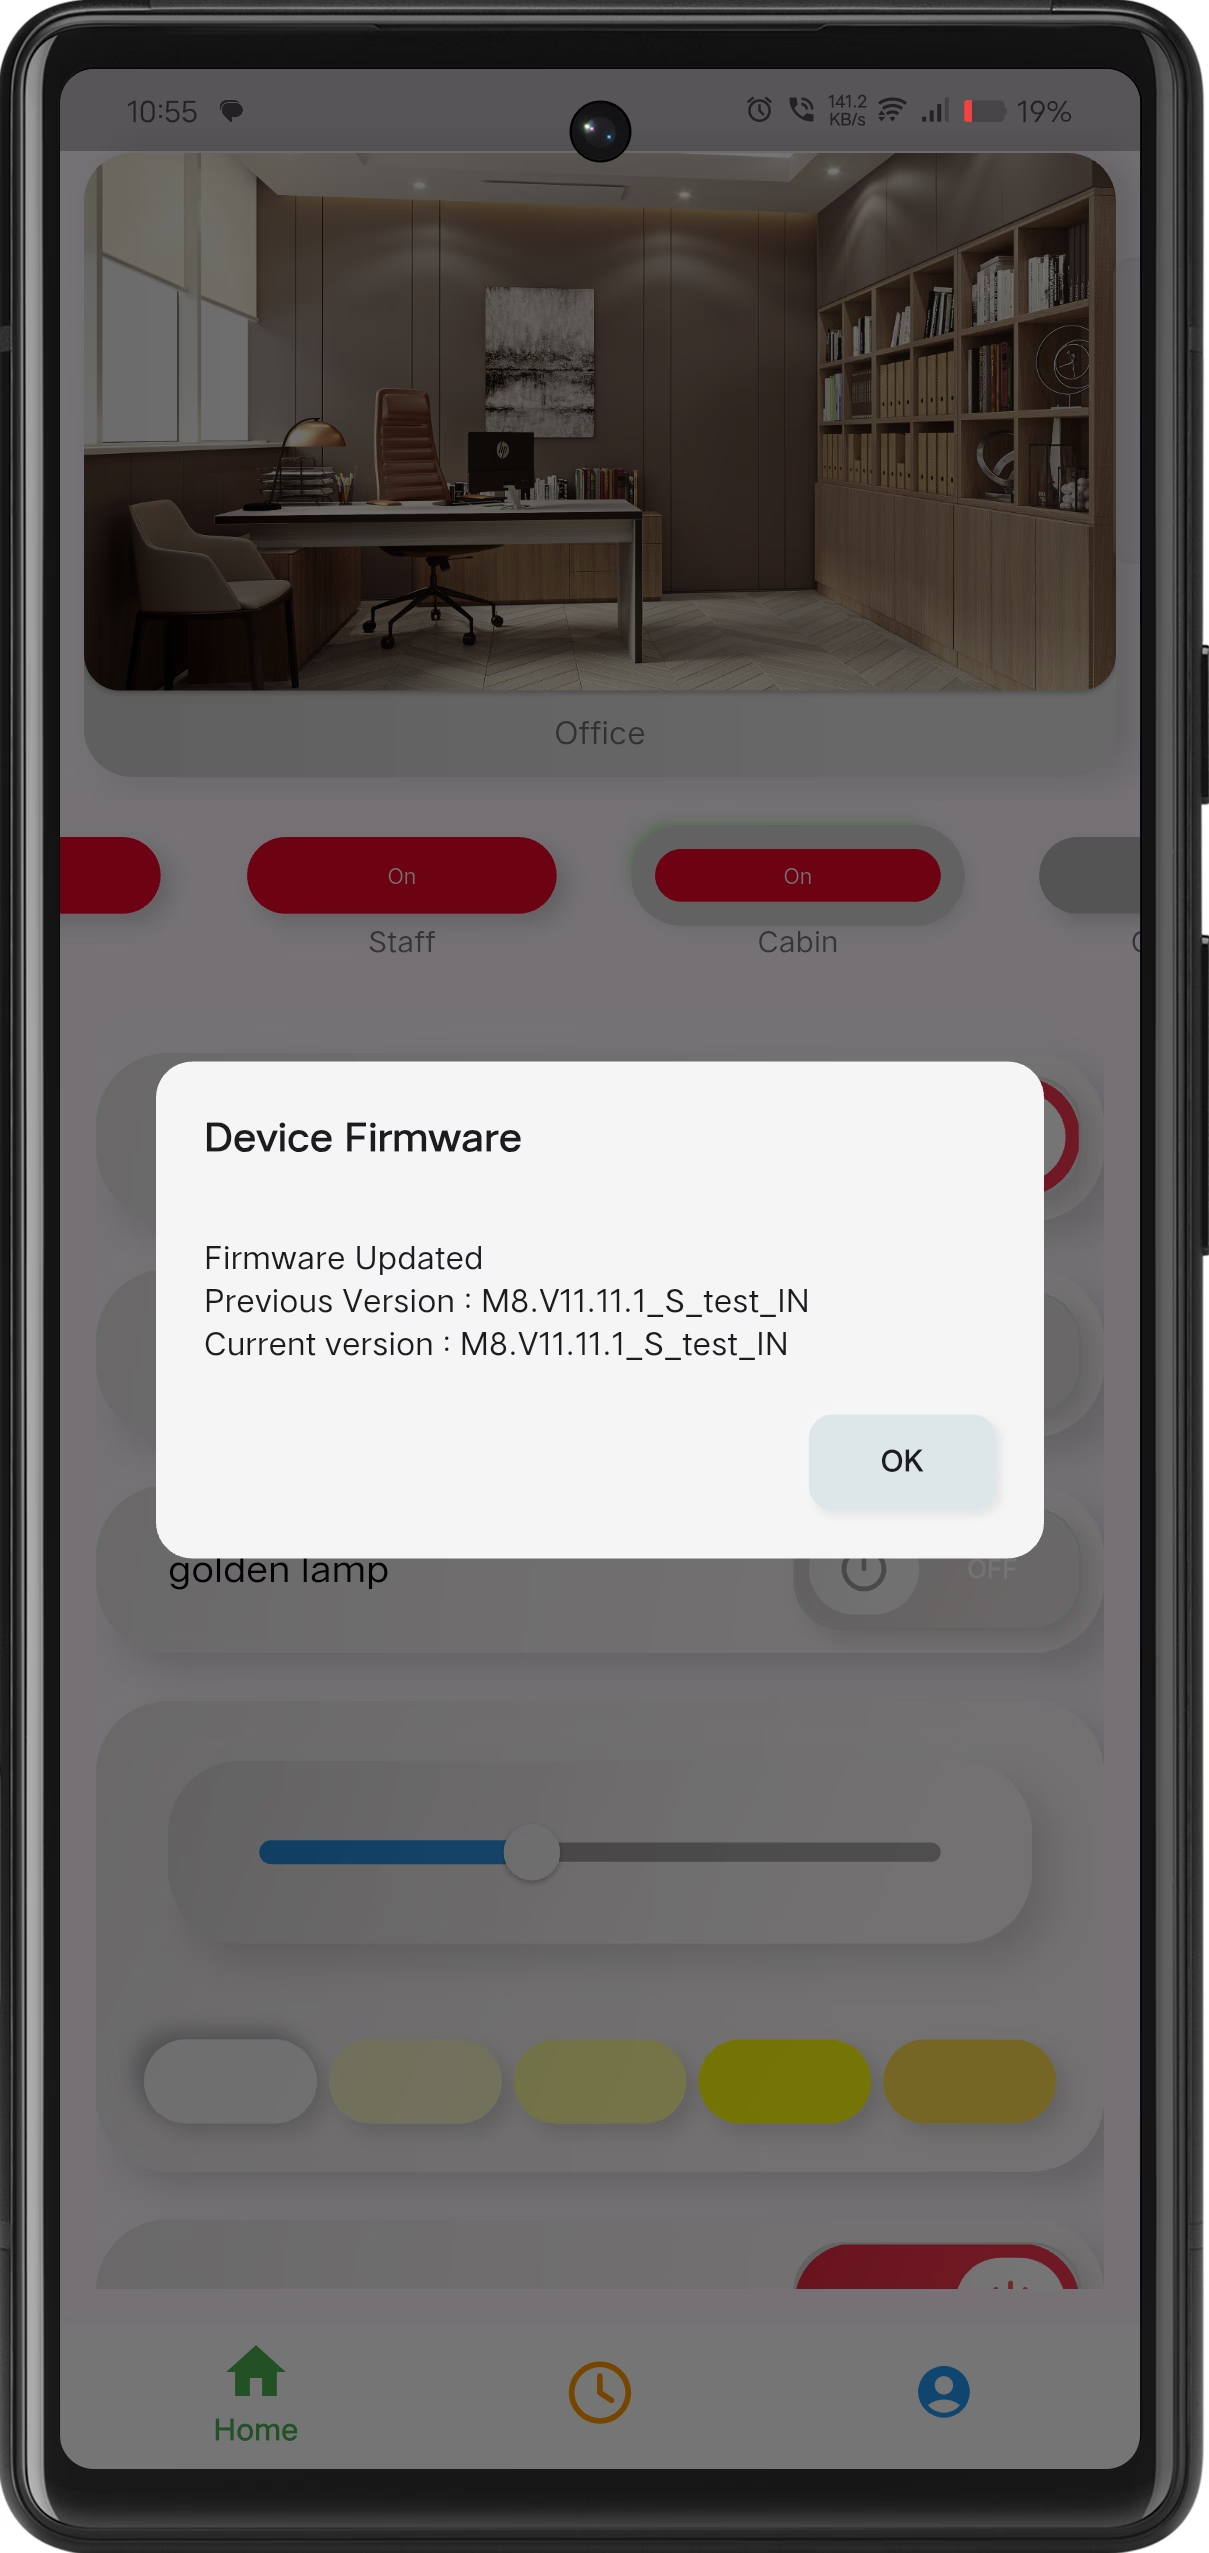
Update Completed
Firmware updated successfully with latest version.
Restart Device
+Restarting the device helps recover connectivity and refresh internal services. The device reconnects automatically within 1–2 minutes.
Open Device Settings
Long press on the device card to open the device options menu.
Select Restart Device
Tap on Restart Device.
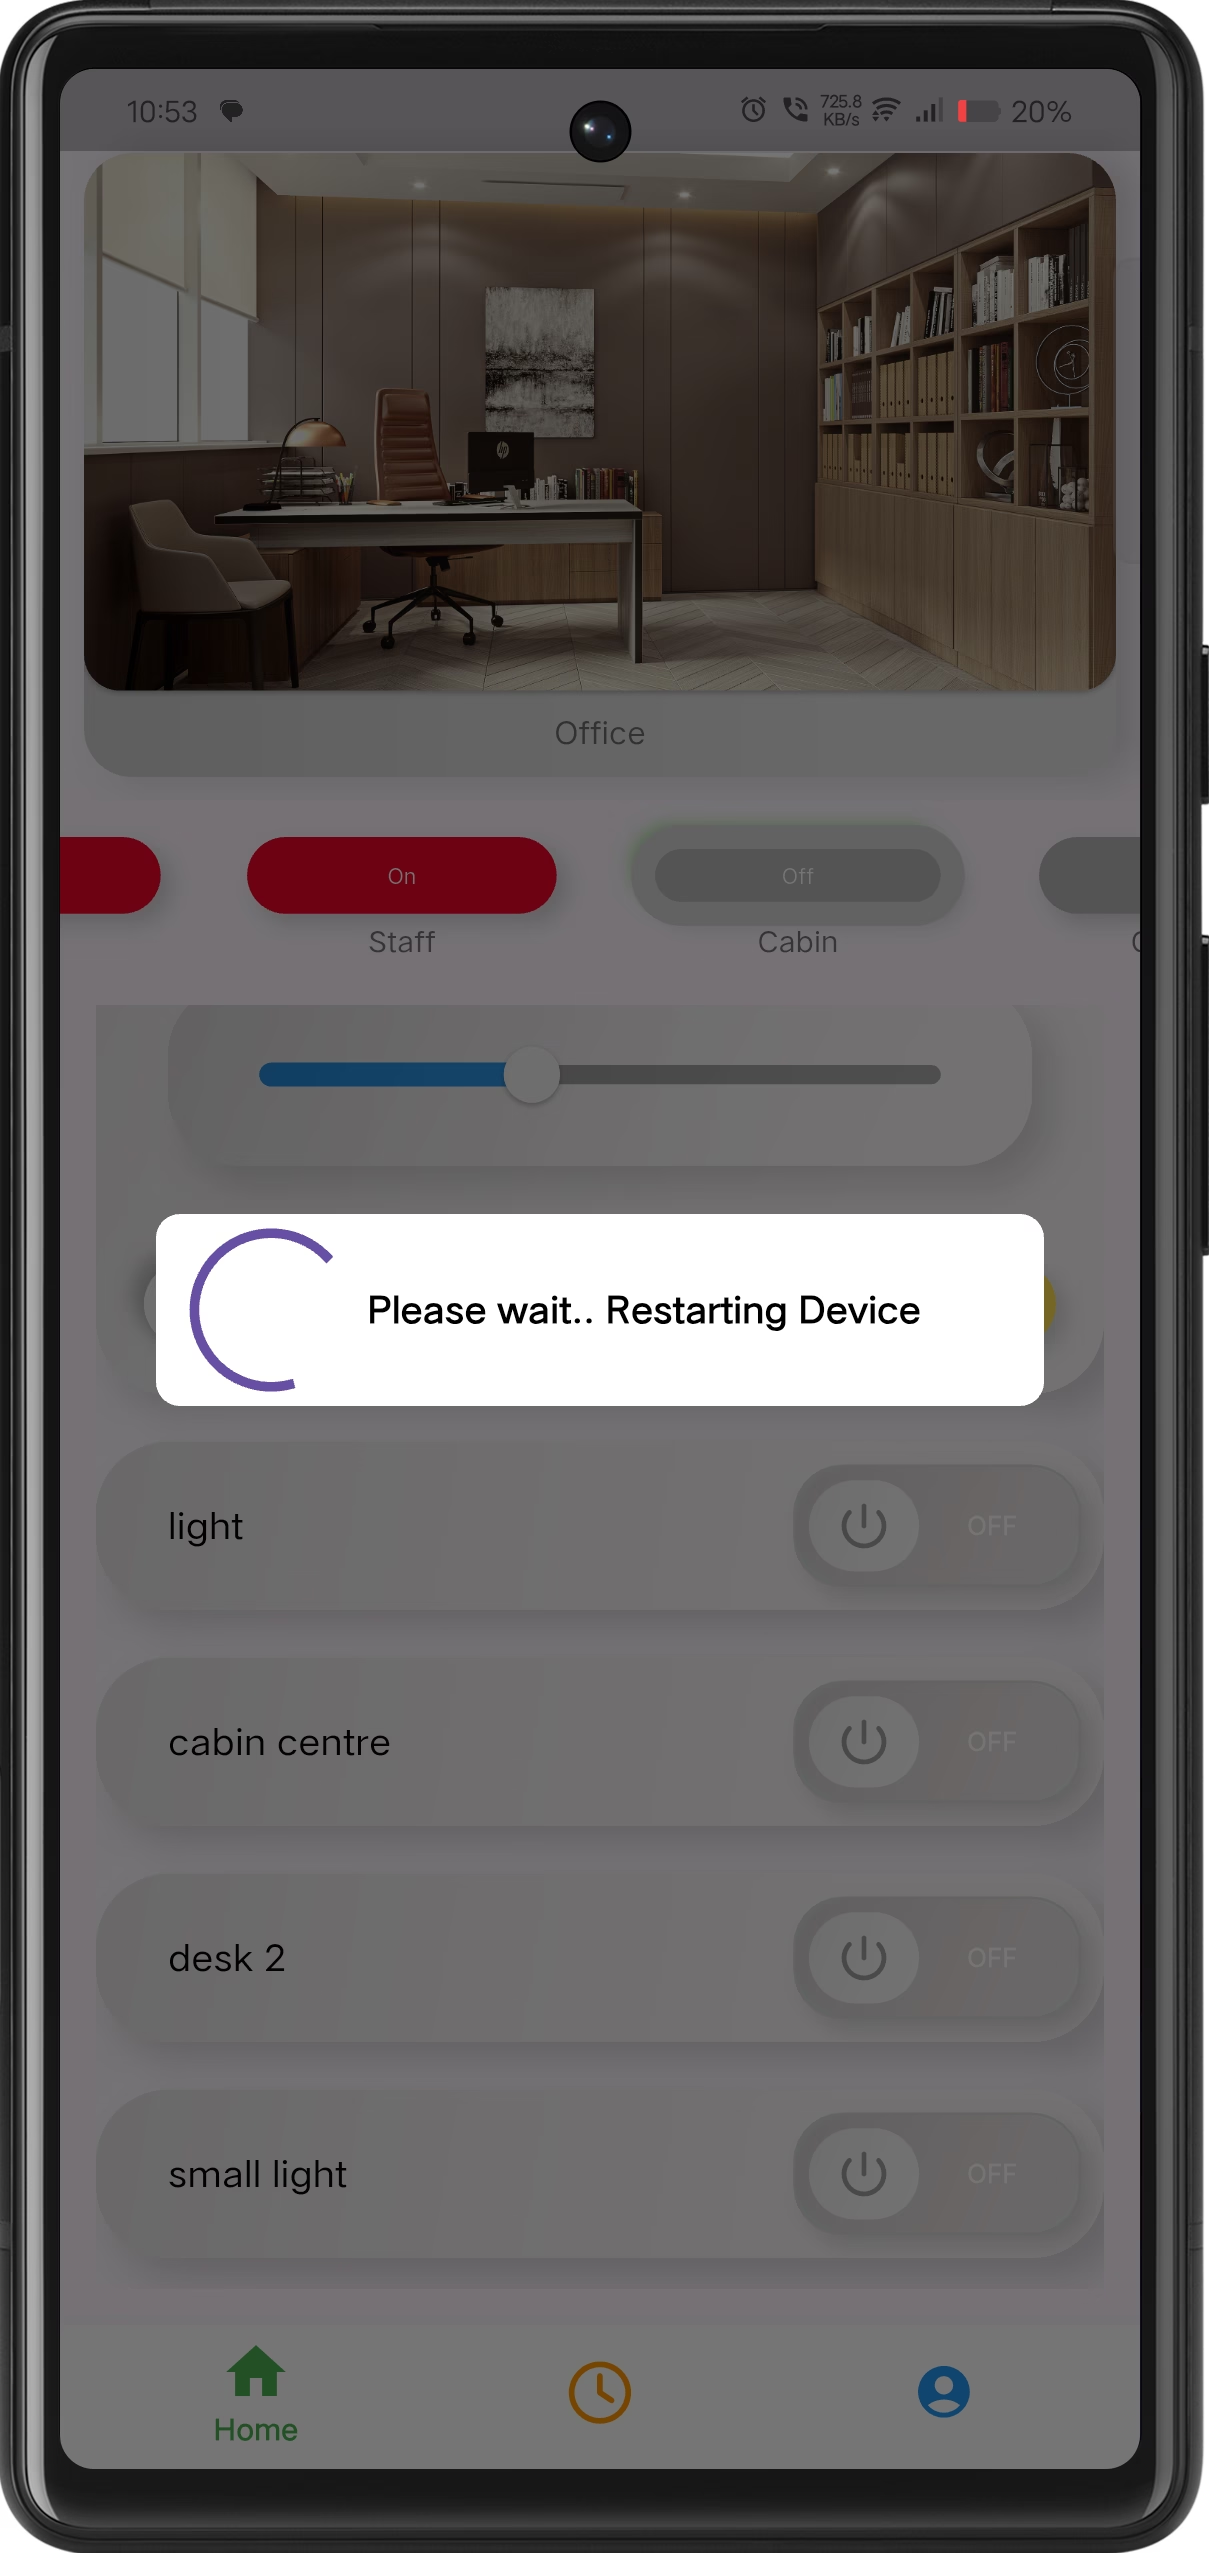
Restarting
Please wait while the device restarts.
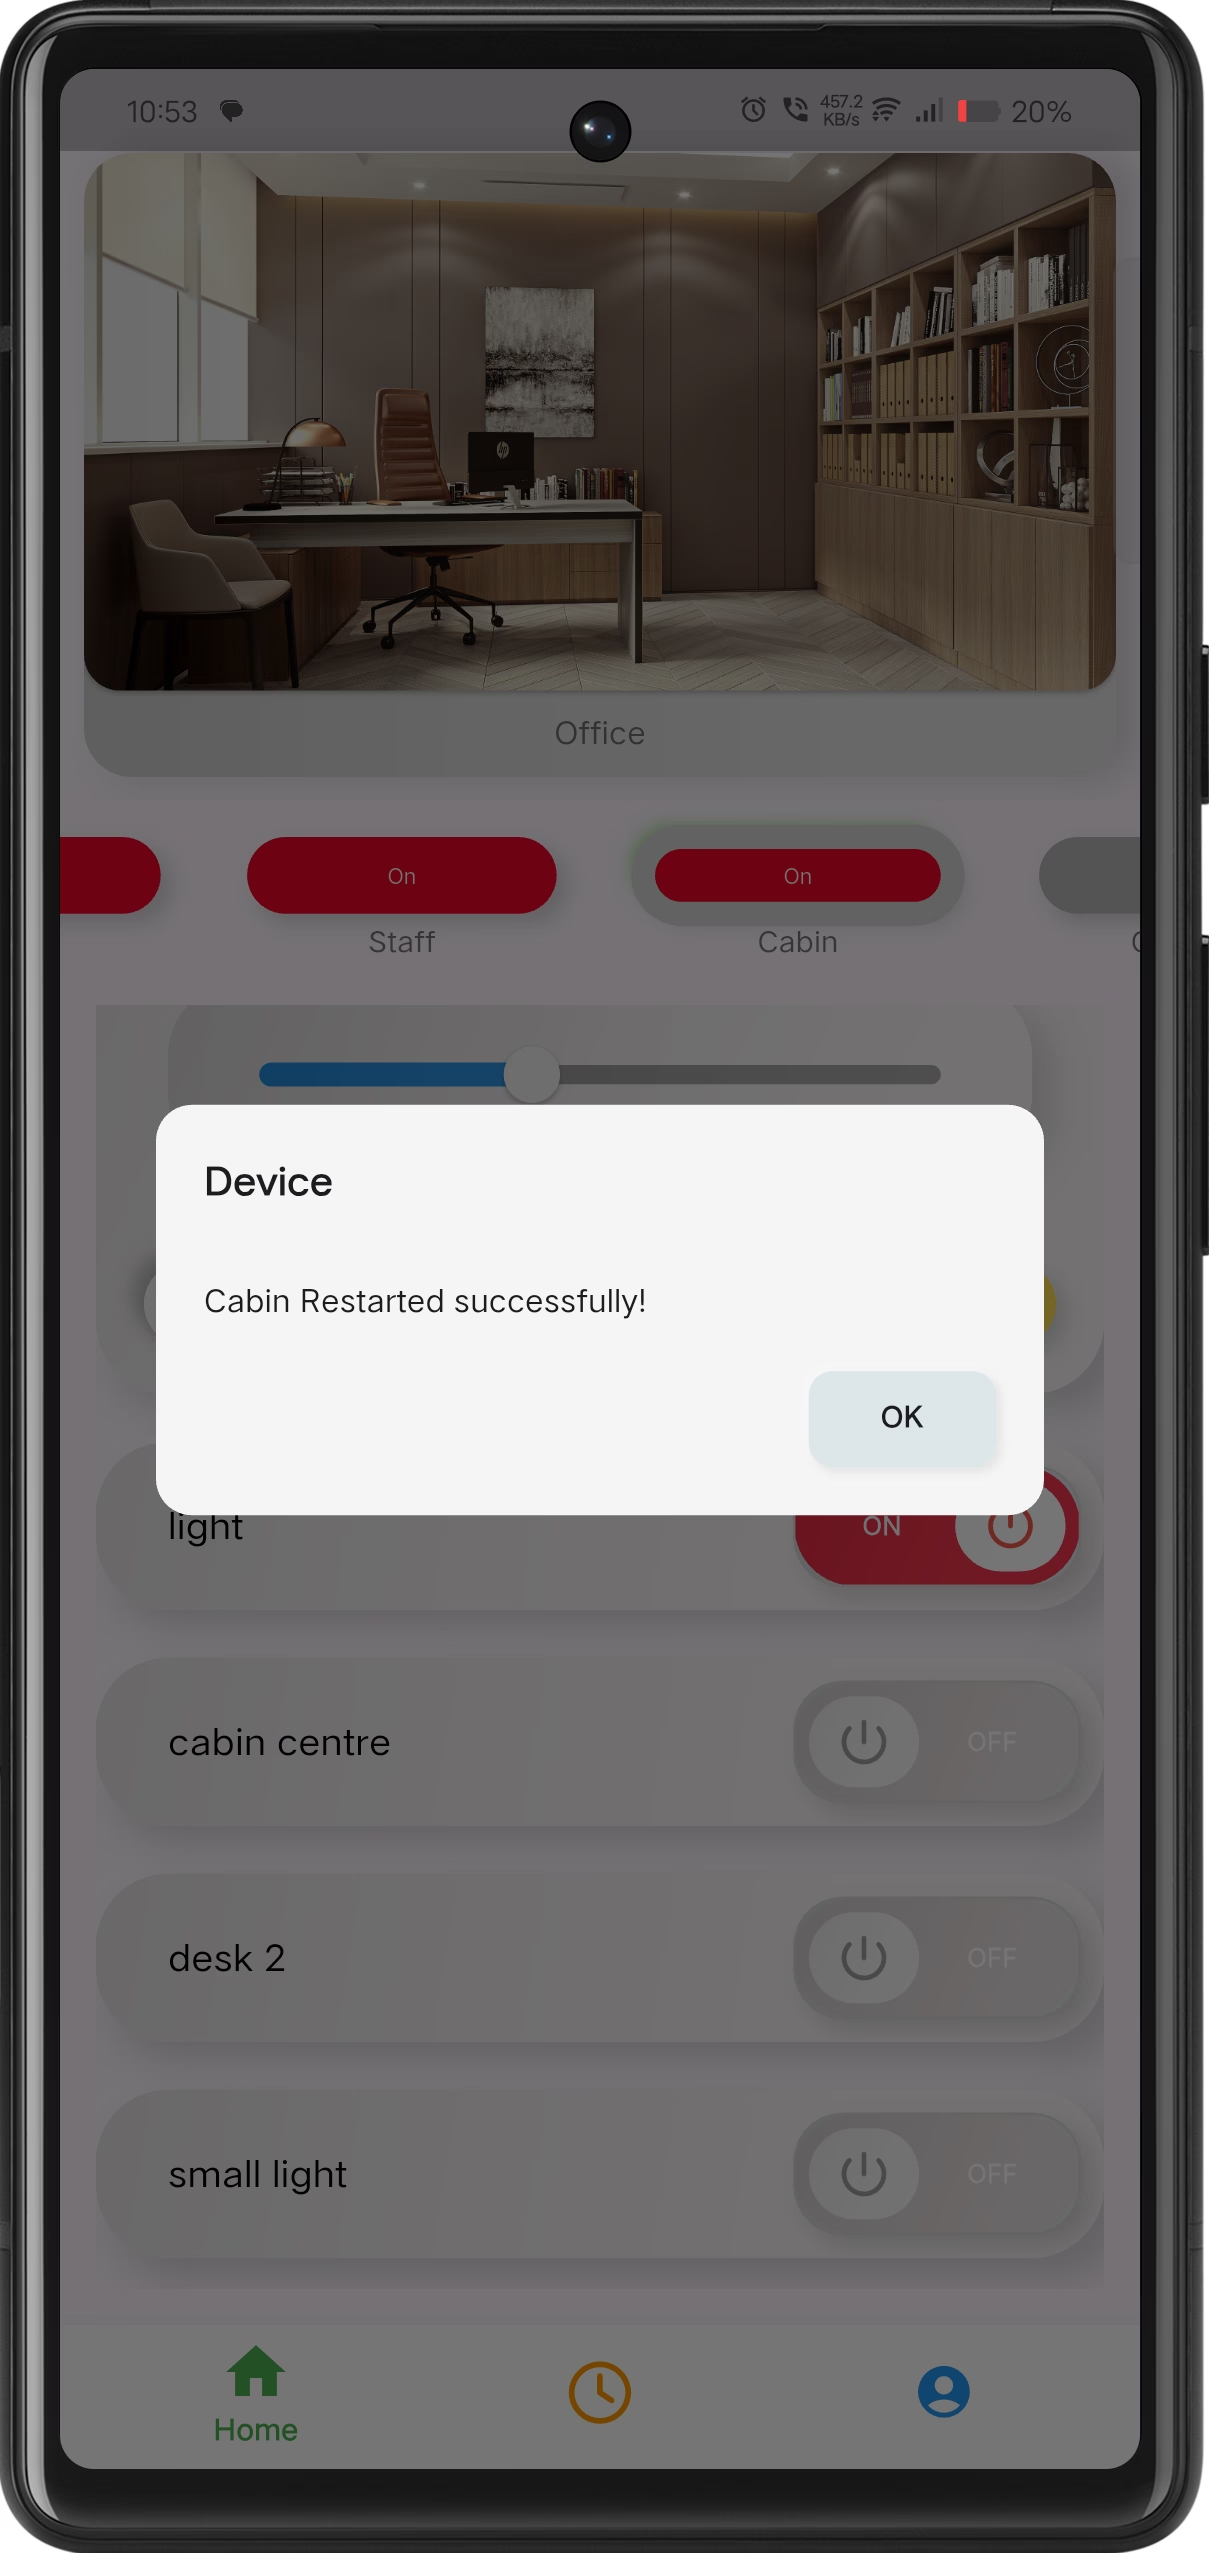
Restart Successful
Device restarted and reconnected successfully.
Sync Device Data
+Sync Data ensures the mobile app and device remain consistent by synchronizing the latest configuration and status information.
Open Device Settings
Long press on the device card to open the device options menu.
Select Sync Data
Tap on Sync Data to begin synchronization.
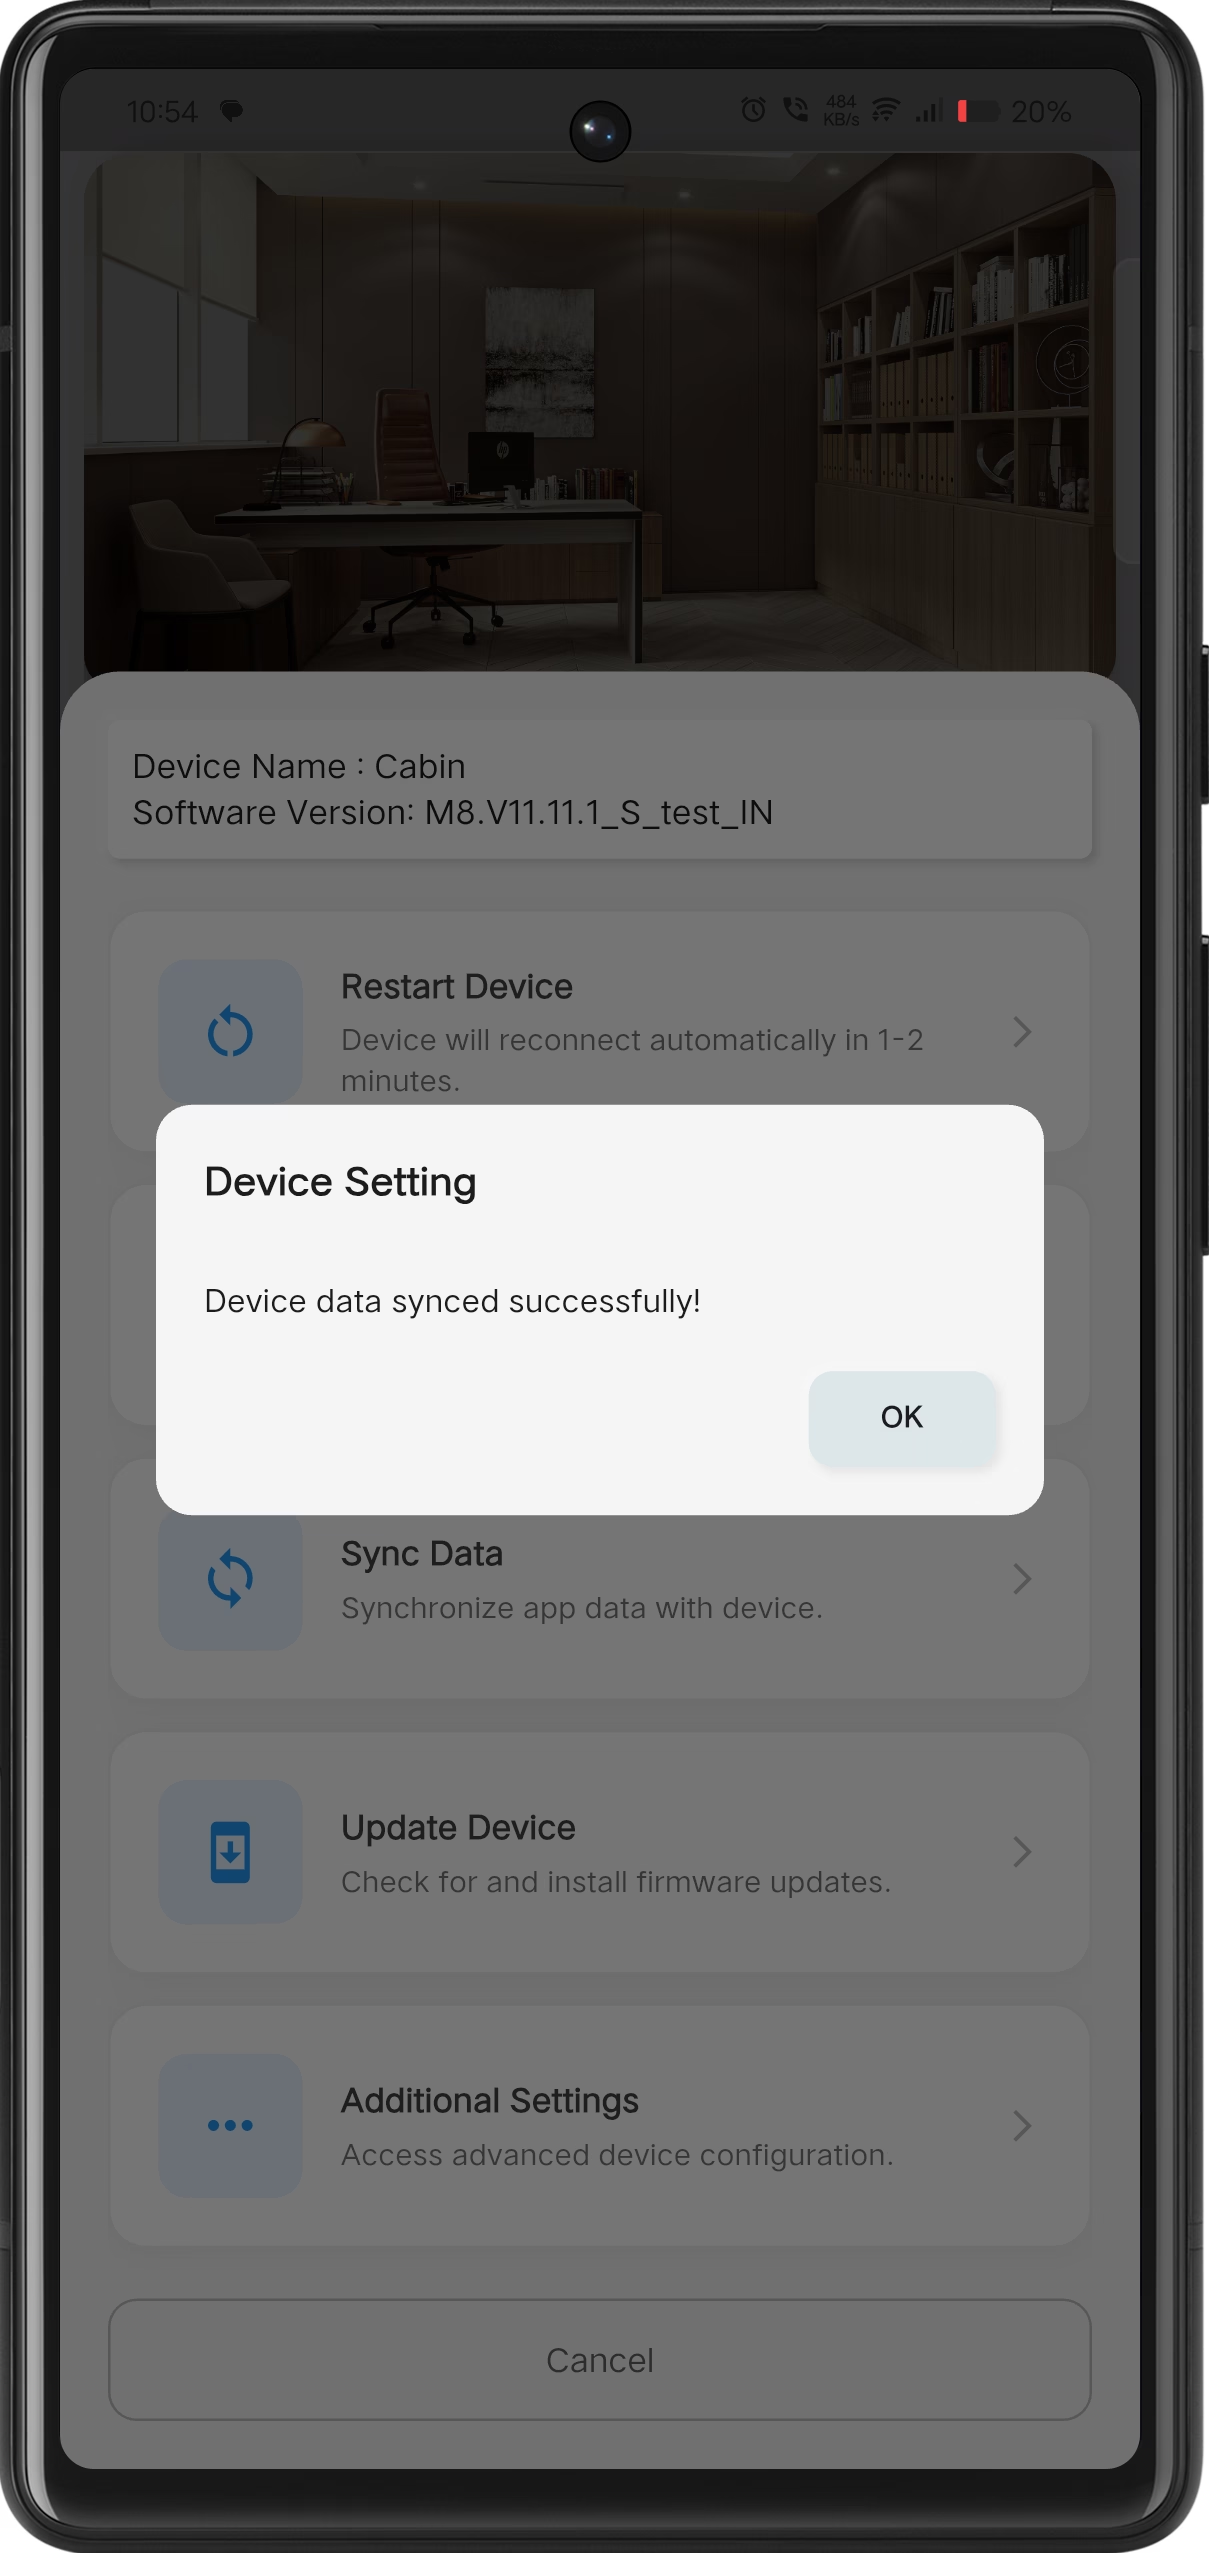
Sync Completed
Device data is successfully synchronized with the mobile app.
Account Data Upload & Voice Assistant Sync
+This flow allows users to upload their account data to the cloud and synchronize devices with voice assistants such as Google Assistant and Amazon Alexa.
Open Account Settings
Navigate to the Account section in the app and tap on Upload Data.
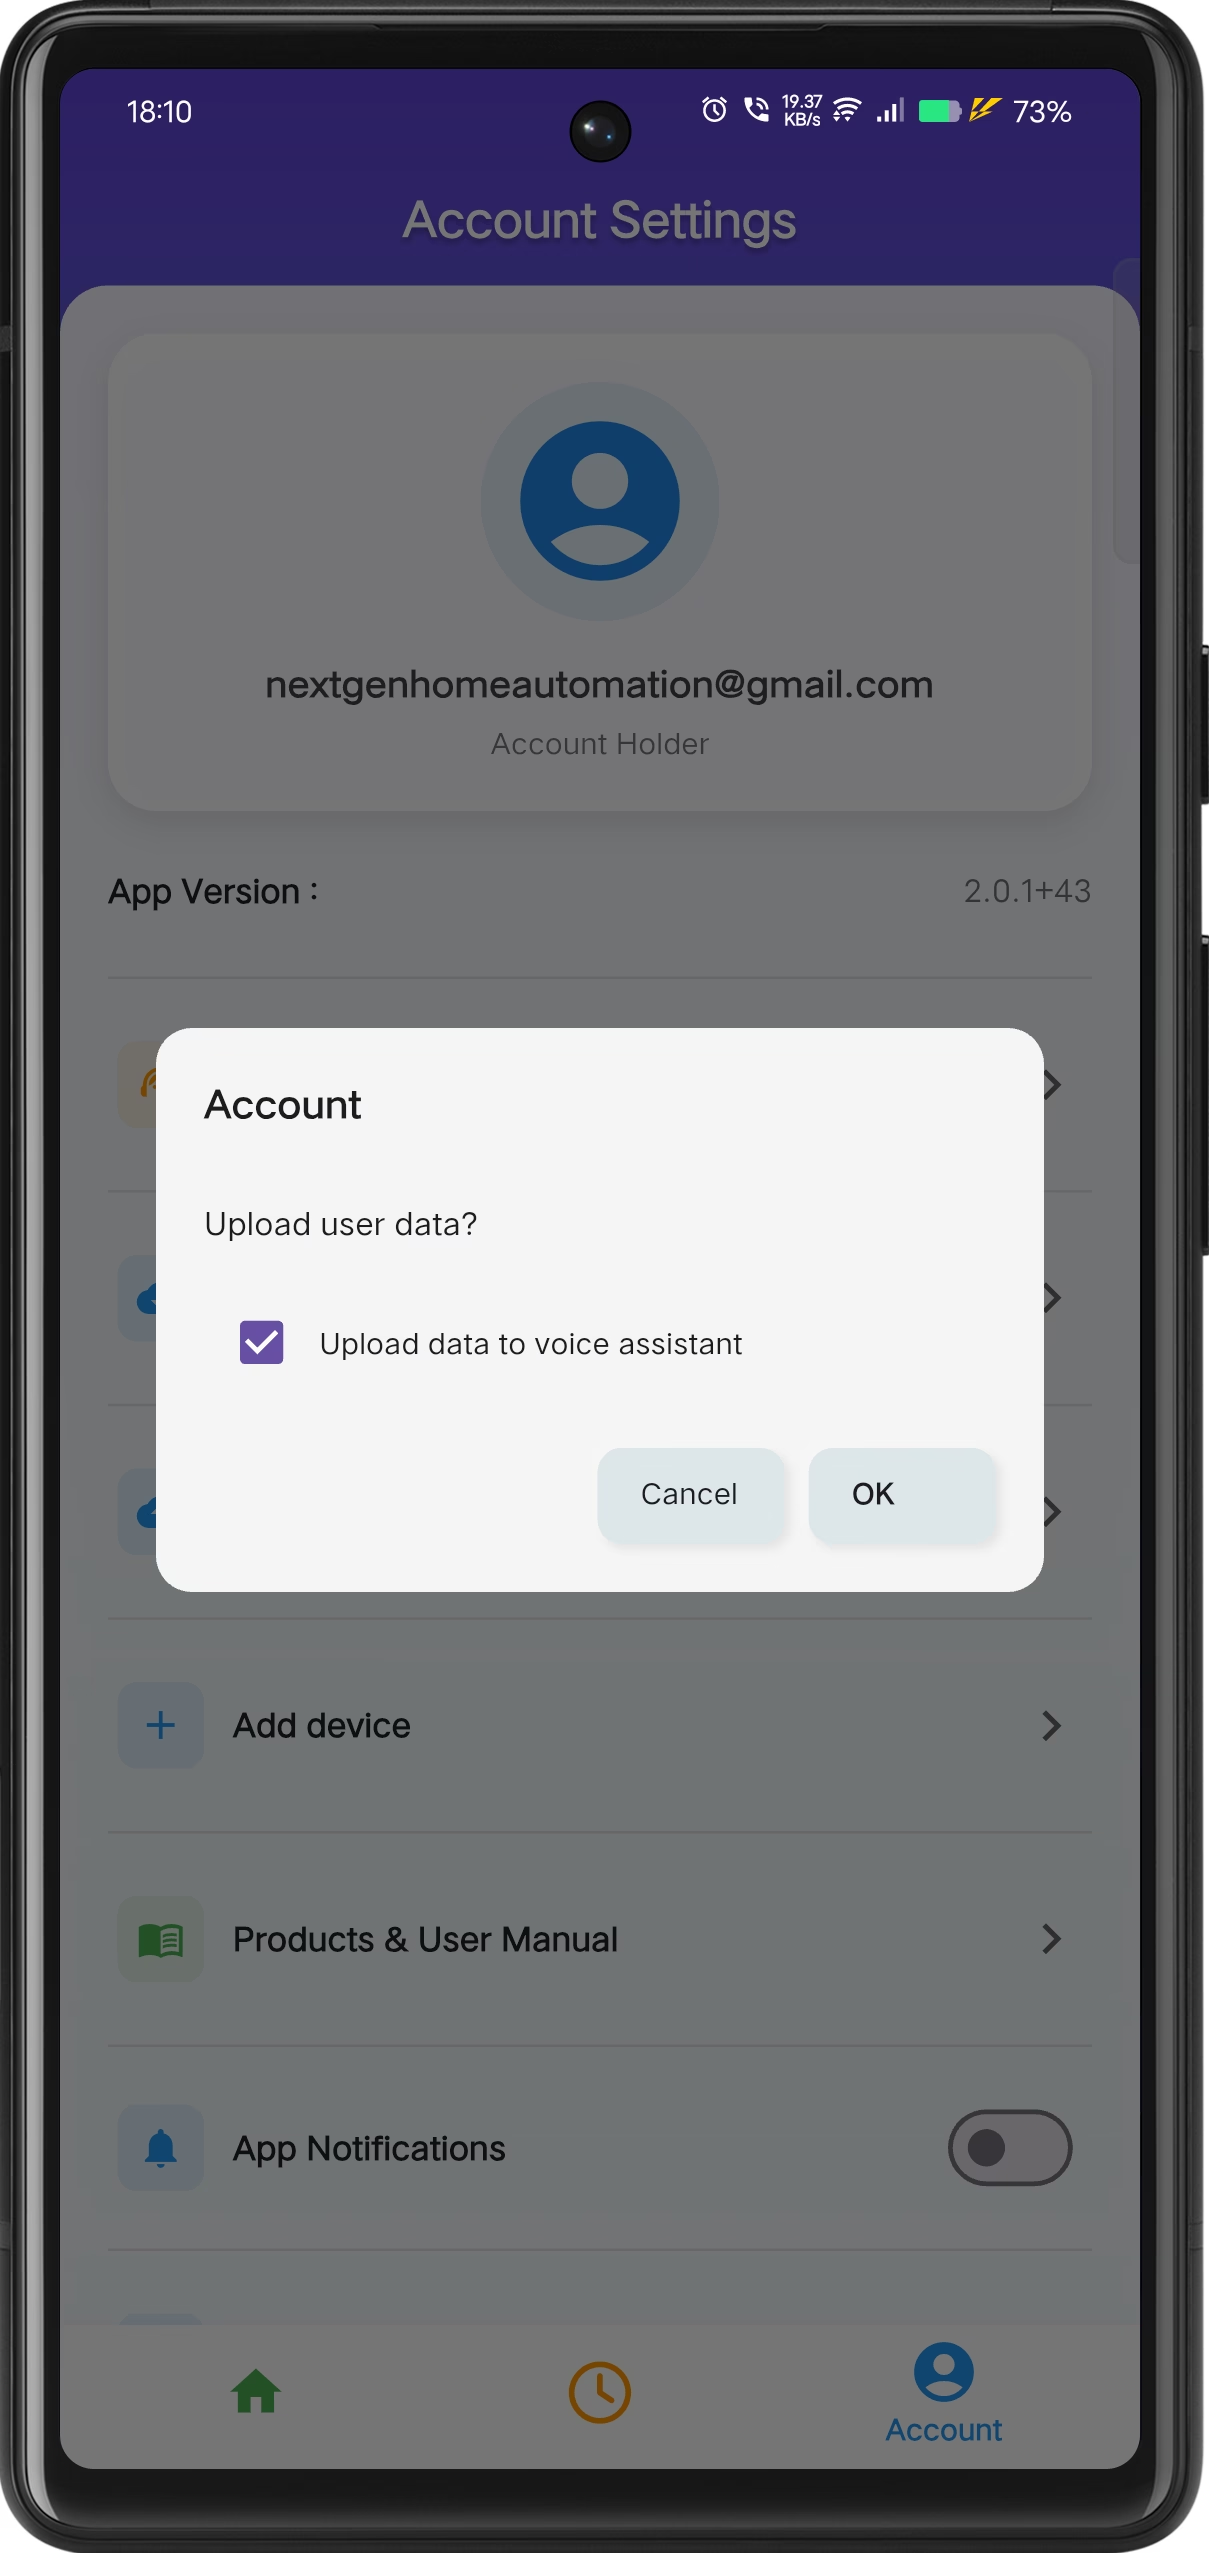
Select Upload Options
Enable the option Upload data to voice assistant and confirm the action.
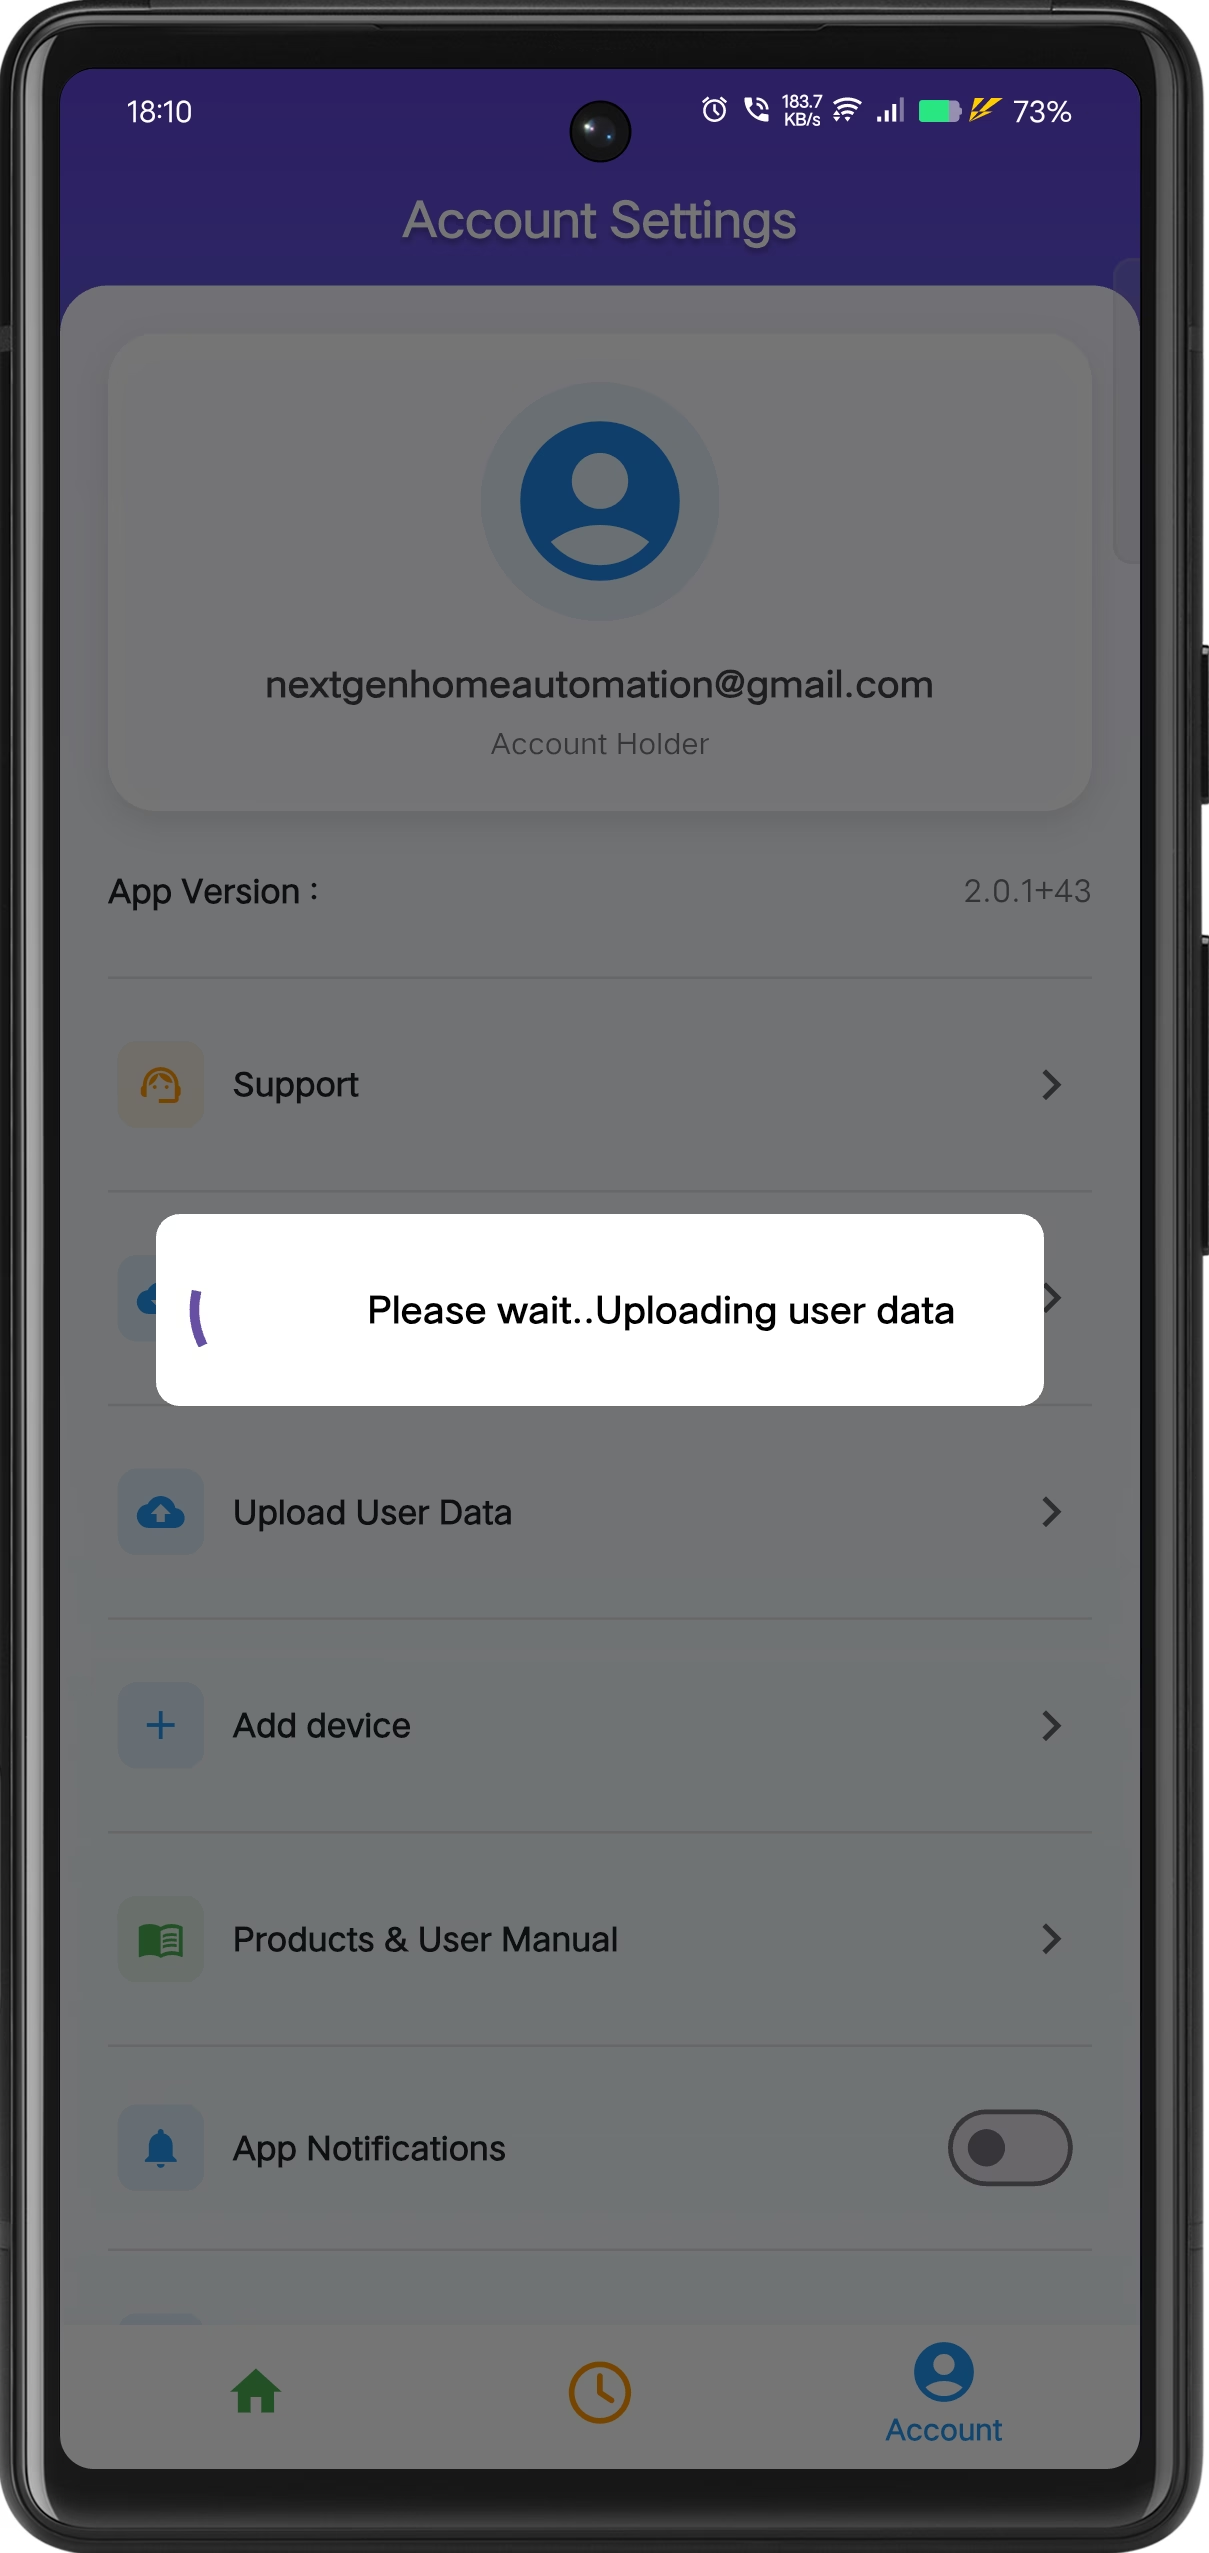
Uploading
Please wait while the data uploads.
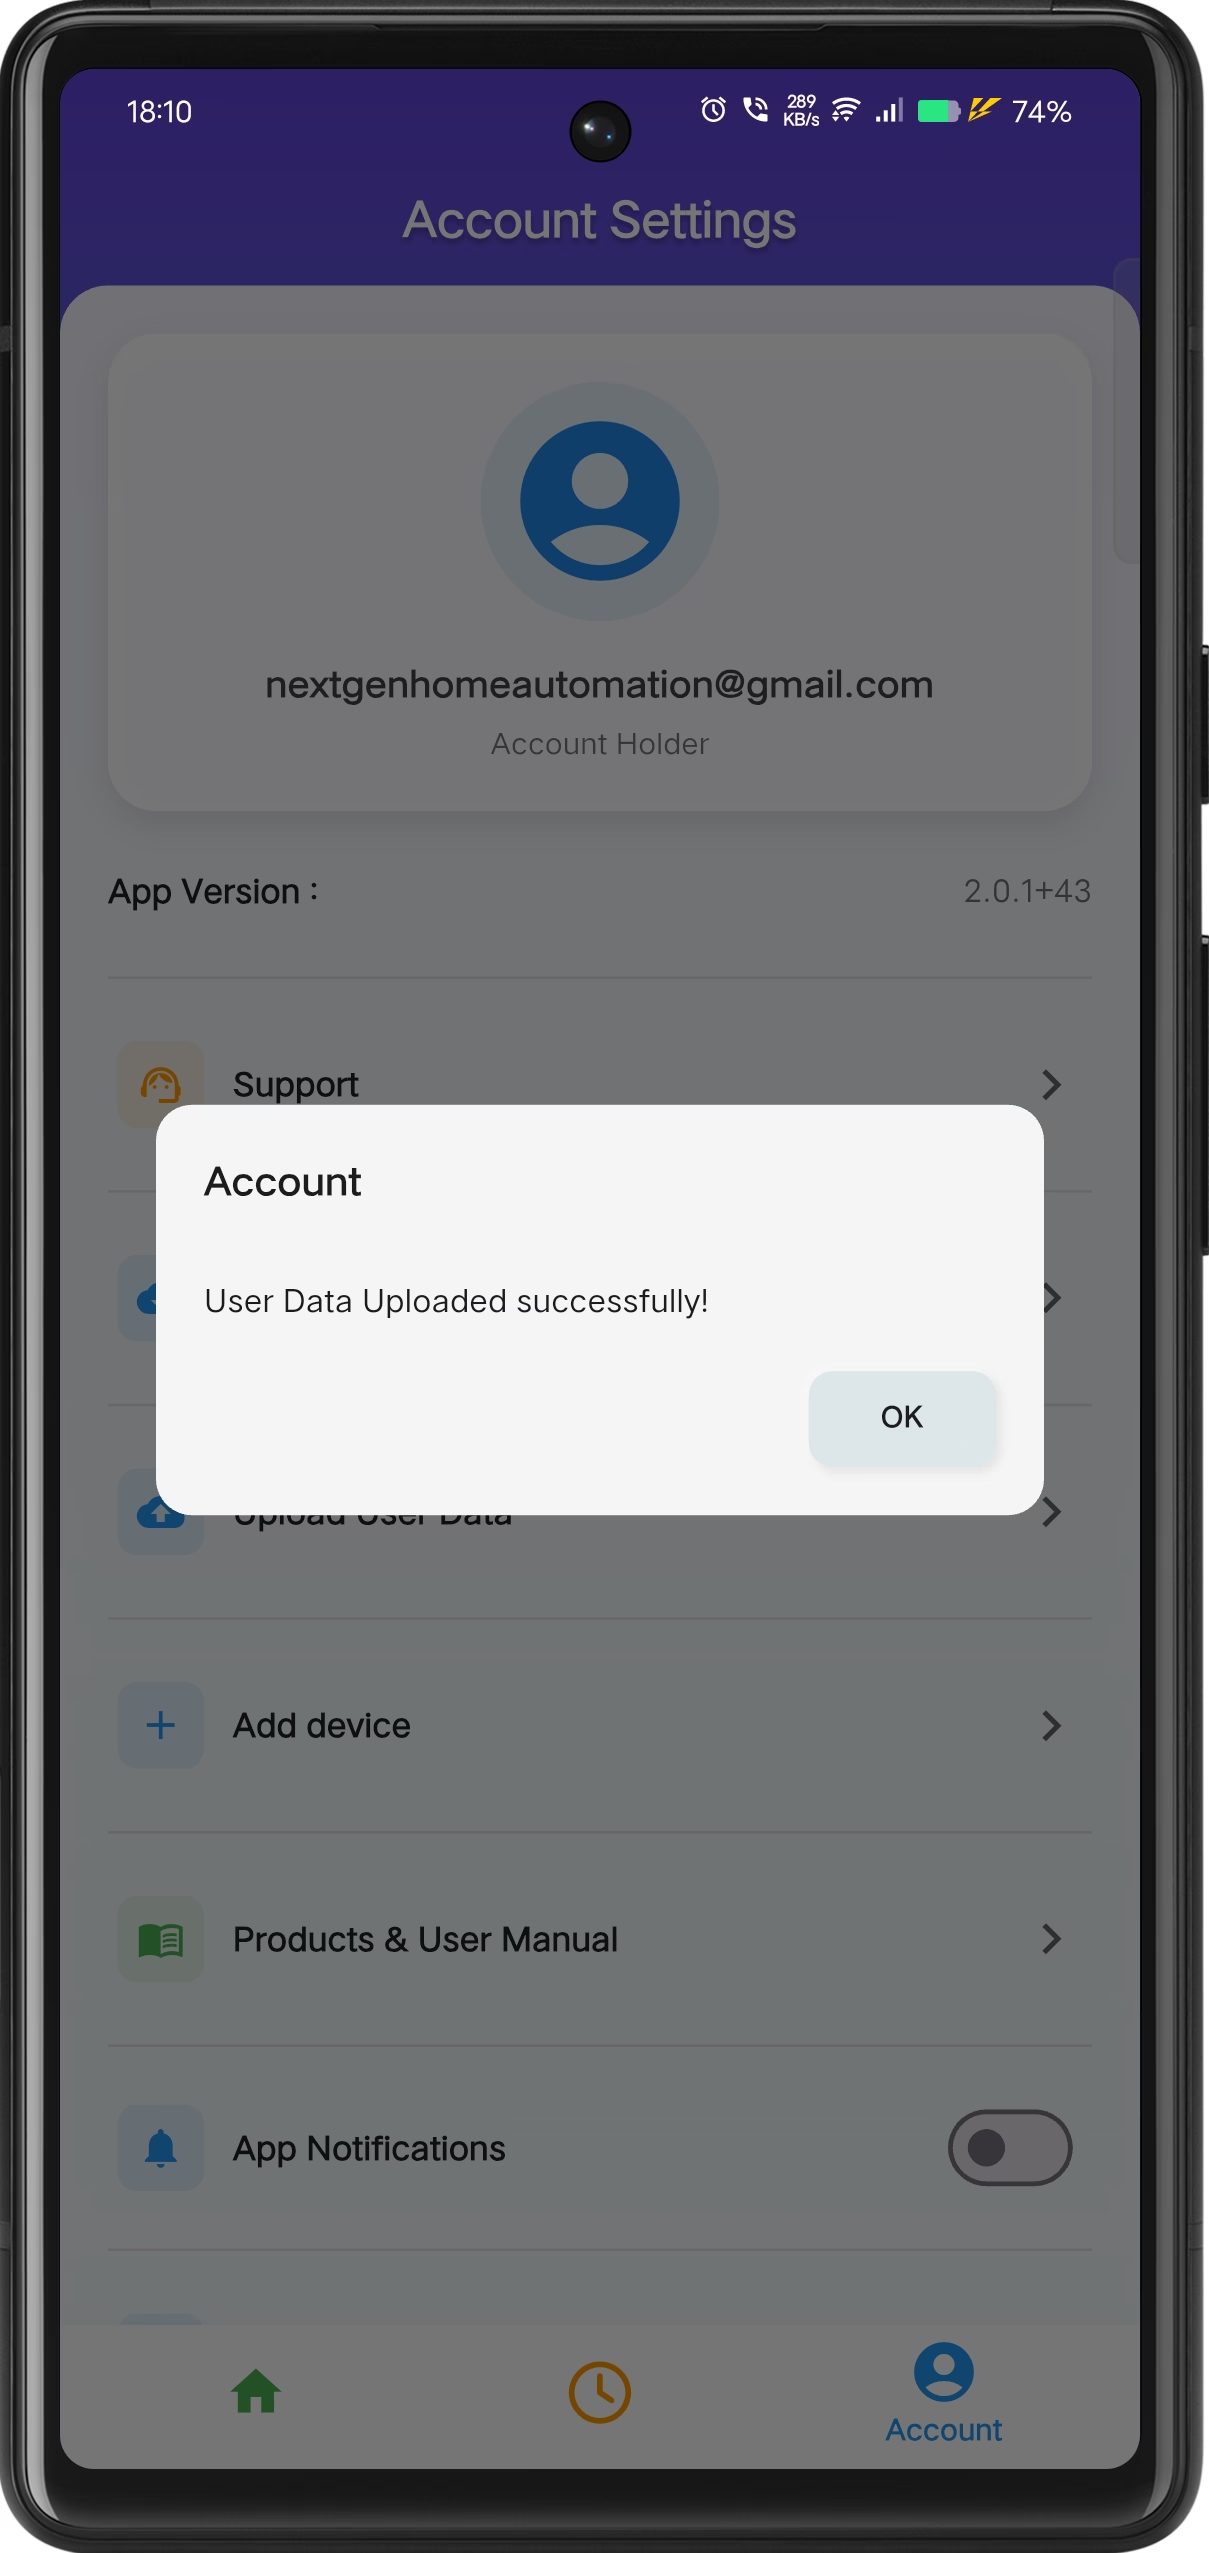
Upload Completed
User data is uploaded successfully and devices are now synced with the voice assistant.
Account Data Download & Sync App
+This flow allows users to Download their account data from the cloud in the mobile application.
Open Account Settings
Navigate to the Account section in the app and tap on Download Data.
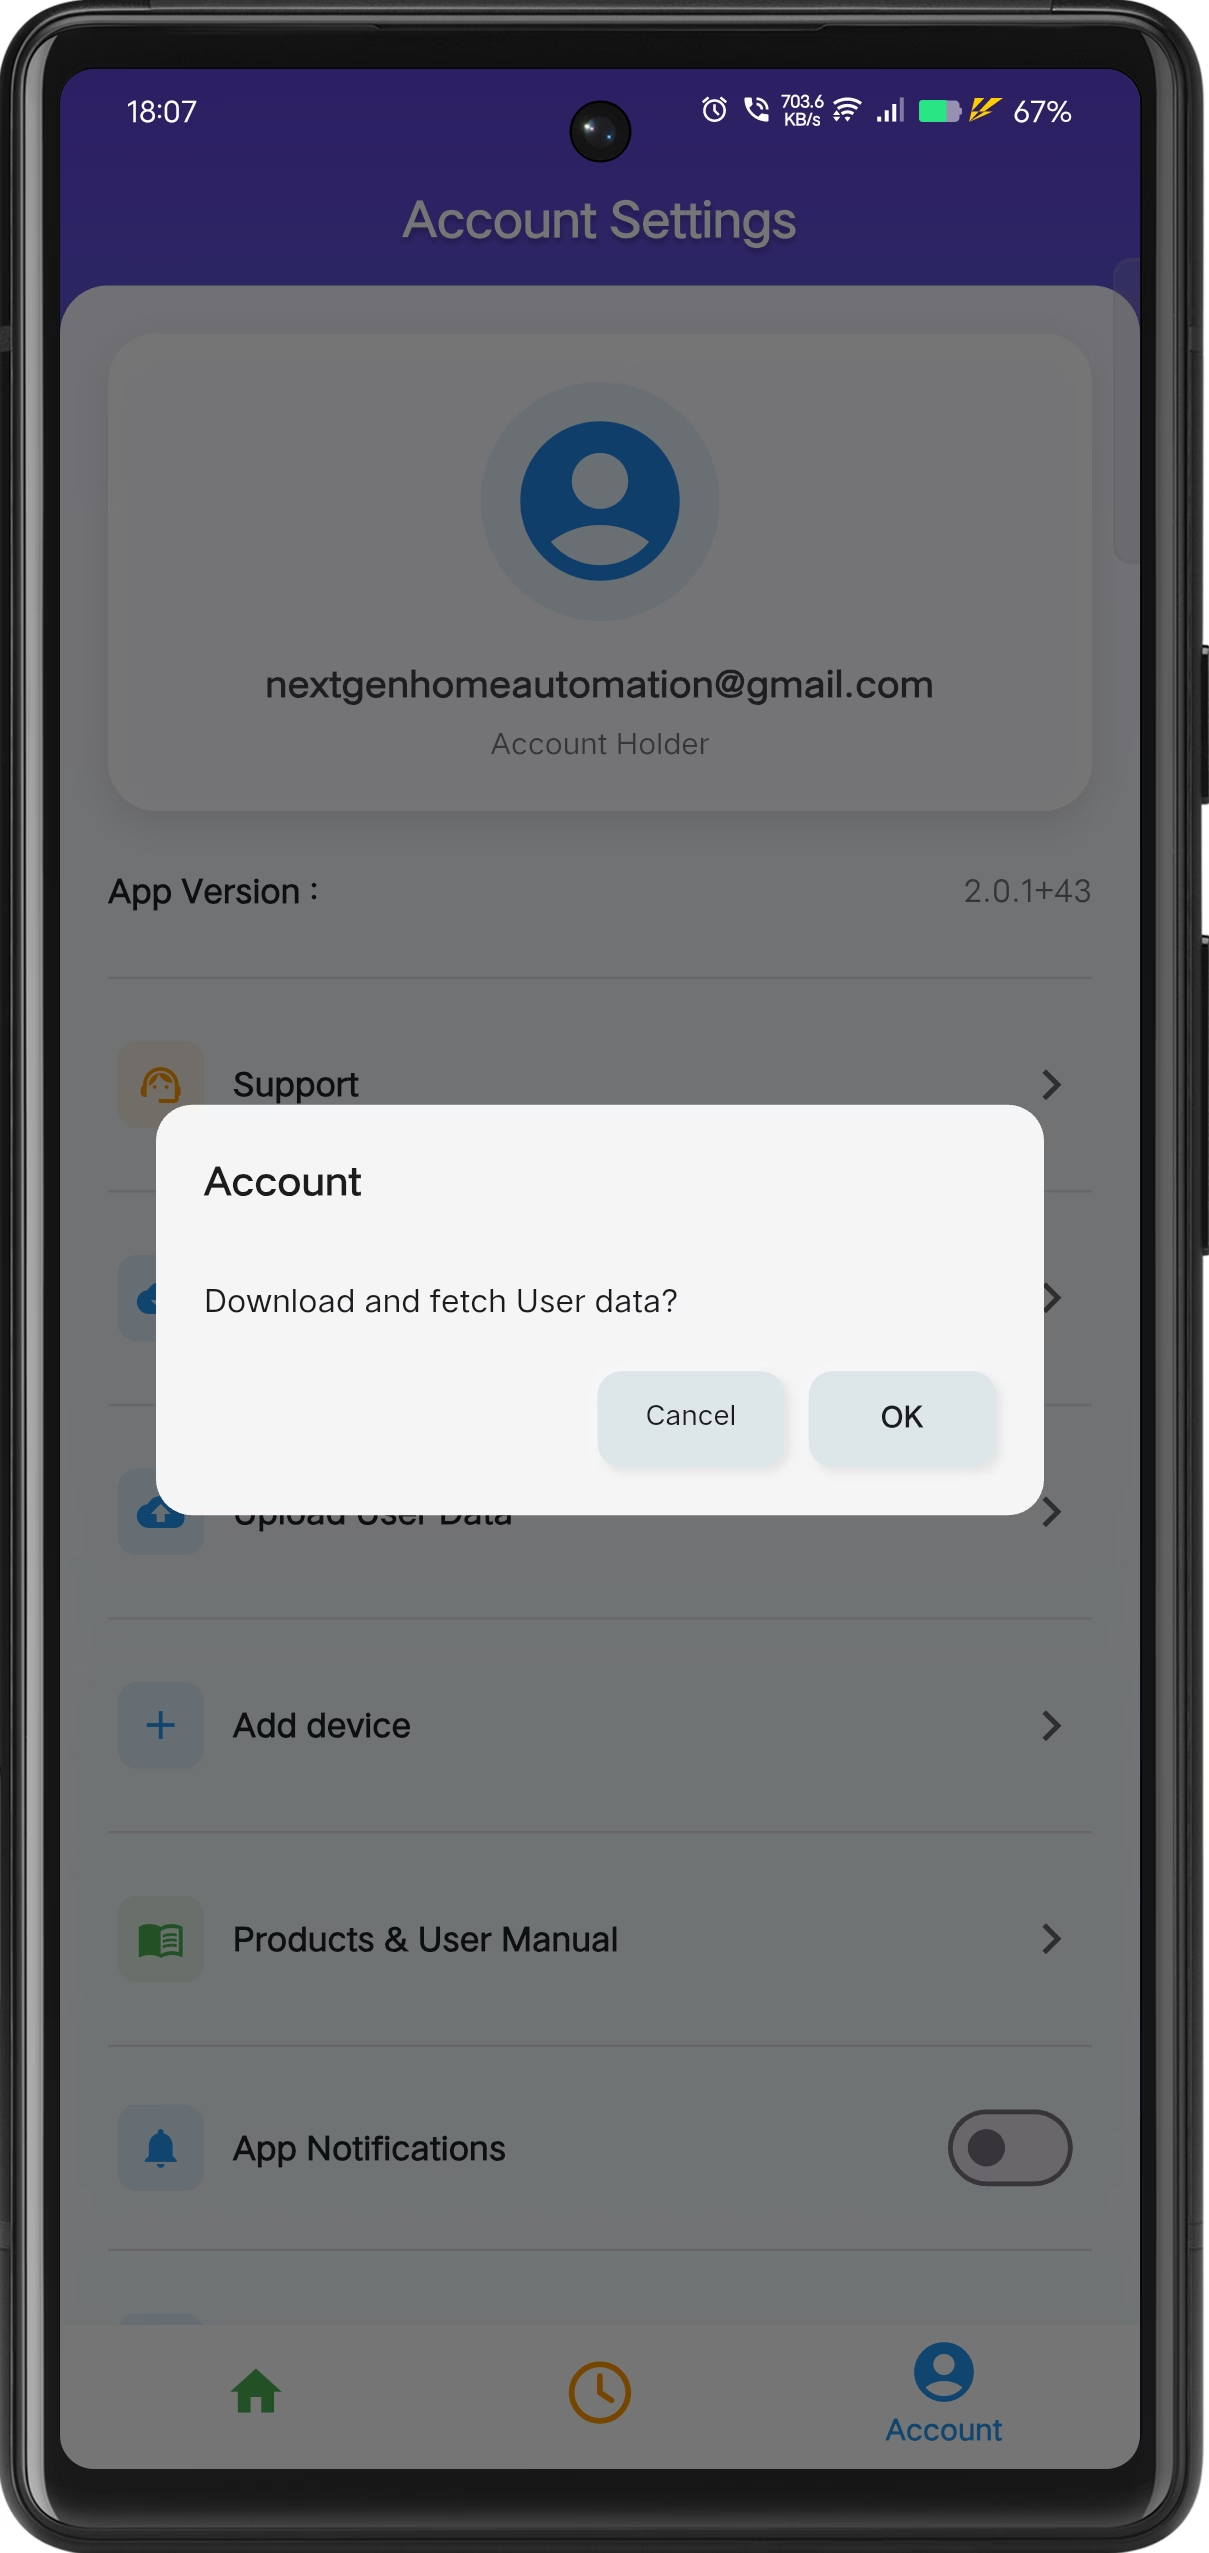
Select Download Options
Tap on Find Device and confirm the action.
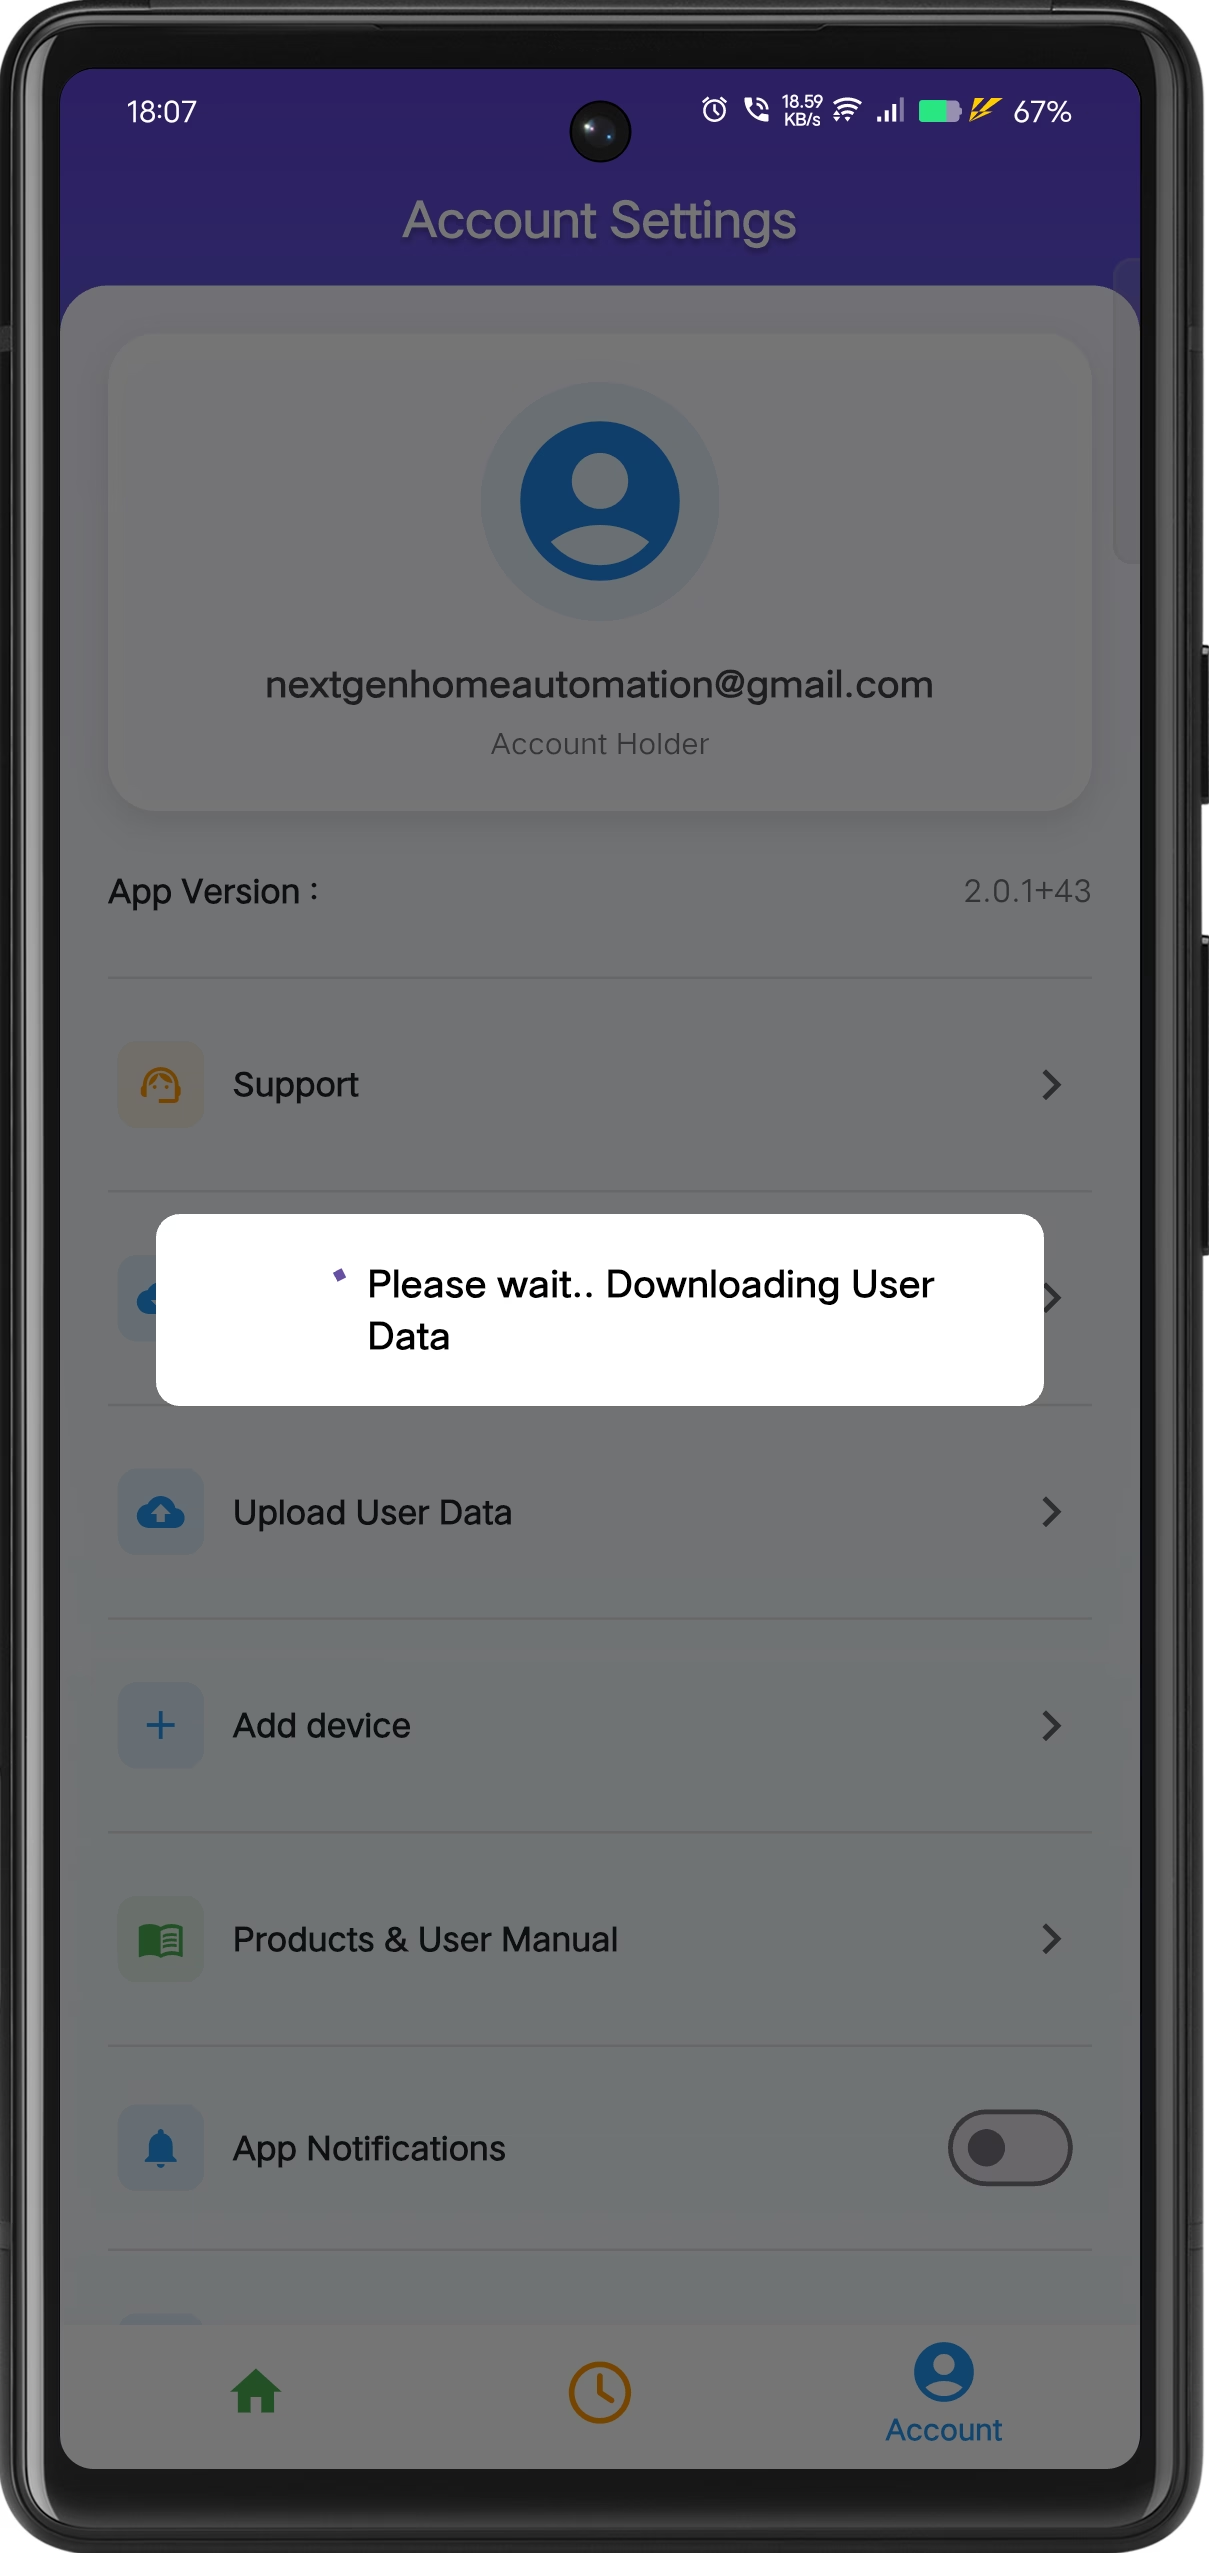
Uploading
Please wait while the data uploads.
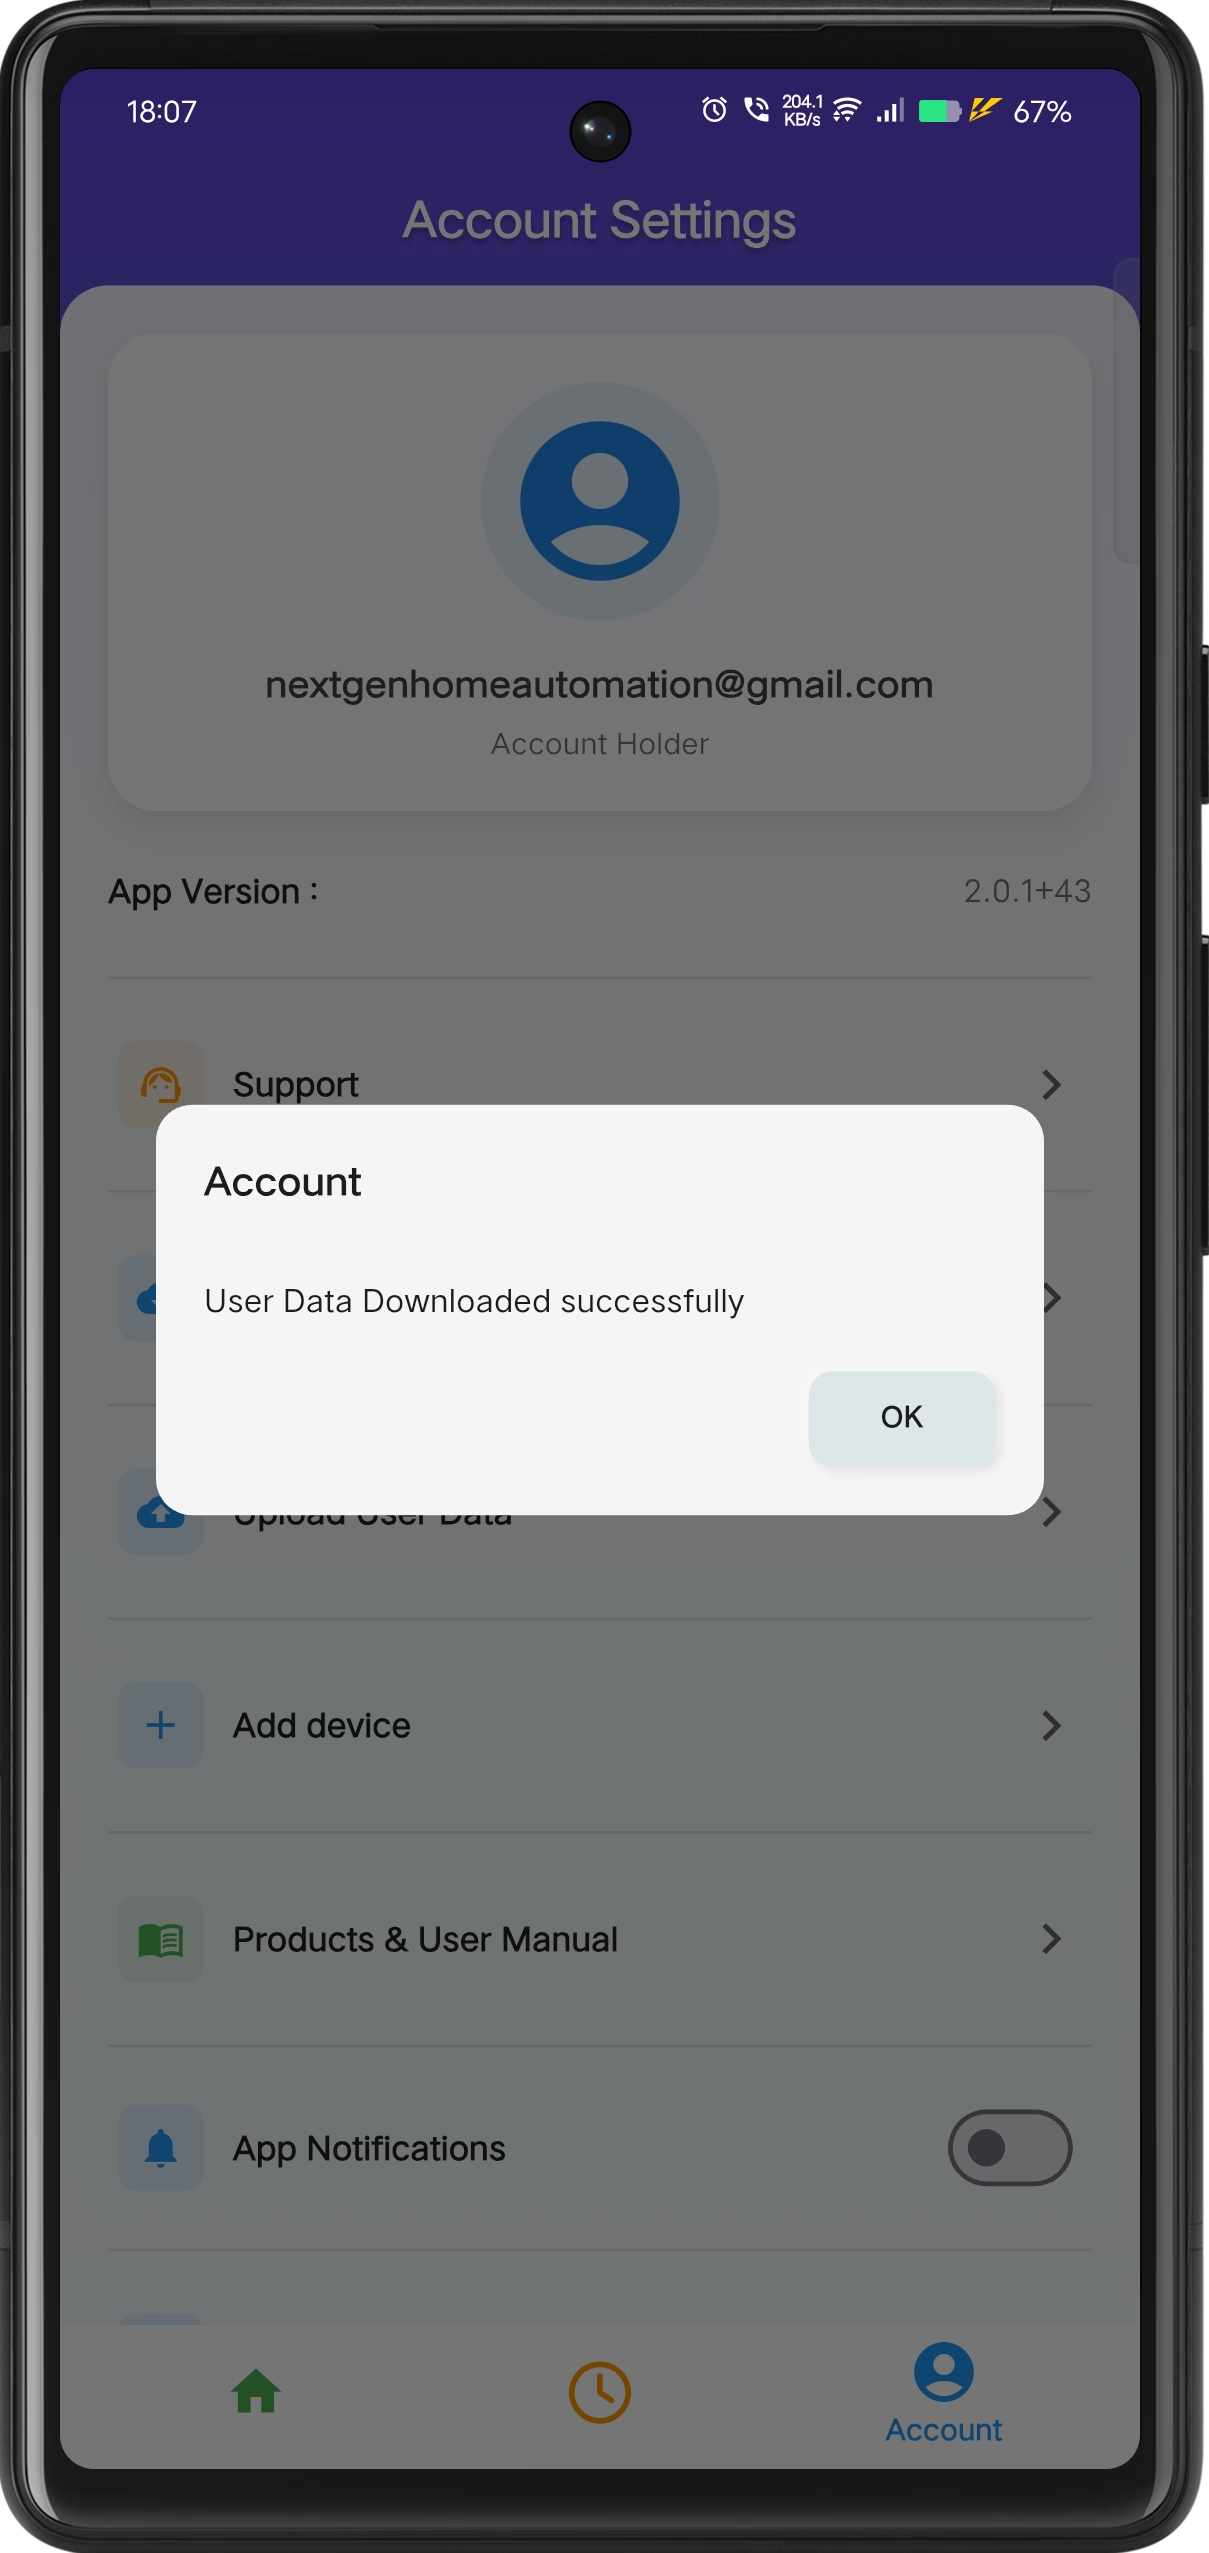
Download Completed
User data is downloaded successfully.